Bandwidth
What is a Bandwidth Limit
A bandwidth limit refers to the maximum rate of data transfer across a network connection within a specific timeframe. It is often measured in bits per second (bps), kilobits per second (kbps), megabits per second (Mbps), or gigabits per second (Gbps). Bandwidth limits can be imposed by internet service providers (ISPs), network administrators, or the capabilities of the network hardware itself.
Why do we need Bandwidth Limit
Bandwidth limits are crucial to effectively manage Internet speeds, ensure fair access for all users, and prevent any single user from monopolizing the available bandwidth. By setting bandwidth limits, administrators can control the speed of data transmission, and have flexibility. for Ex:- if the ISP is 200 MB if no limit is given, everything will use net speed. If there is more than one user, bandwidth limitation is used to manage them. Bandwidth limits are useful to prevent speed problems when everyone is using the same network at the same time so that everyone can enjoy and enjoy the same Internet speed.
How to create Bandwidth Limit
-
Go to the SSIDs menu. After navigating to the SSIDs menu, click the edit button of the desired SSID. Access Bandwidth profile via the Access Point sub-menu and the SSID edit menu.

-
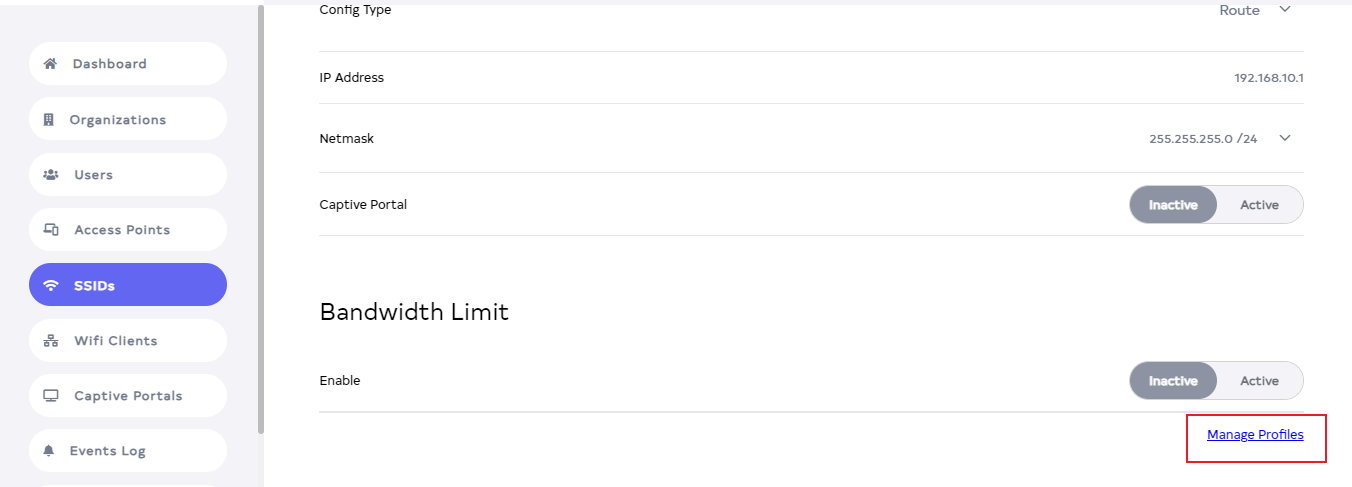
After clicking the Edit button, scroll down to find Bandwidth Limit > click on Manage Profiles.
-
After clicking on Manage Profiles. A new window will open. Which by default is opened in the Bandwidth Profiles of the access point. There click on Add New button.

-
Fill in your details.
1. Name:- Enter your Name for Ex:- nancy-demo. Type the name you want to create here.
2. Upload:- Enter Upload Mbps for Ex:- 1Mbps. By doing this step, the set Upload Speed will be available to the user.
3. Download:- Enter Download Mbps for Ex:- 1Mbps. By doing this step, the set Download Speed will be available to the user.
4. Organization:- Choose your organization for EX:- Document1. Organization selection is done because if there is a similar organization, it comes by default. And keep the organization the same.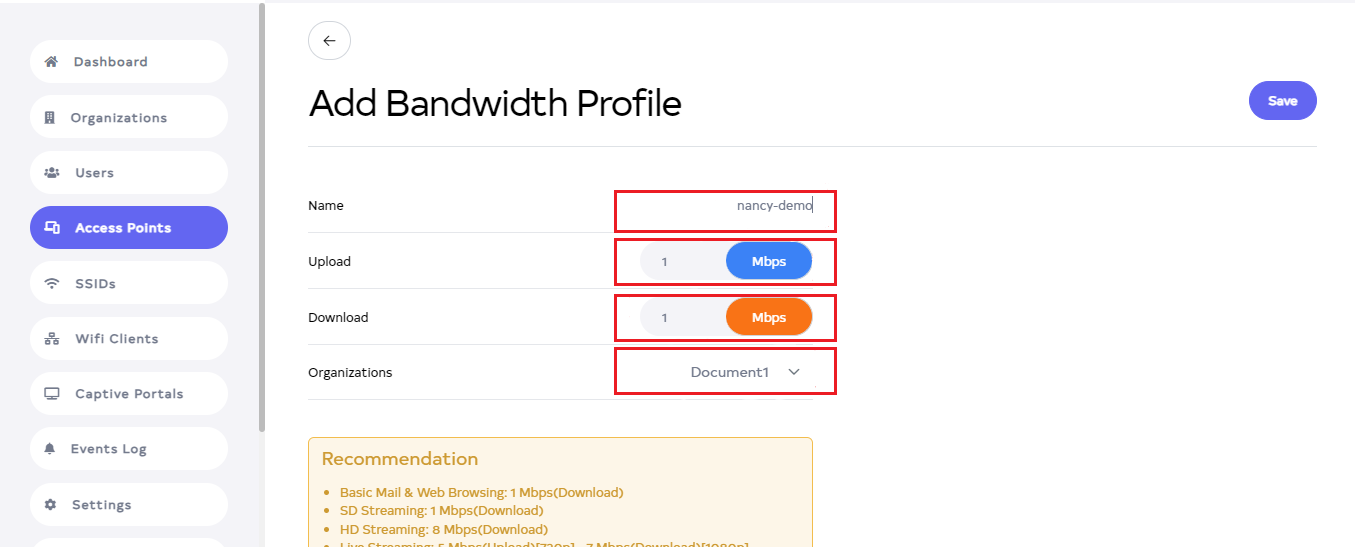
-
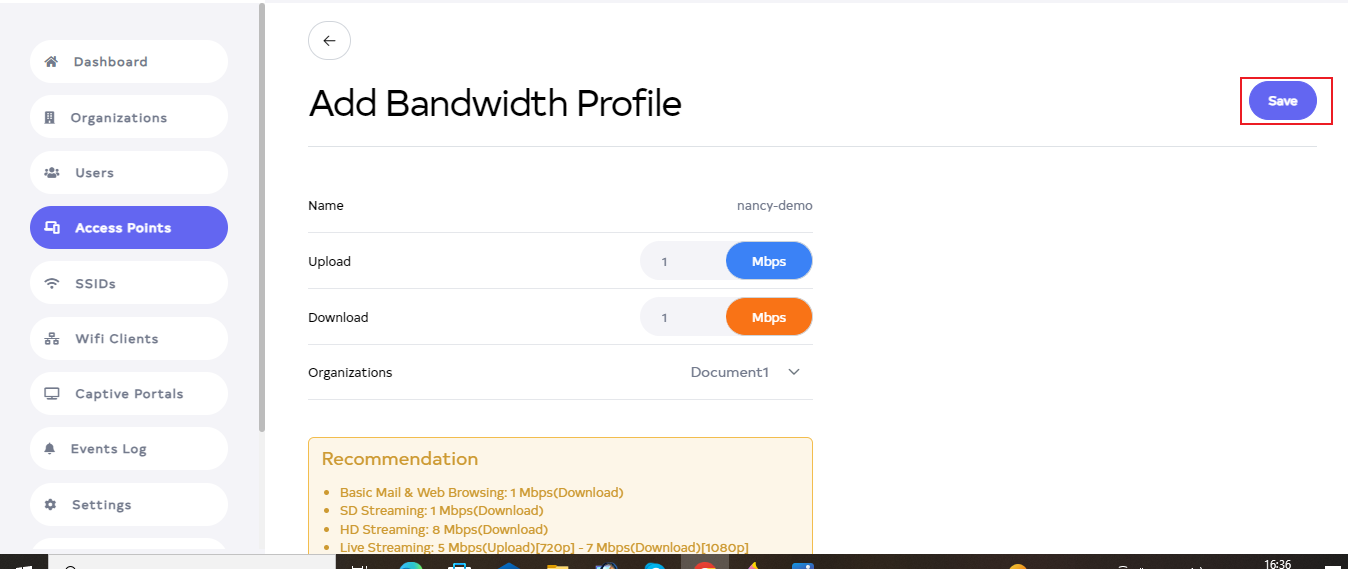
Then click on the located right side Save button.
-
After the Access point Section is saved successfully, a success message will display Bandwidth profile is created successfully.

How to configure Bandwidth Profile
-
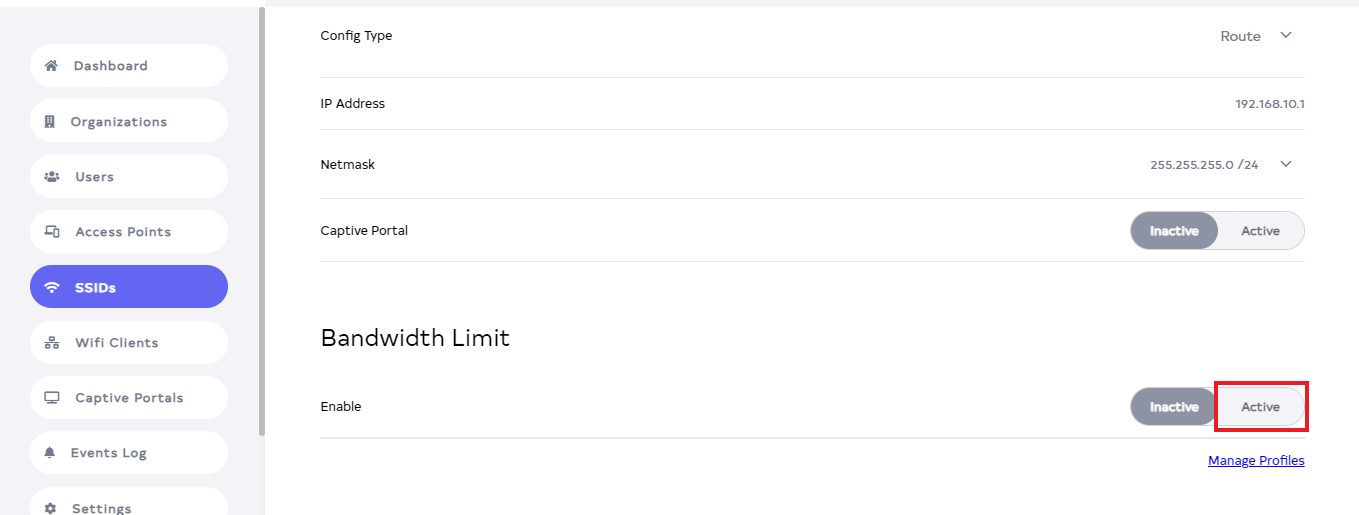
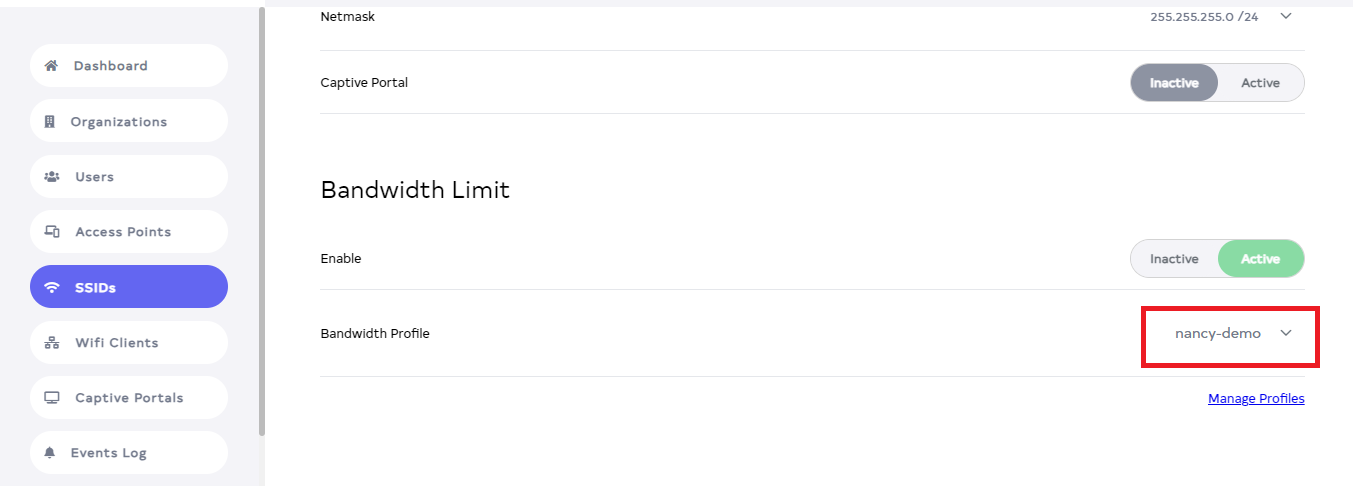
Go to SSID and then Bandwidth Limit go there and click on Active.
-
Click on active then by default Bandwidth Profile will appear.
profile-infoDue to having one profile, it comes by default. If there is more than one, you can search and select there.
-
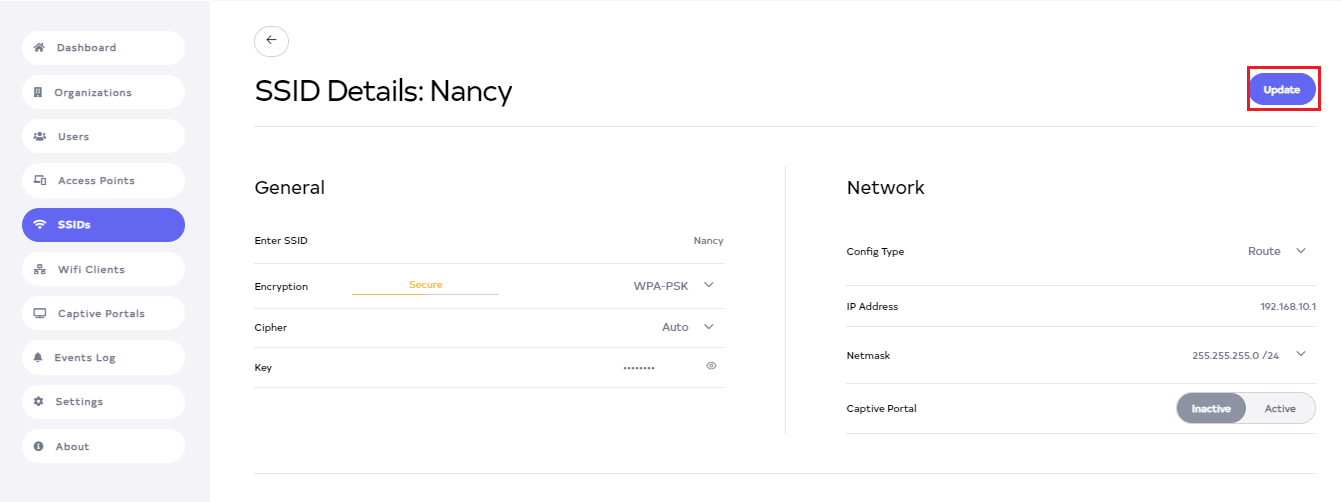
Then click on the Update button.
-
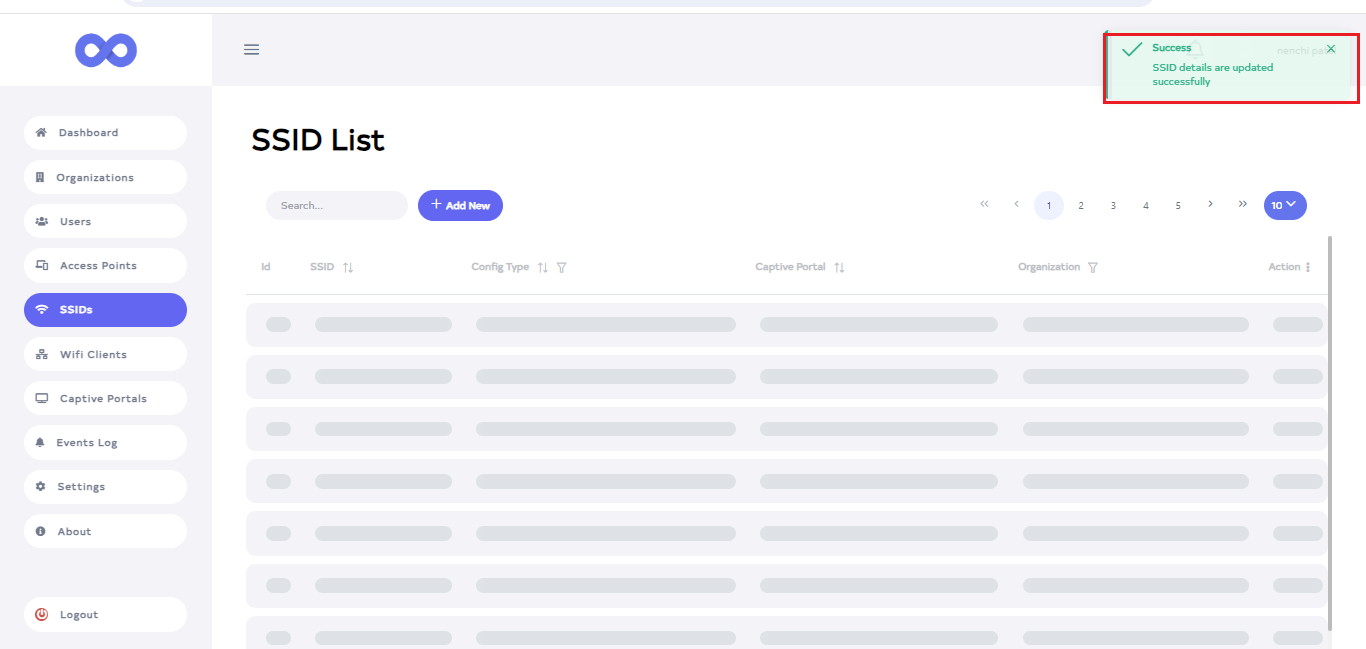
After the Bandwidth Section is updated successfully, a success message will display SSID details are updated successfully.
How to edit Bandwidth Profile
-
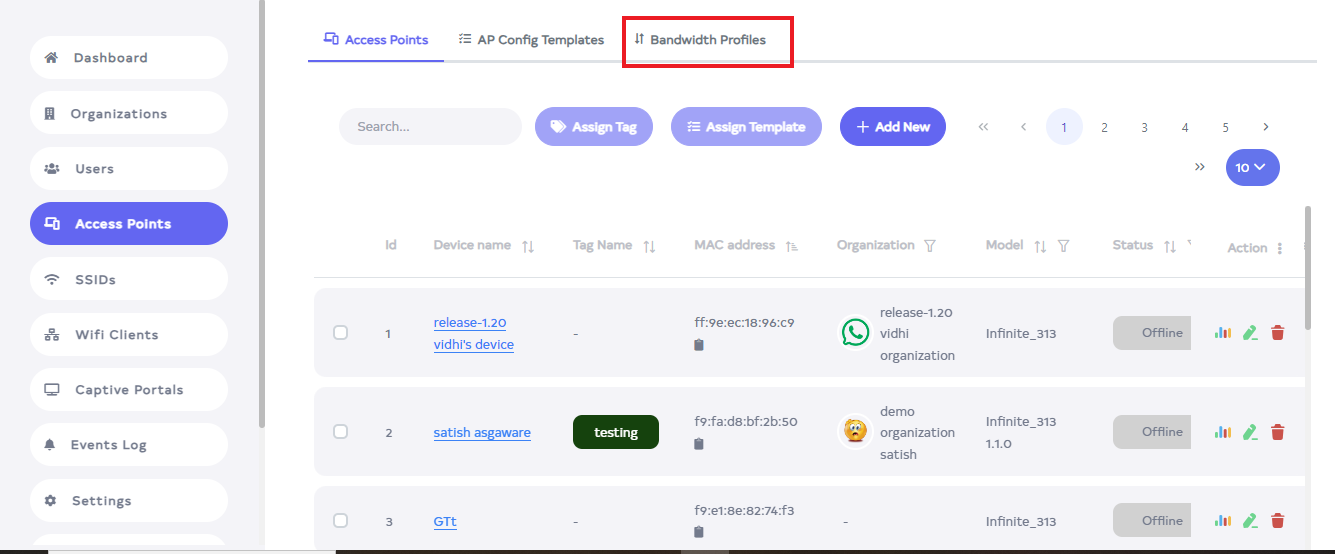
Go to an Access Point and click on Bandwidth Profile in it.
-
Click on it to see a summary of the profile. Go to the Bandwidth Profile to edit.
-
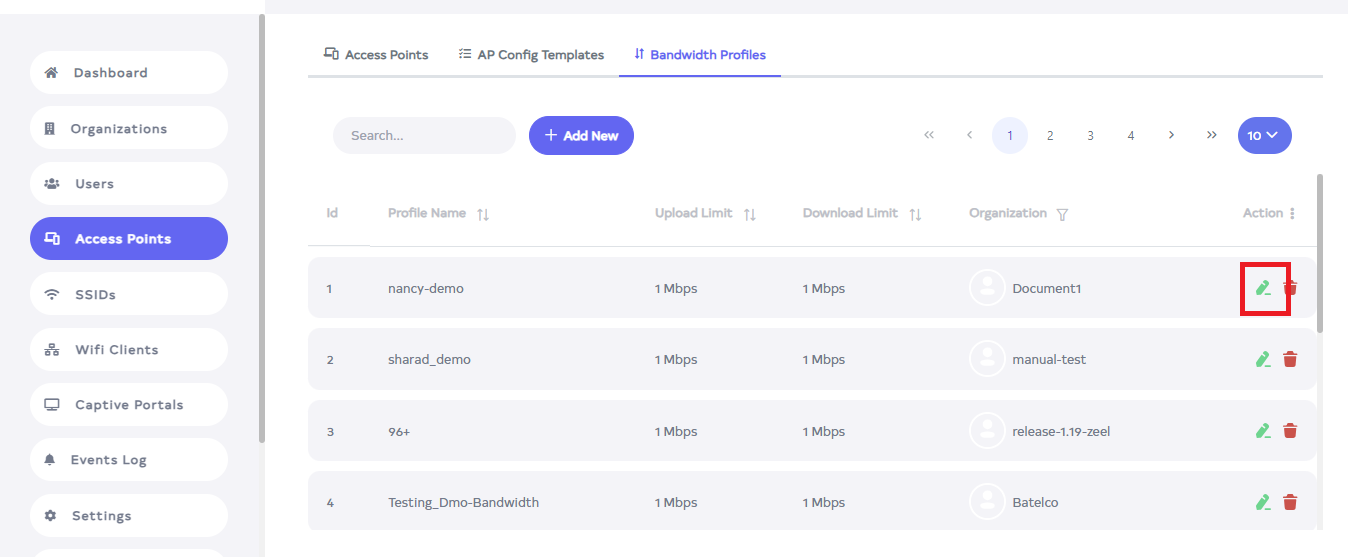
Click on the Edit located on the right side of the Bandwidth Profile.
-
In the Bandwidth Profile, they can change Name, Upload Speed, and Download Speed. From this point, Name, Upload Speed, and Download Speed can be changed.

-
Then click on the Update button.

-
After the Bandwidth Section is updated successfully, a success message will display Bandwidth profile is updated successfully.

How to delete Bandwidth Profile
-
Click on the delete located on the right side.

-
Upon clicking the Delete button, a confirmation message will appear. Click on the Delete button.

-
After the Bandwidth is deleted successfully, a success message will display Bandwidth profile is deleted successfully.
