Hotspot 2.0
What is a Hotspot 2.0
Hotspot 2.0, also known as Passpoint, is a Wi-Fi standard designed to simplify and secure Wi-Fi access. Through the use of WPA2-Enterprise protection and a robust authentication system, users can connect to Wi-Fi networks automatically and without difficulty.
Why do we need a Hotspot 2.0
Hotspot 2.0 is essential because it enhances the user experience by providing automatic, secure, and seamless Wi-Fi connectivity. The elimination of manual authentication and logins, the isolation of cellular data to minimize network congestion, as well as the maintenance of consistent secure connections through WPA2-Enterprise, all contribute to the protection of privacy and safeguard against unauthorized access.
How to create a Hotspot 2.0
-
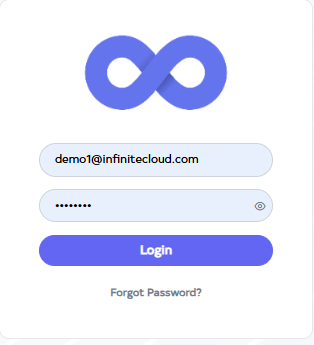
Go to Cloud platform and go there fill the details and then click on login button
-
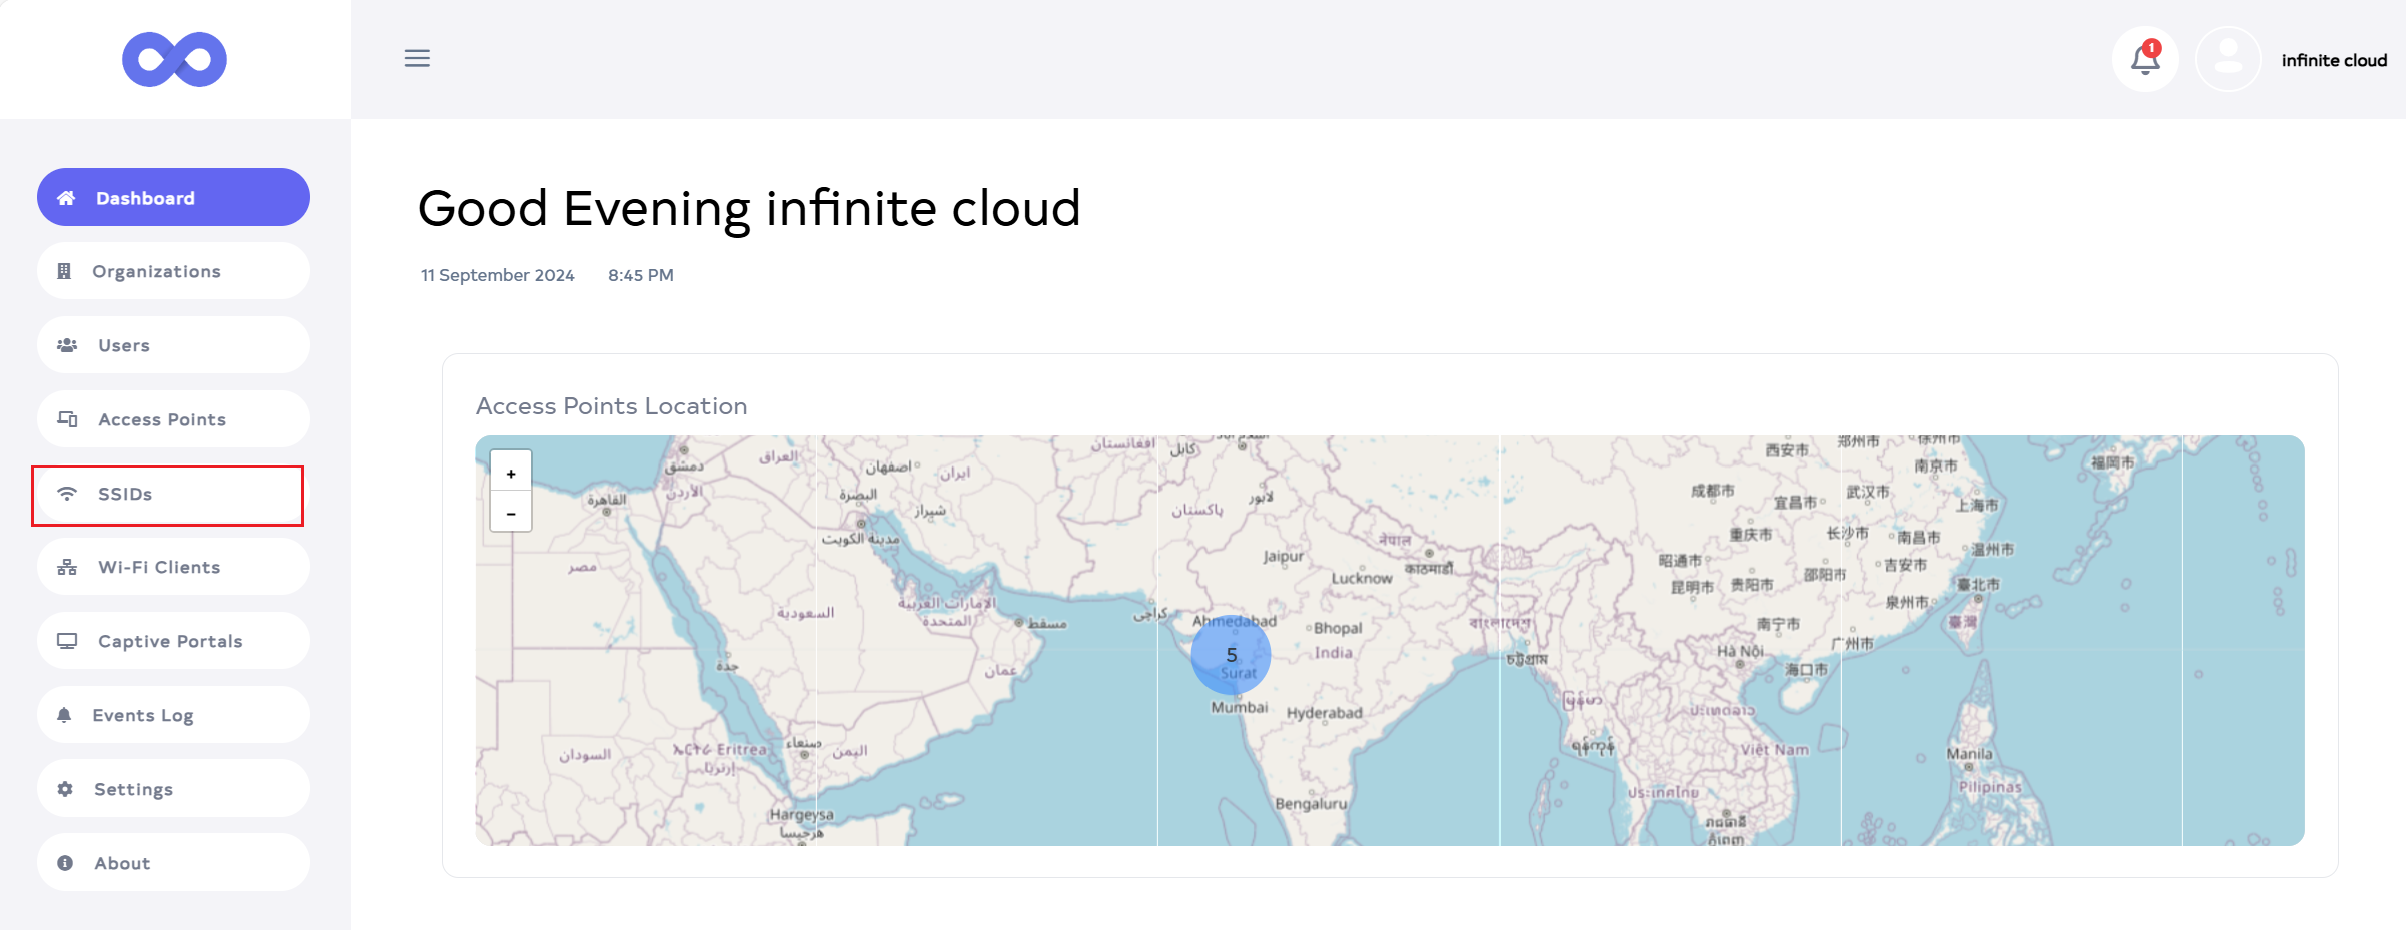
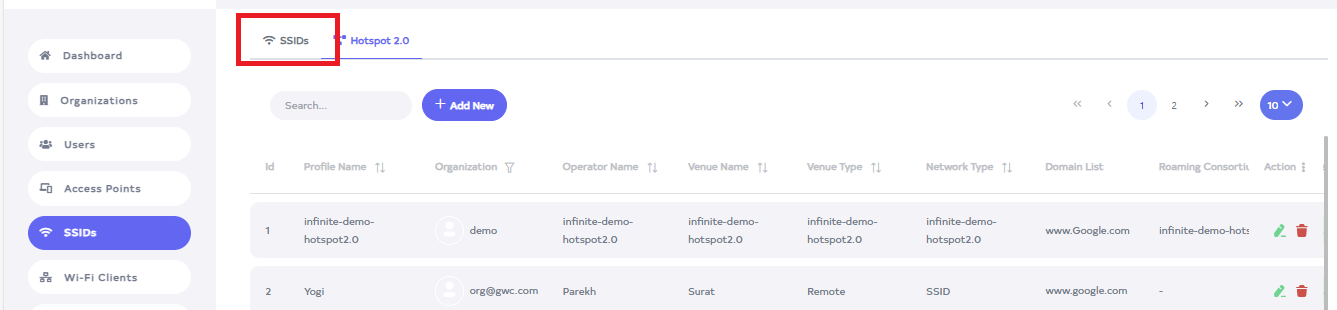
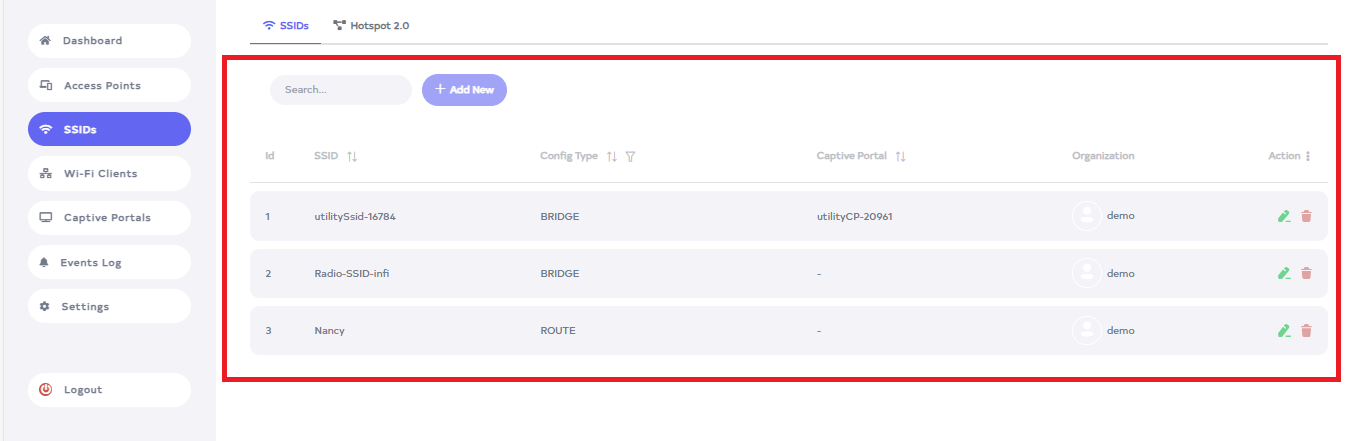
Upon login, the Dashboard will be displayed by default. Then, go to the SSIDs menu.
-
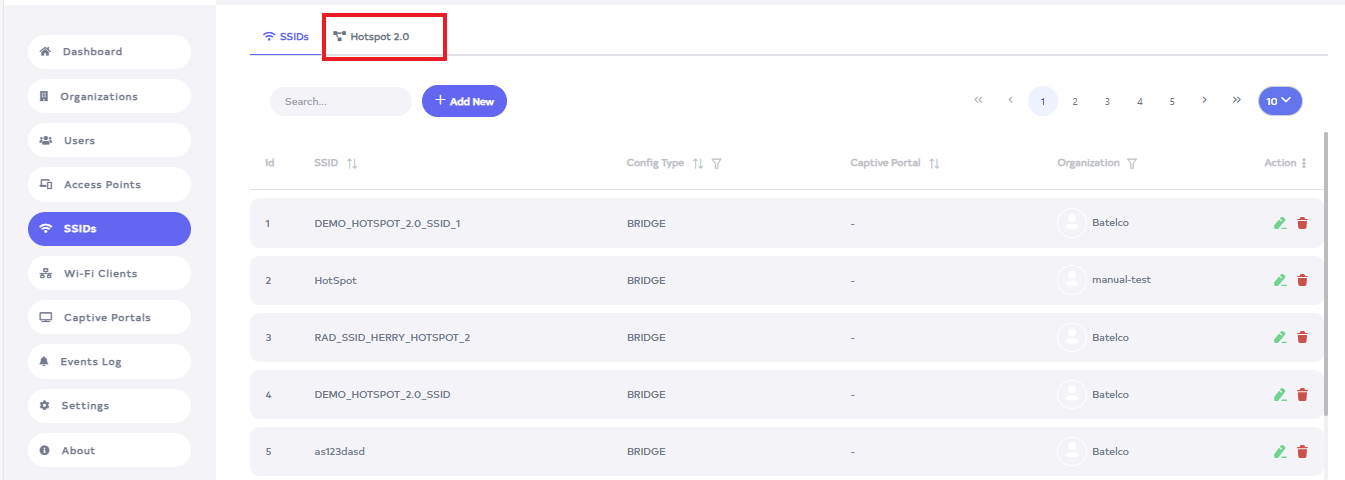
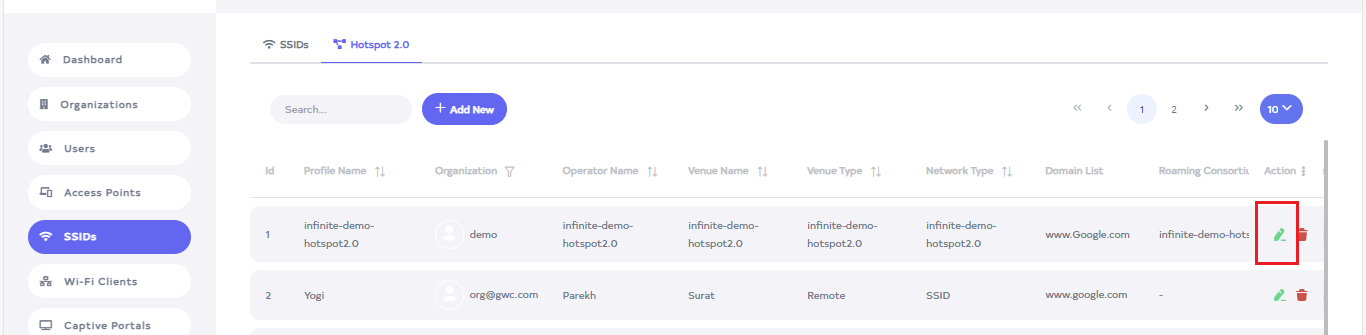
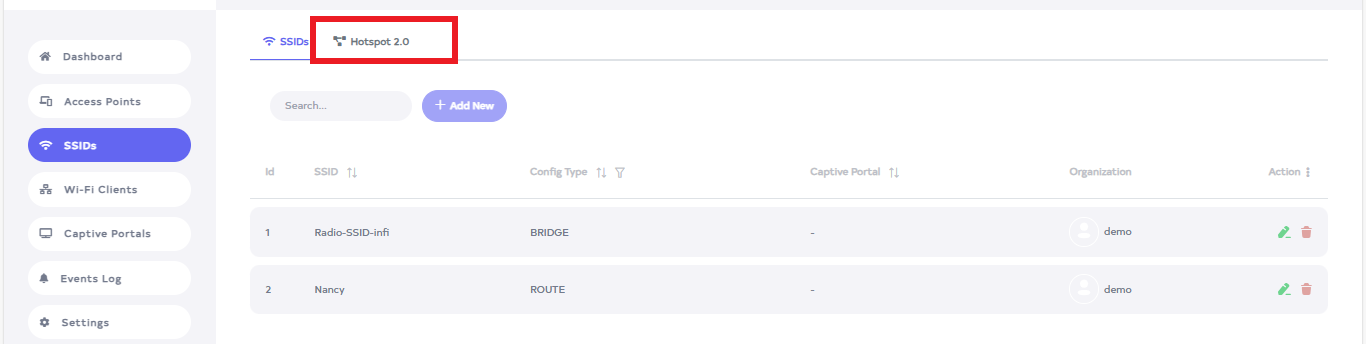
After going to the SSIDs menu, click on the Hotspot 2.0 tab.
-
So now click on the Add New button.

-
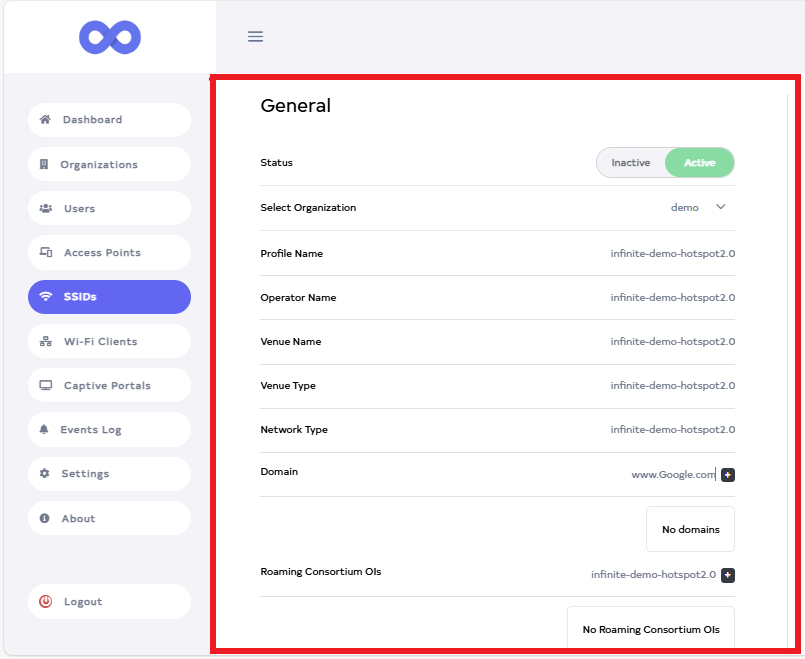
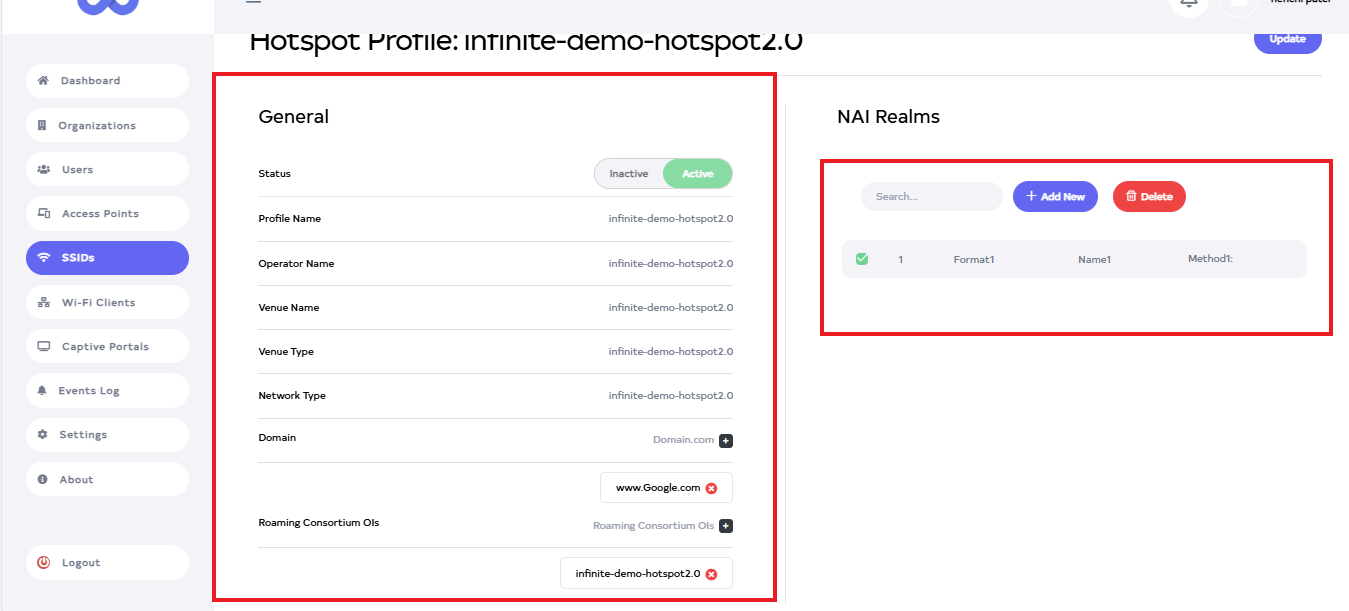
A new window will open. Fill in the details there
-
Status:- select status for example:Active. It will come by default, otherwise, it will be active.
-
Select Organization:-Select organization there for example:- demo.
-
Profile Name:- Input the Profile Name for Example:infinite-demo-hotspot2.0.
-
Operator Name:- Input the Operator Name for Example:infinite-demo-hotspot2.0.
-
Venue Name:- Input the Venue Name for Example:infinite-demo-hotspot2.0.
-
Venue Type:- Input the Venue Type for Example:infinite-demo-hotspot2.0.
-
Network Type:- Input the Network Type for Example:infinite-demo-hotspot2.0.
-
Domain:- Add the Domain for Example:www.Google.com.
-
Roaming Consortium OIs:- Add the Roaming Consortium OIs for Example:infinite-demo-hotspot2.0.
-
-
NAI Realms
realms-infoNAI Realms are optional while saving and updating
-
Click on the Add New button.

-
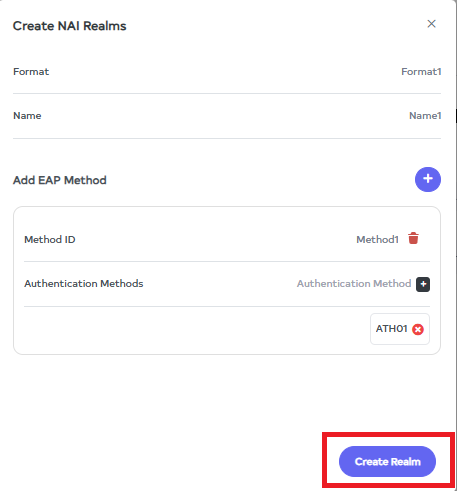
A window will open. Fill in the details there.
-
Format: Input the Format For Example:- Format1.
-
Name: Input the Name For Example:- Name1.
-
Method ID: Input the Method ID For Example:- Method1.
-
Authentication Methods: Input the Authentication Methods For Example:- ATH01.
-
NAIA. By default, the NAI field will be assigned when creating. However, you can uncheck the checkbox to avoid assigning it.
B. The EAP method is optional in NAI Realms. NAI Realms can be created without the EAP method.
-
After Click on Create Realm button.
-
-
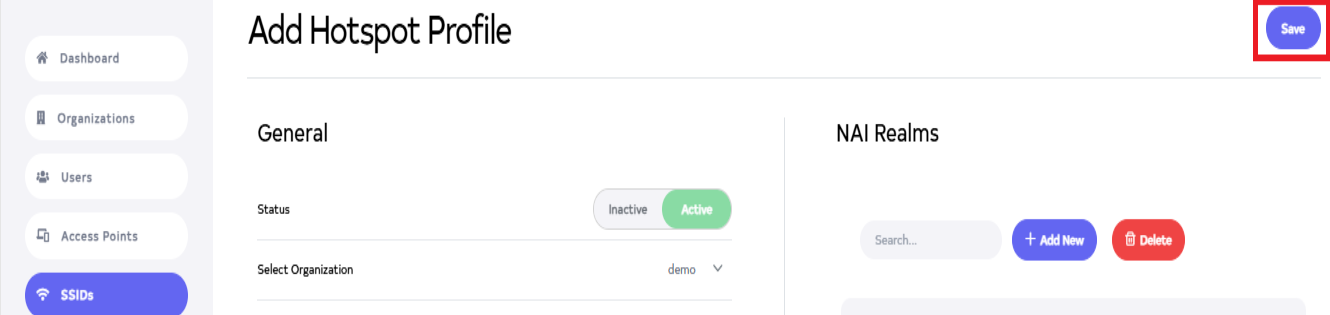
Next, click the Save button on the located right side.
-
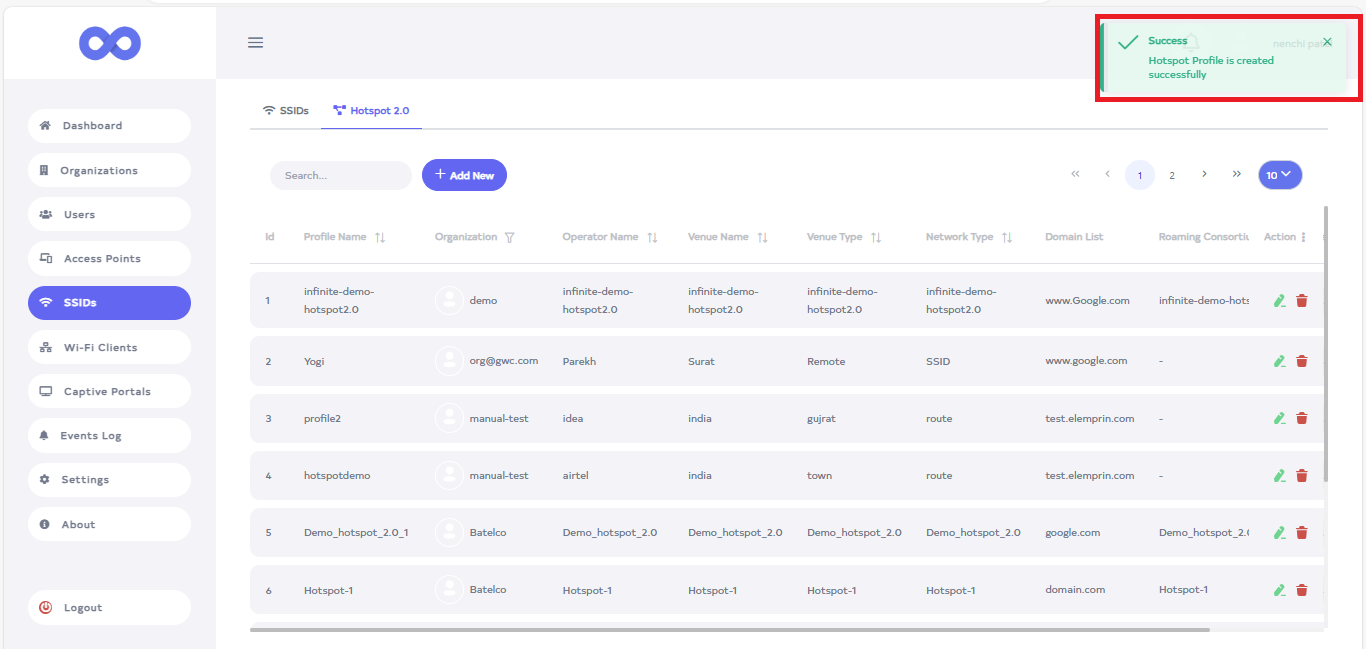
clicking the Save button, a message will appear on the screen indicating that the Hotspot profile is created successfully.
How to Use a Hotspot 2.0
-
Click on the SSIDs tab.
-
Go to the SSID you want to connect the Hotspot.
-
Click on the Edit button located on the right side of the SSID.

-
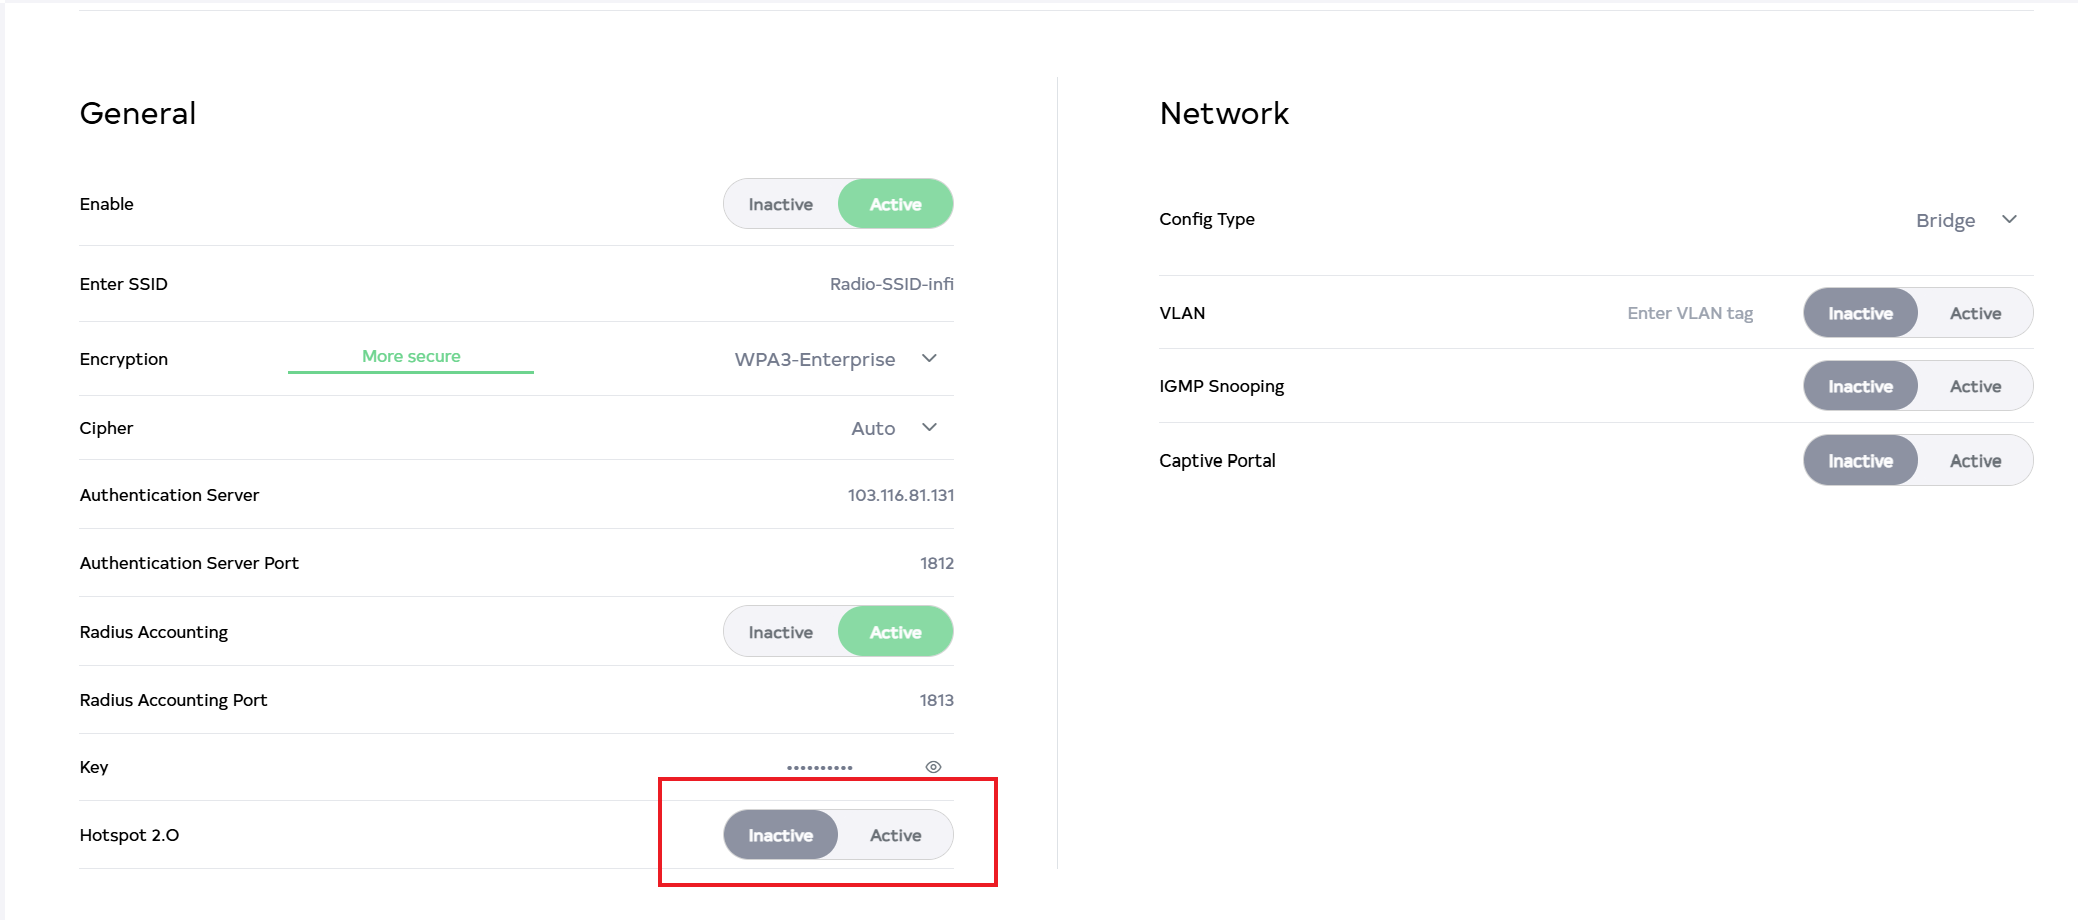
After clicking on the Edit SSID button, a nwindow will appear, it will usually show the Hotspot 2.0 option, activate it by clicking on Active.
-
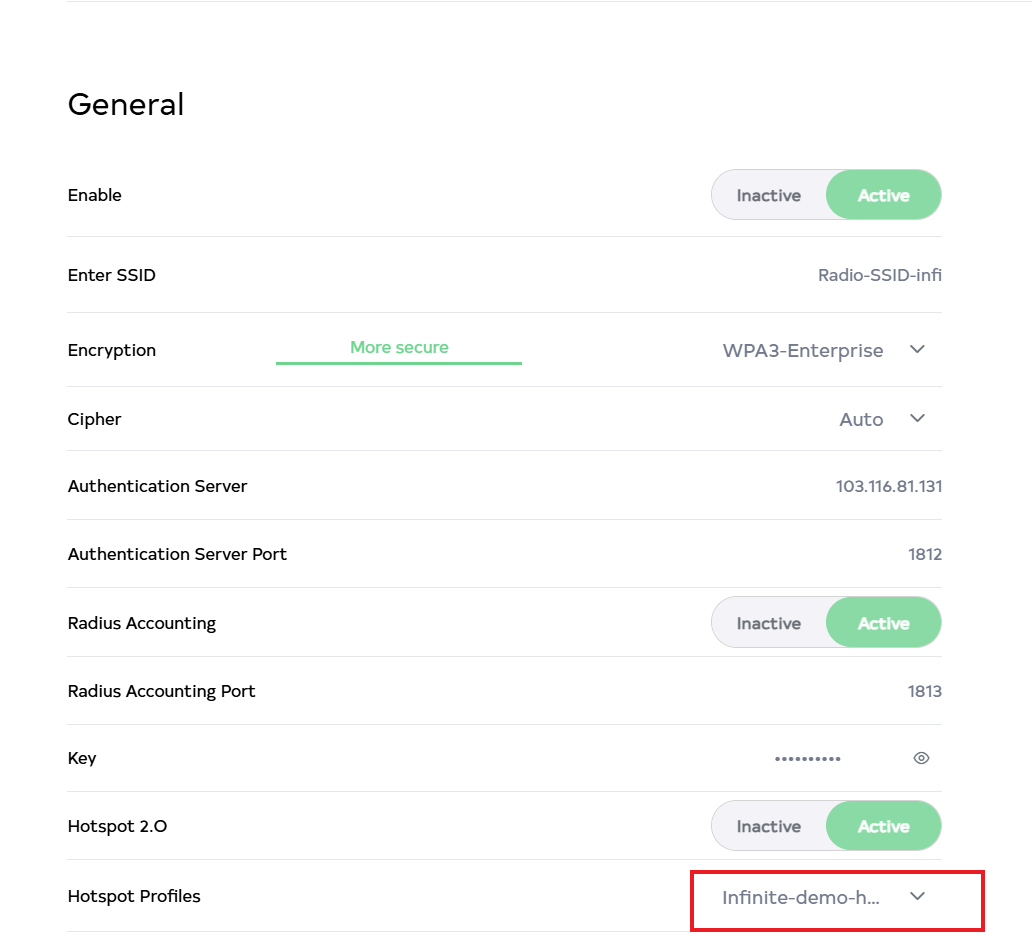
After activating the Hotspot 2.0, the option of Hotspot Profiles will be shown below and the hotspot will be connected by default.
-
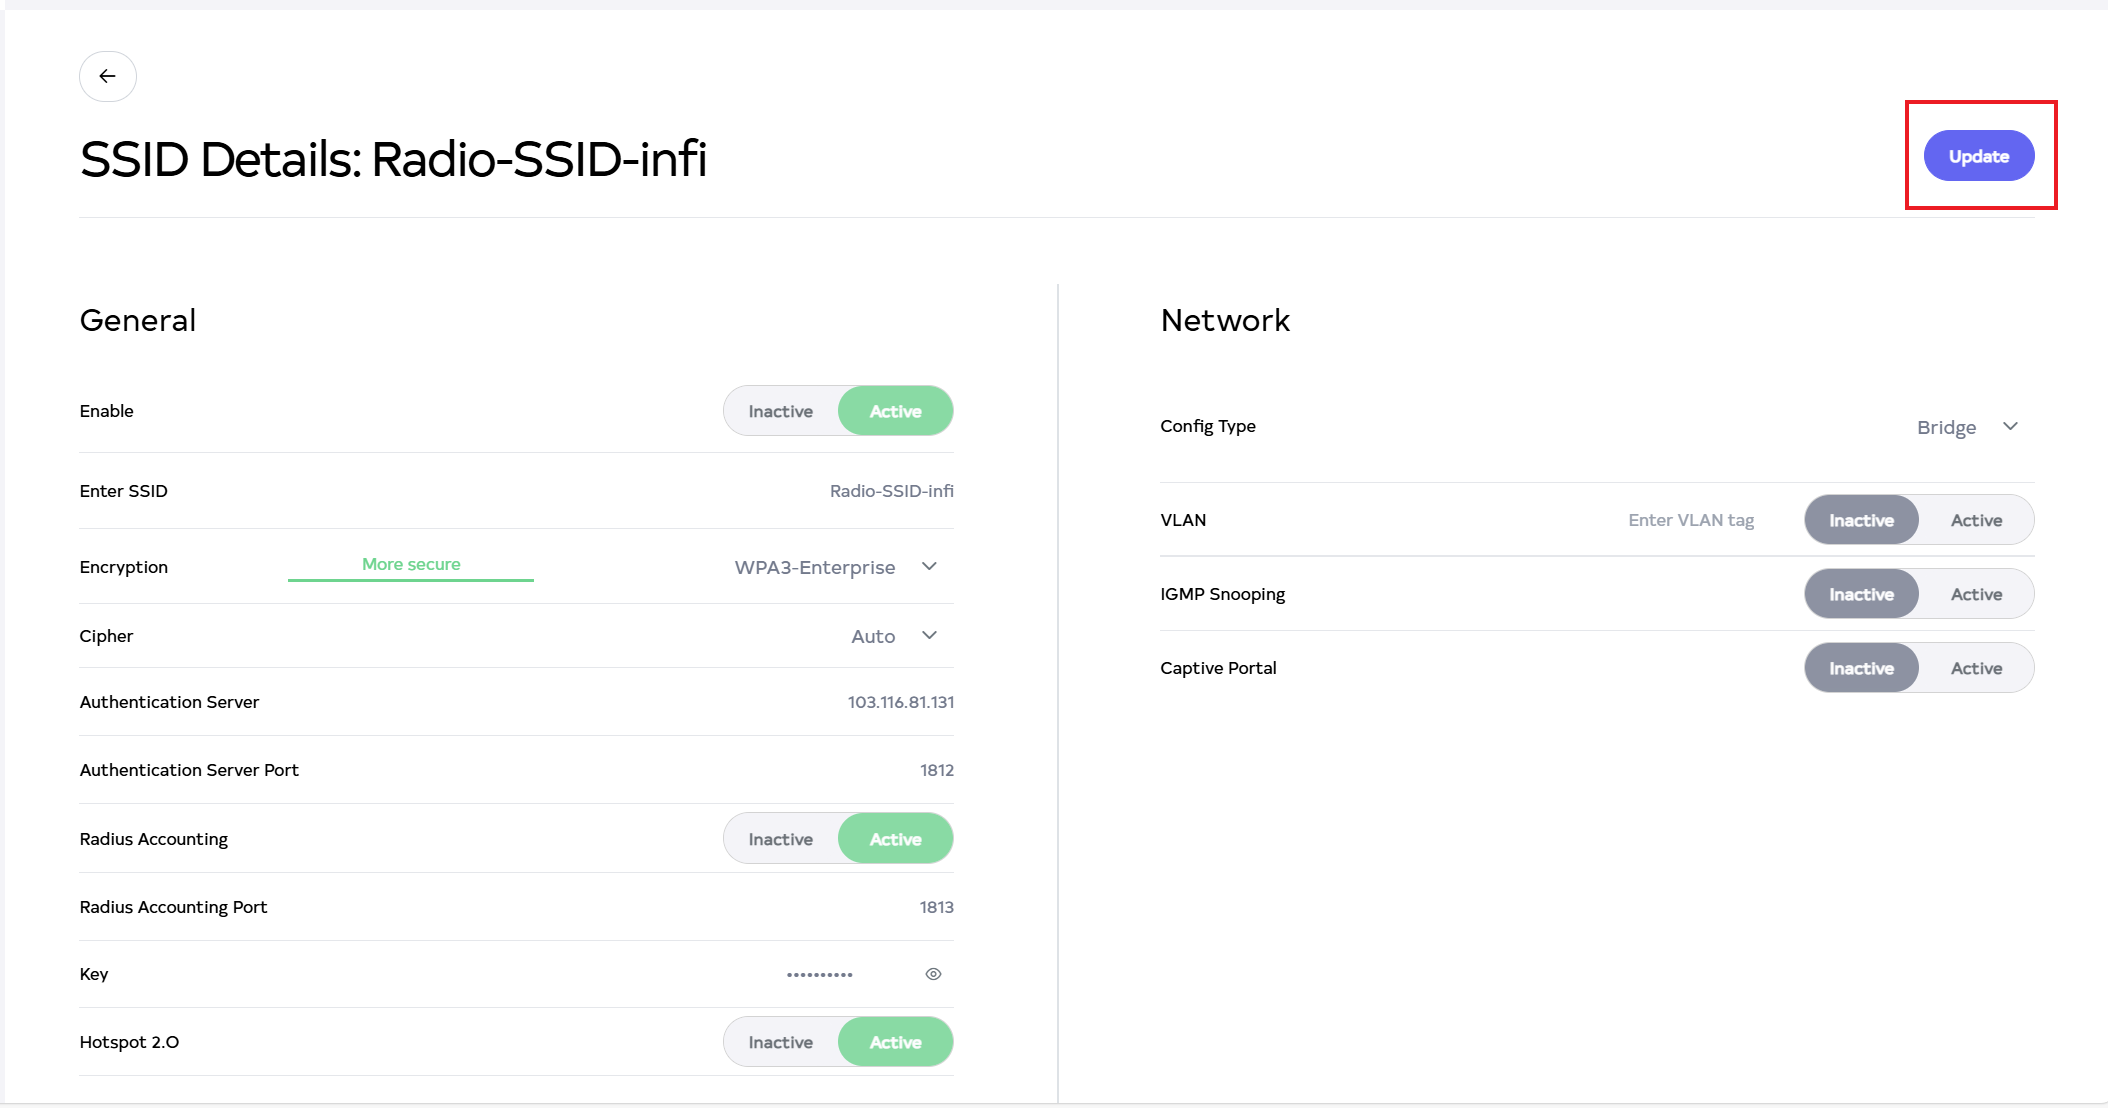
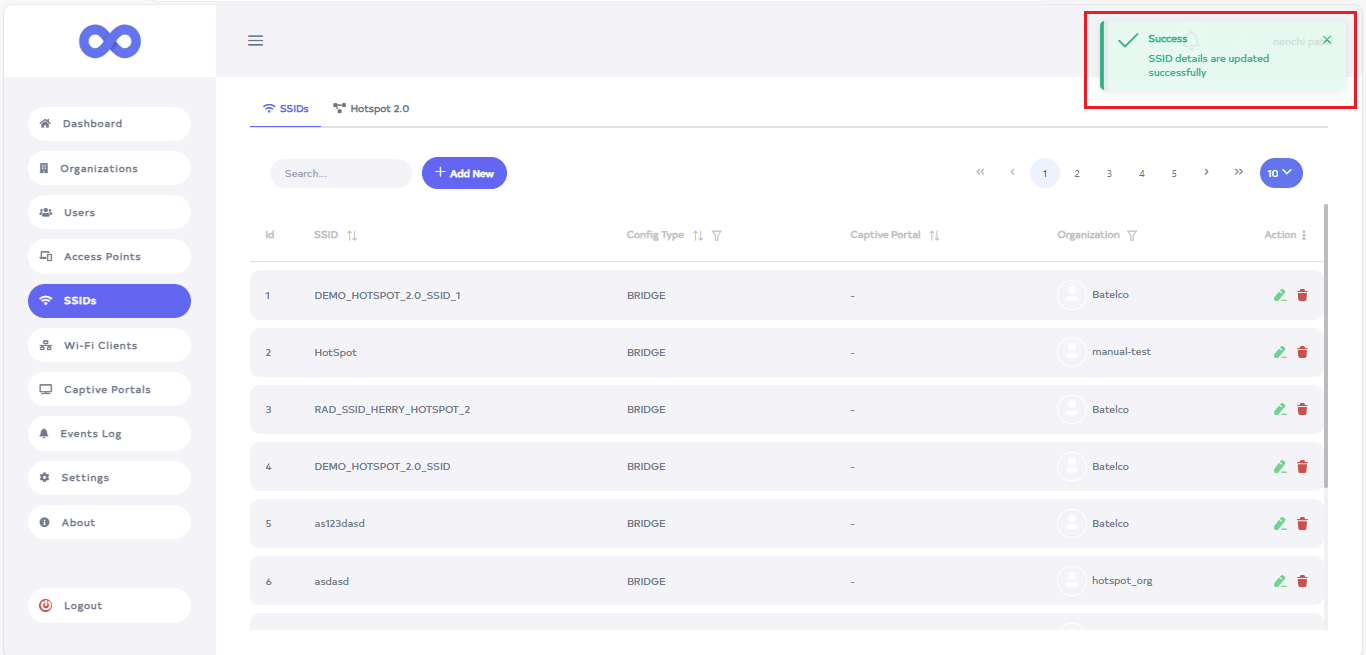
Then click on the Update button.
-
After the Hotspot 2.0 Section is updated successfully, a success message will display SSID details are updated successfully.
-
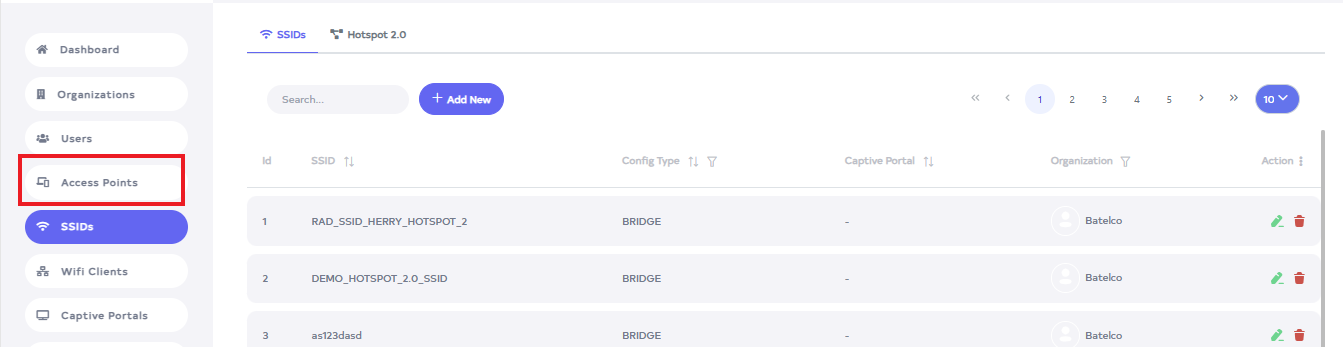
Click on the Access Point menu located on the left side.
-
Go to the Access point you want to connect the SSID
-
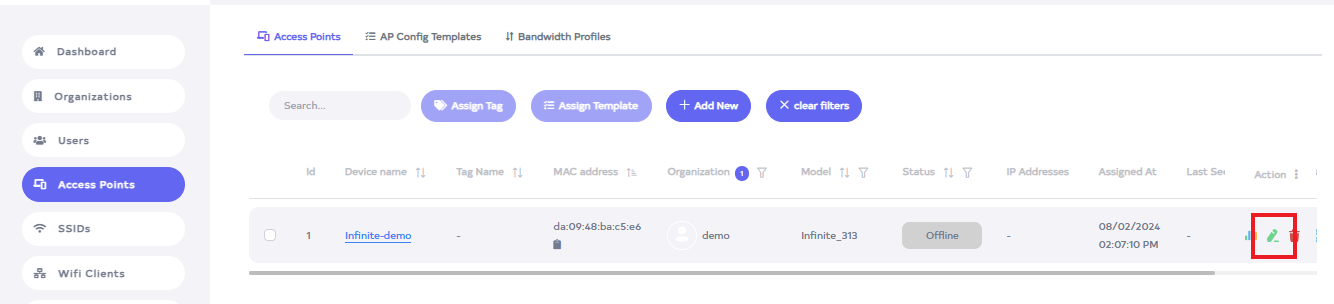
Click on the Edit button located on the right side of the Access point.
-
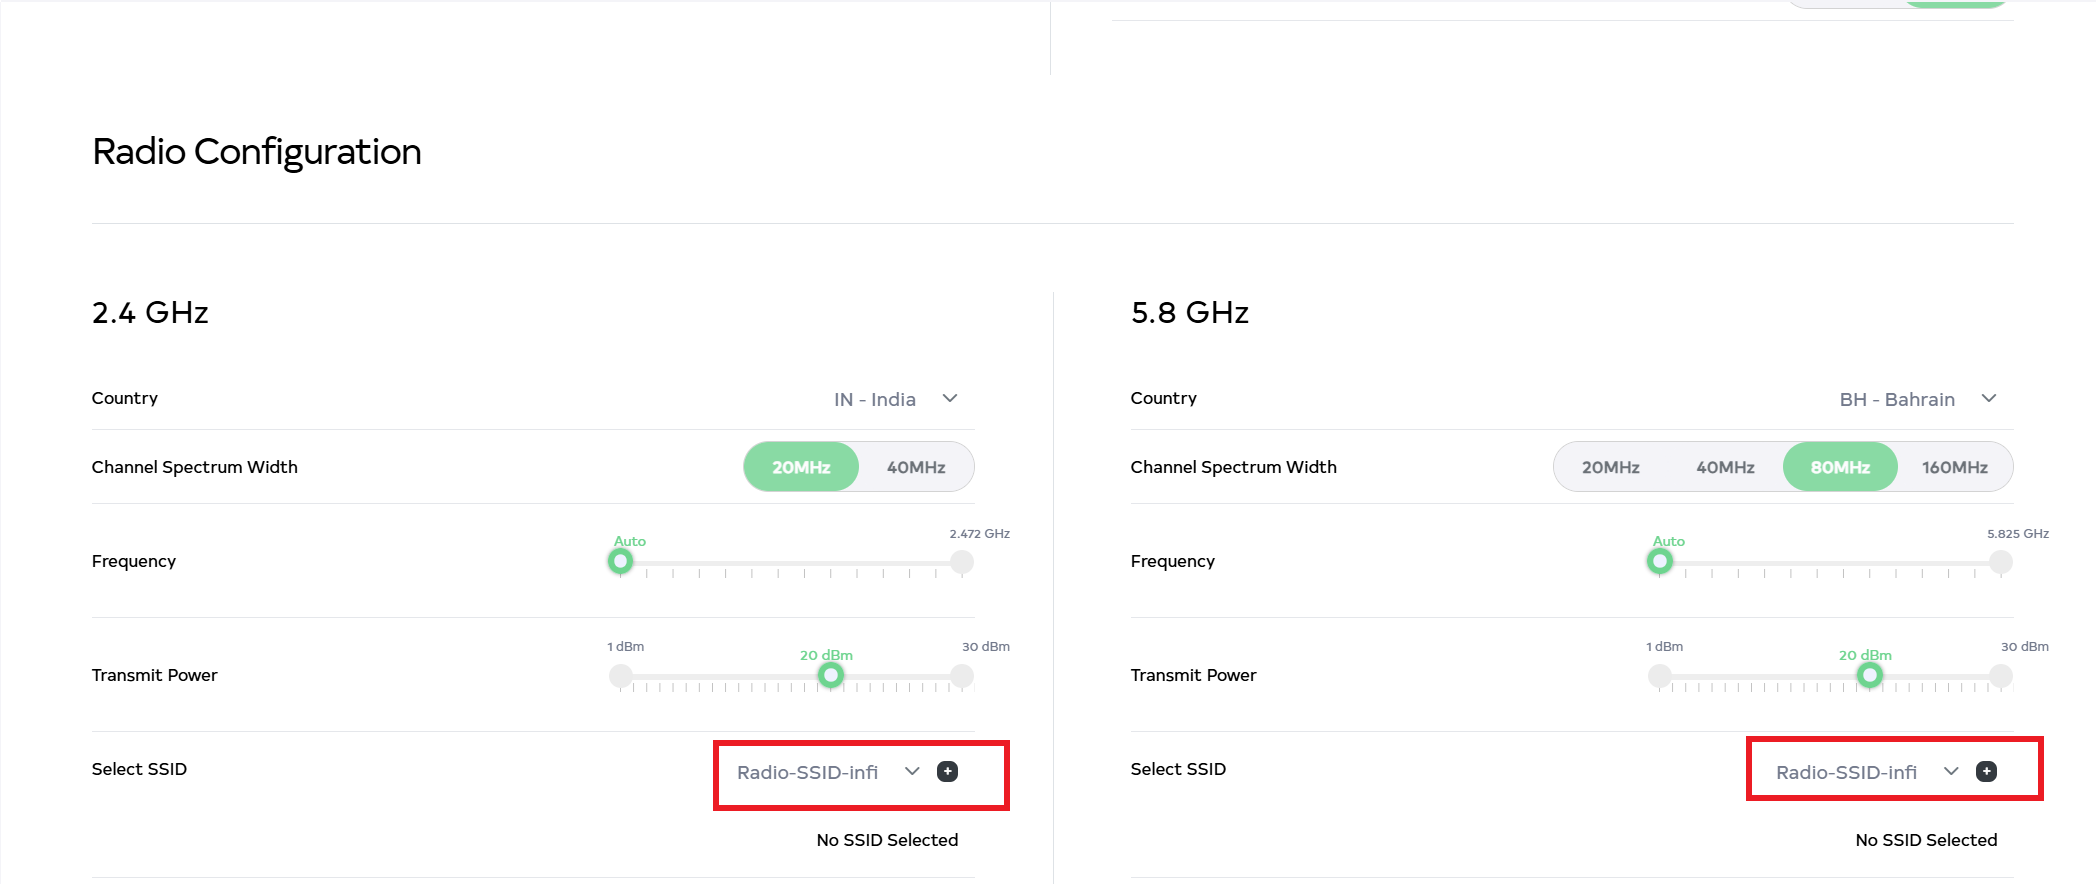
After clicking, scroll down to find Radio Configuration. Radio Configuration includes two types: (1) 2.4 GHz and (2) 5.8 GHz. Then, select Radio-SSID by clicking the Select SSID arrow. For example:- Radio-SSID-infi.
-
Then click on the Save button.
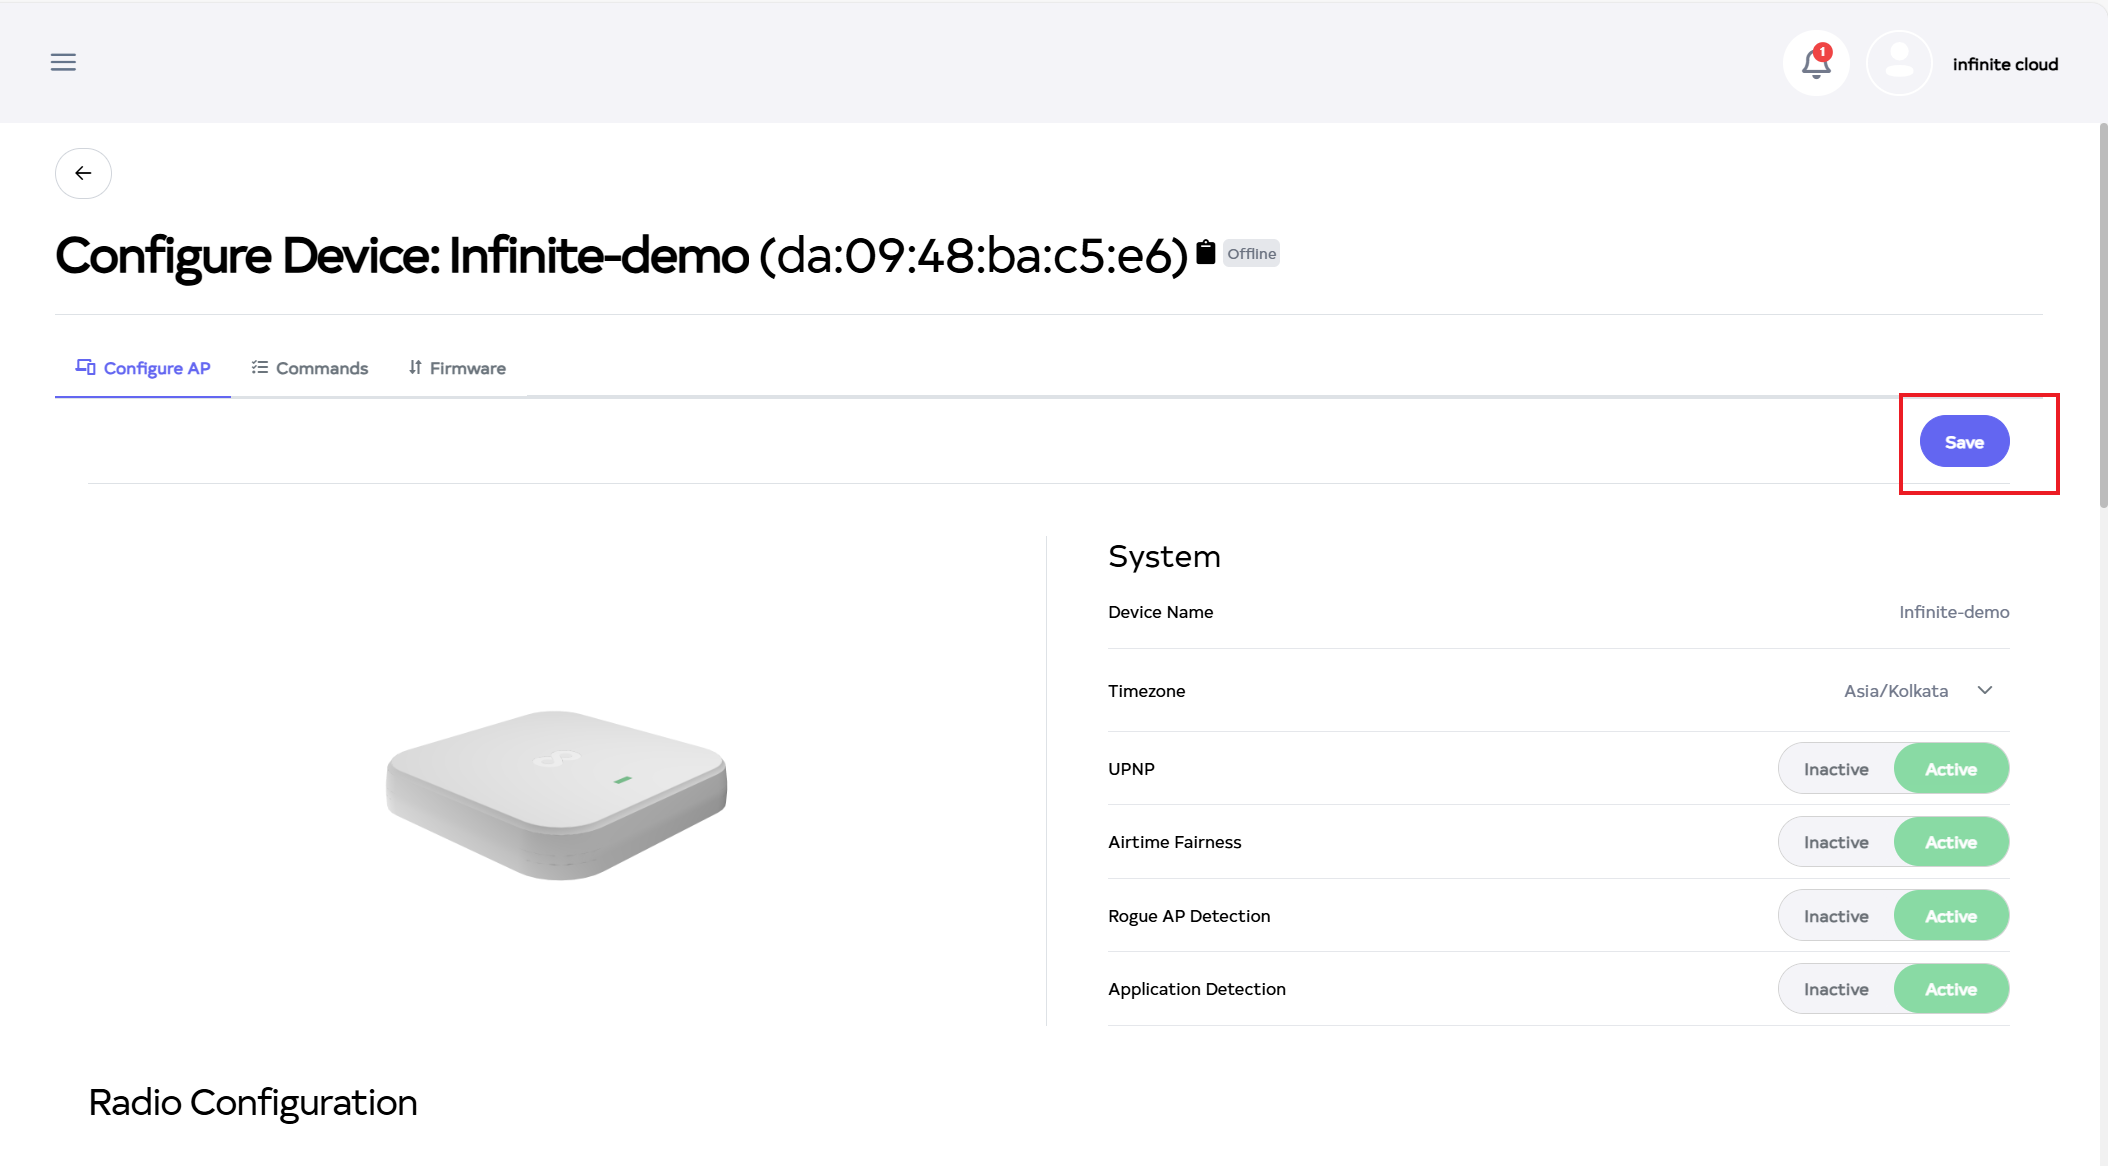
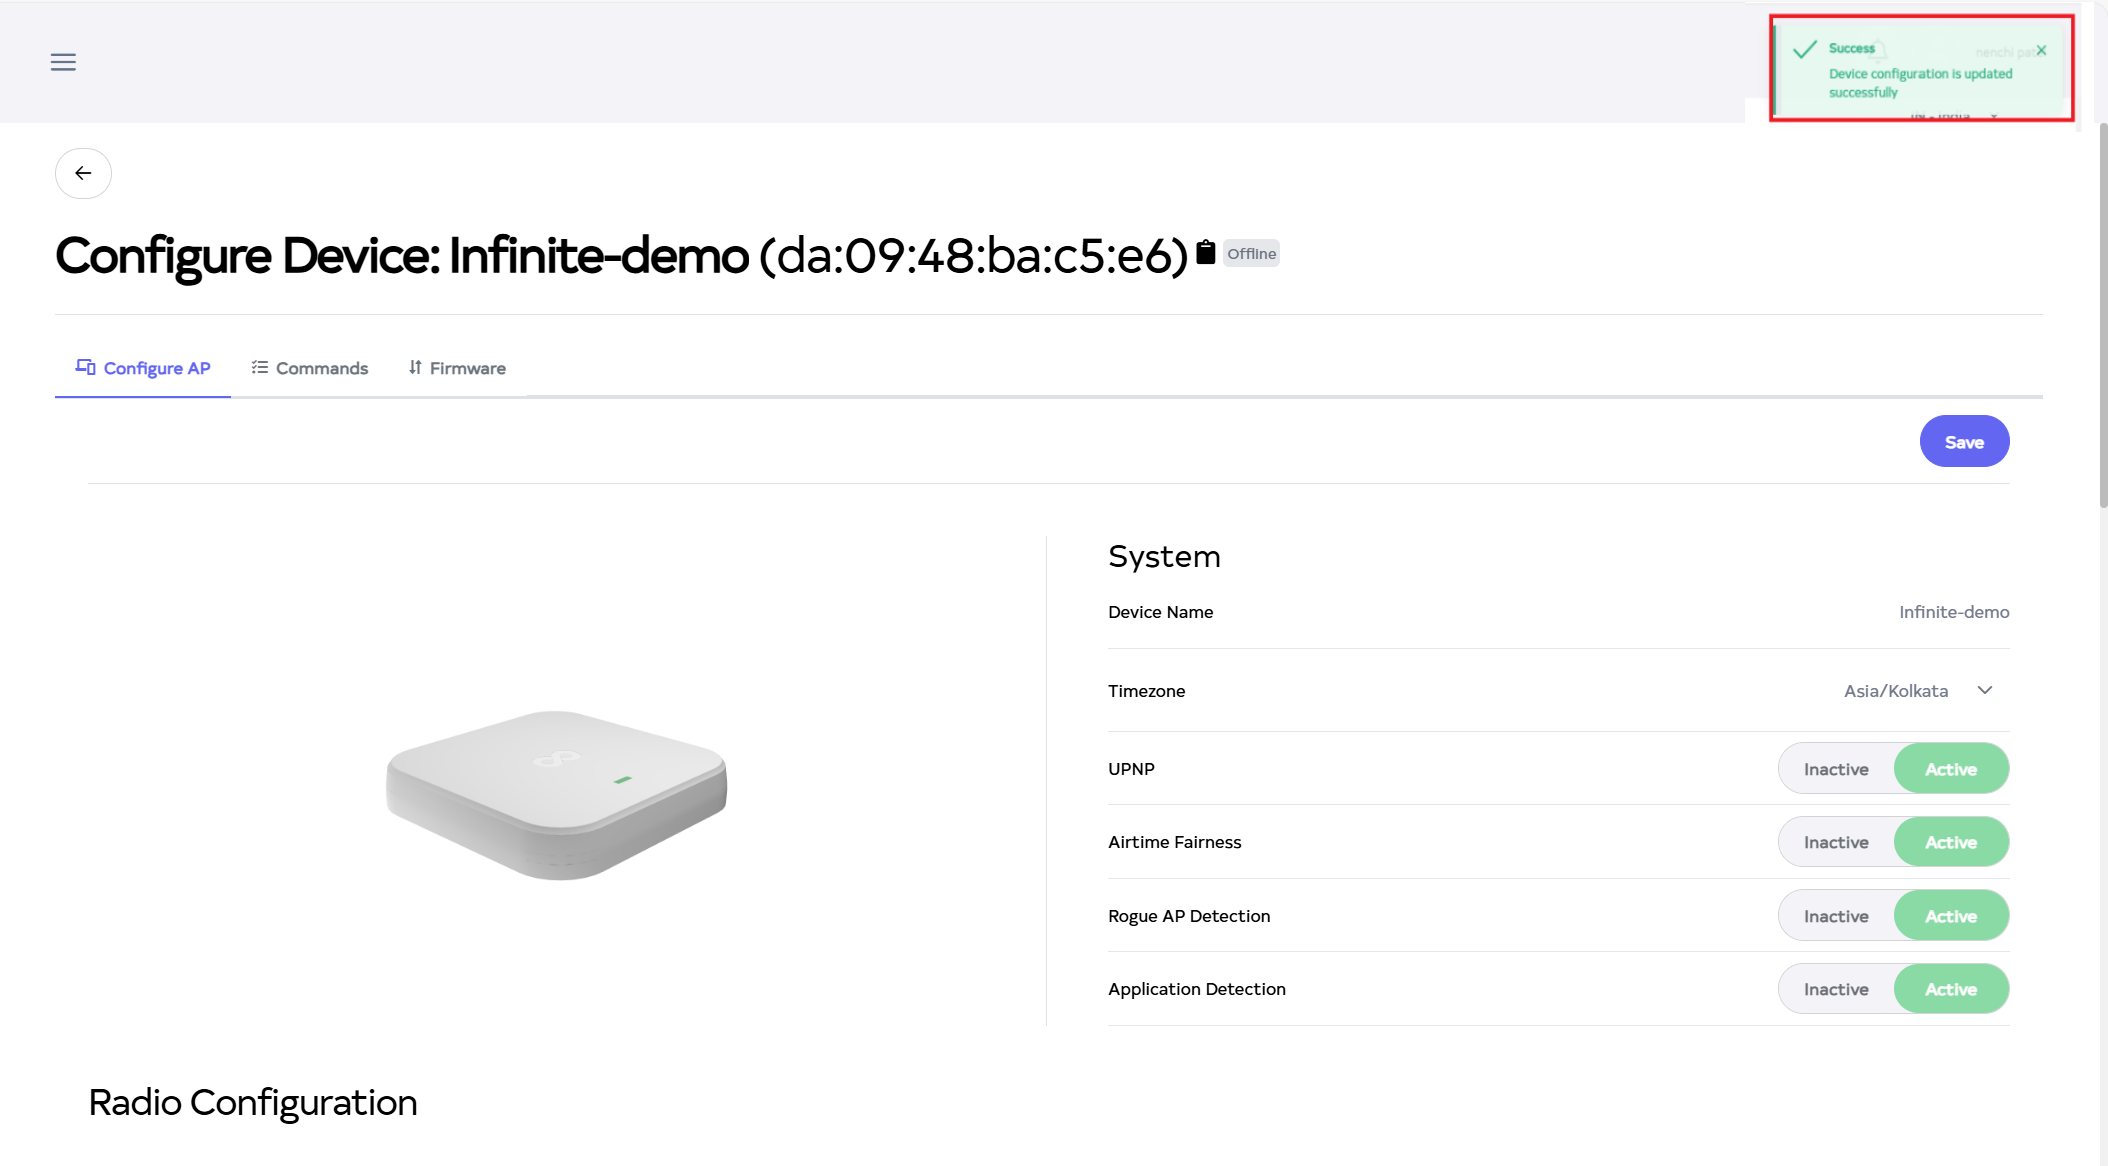
-
After the Access point Section is saved successfully, a success message will display Device configuration is updated successfully.
How to Edit a Hotspot 2.0
-
Go to the Hotspot 2.0 want to Edit button.
-
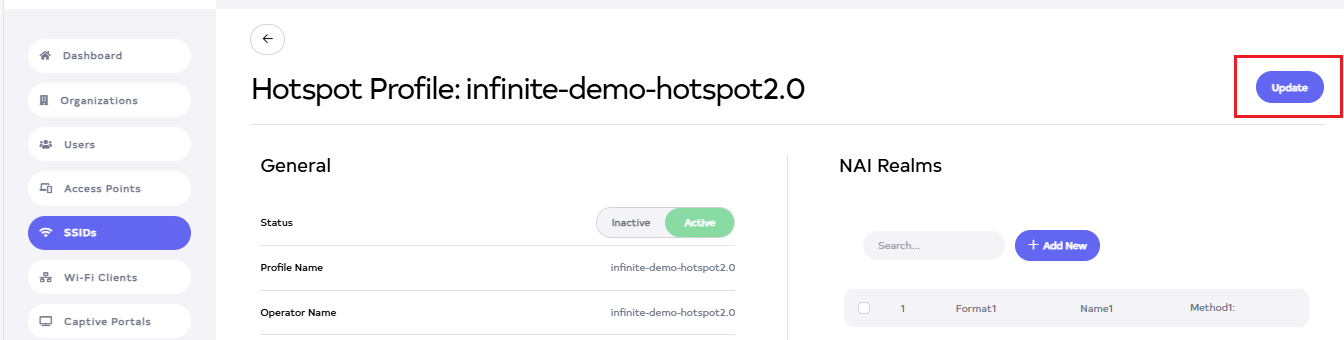
Click on the Edit button located on the right side of the Hotspot 2.0.
-
After clicking, a window will open. Change Status, Profile Name, Operator Name, Venue Name, Venue Type, Network Type, Domain, and Roaming Consortium OIs. Delete NAI Realm by selecting the checkbox and clicking Delete. To assign already created NAI fields, select the checkboxes for the accessible NAI Realm. Assign the NAI Realm by selecting multiple unchecked checkboxes.
-
Then click on the Update button.
-
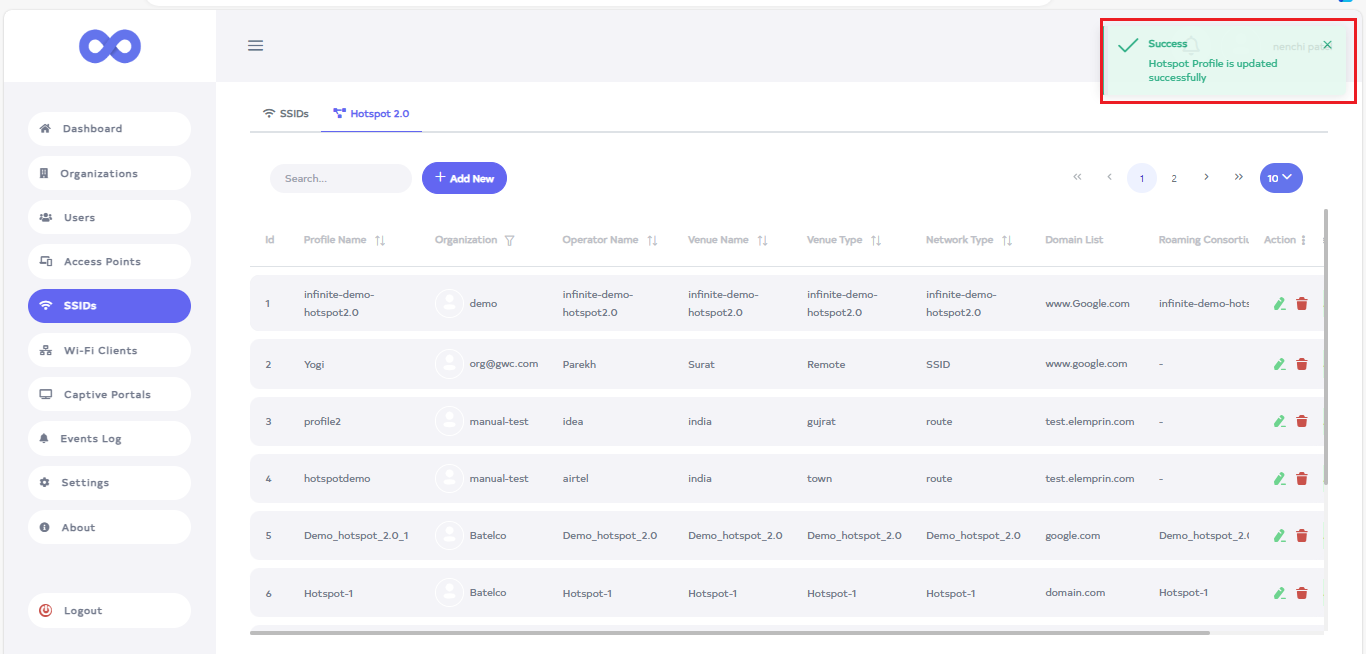
After the Hotspot 2.0 Section is updated successfully, a success message will display SSID details are updated successfully.
How to delete a Hotspot 2.0
-
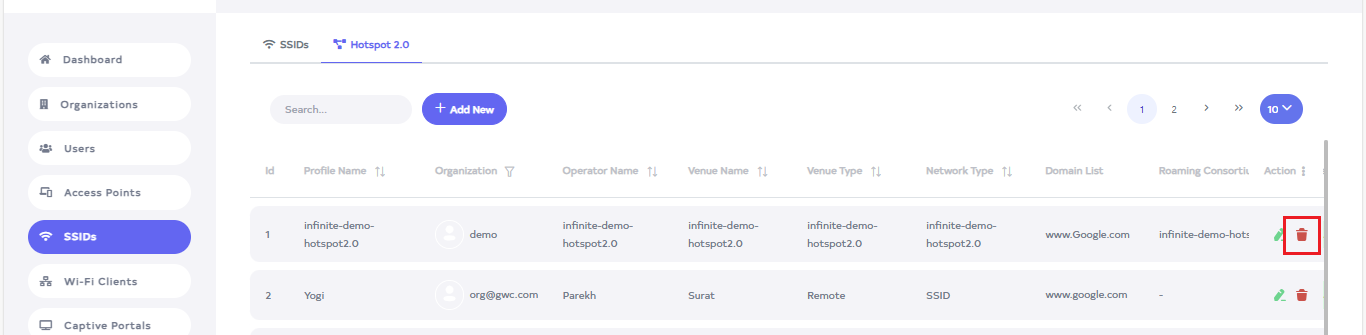
Click on the delete located on the right side.
-
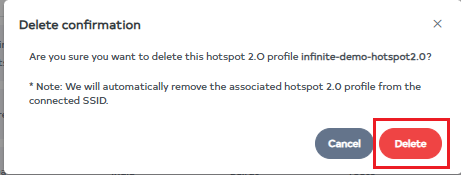
Upon clicking the Delete button, a confirmation message will appear. Click on the Delete button.
-
After the Hotspot 2.0 is deleted successfully, a success message will display SSID is deleted successfully.

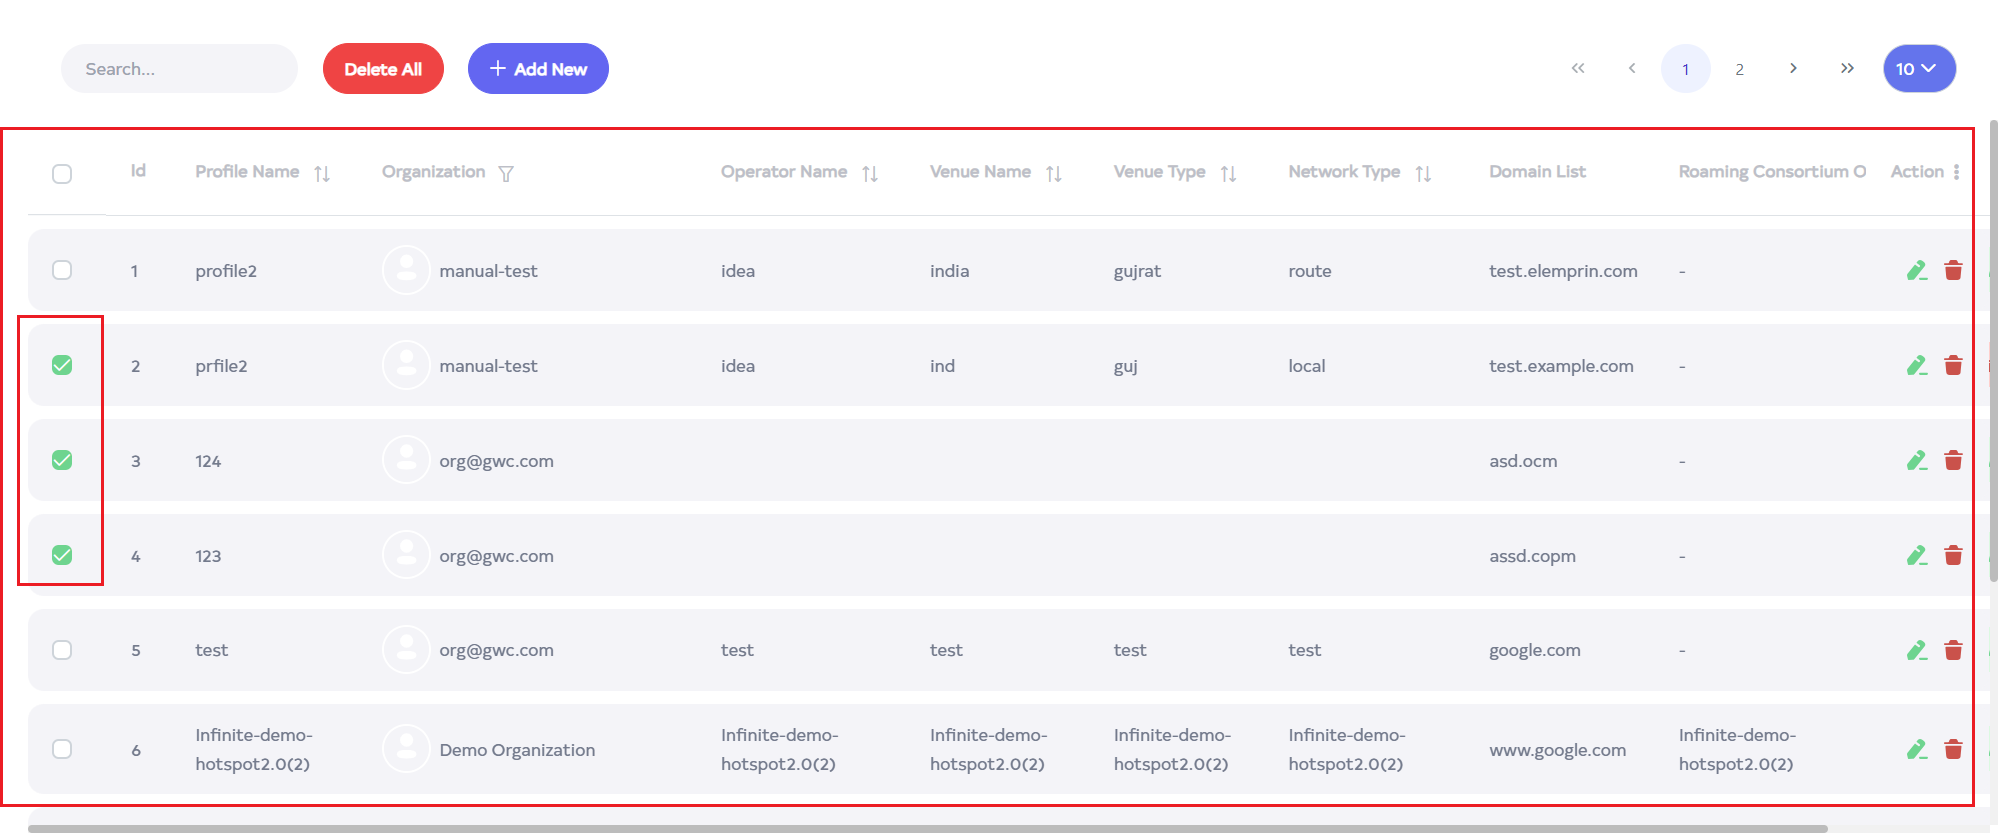
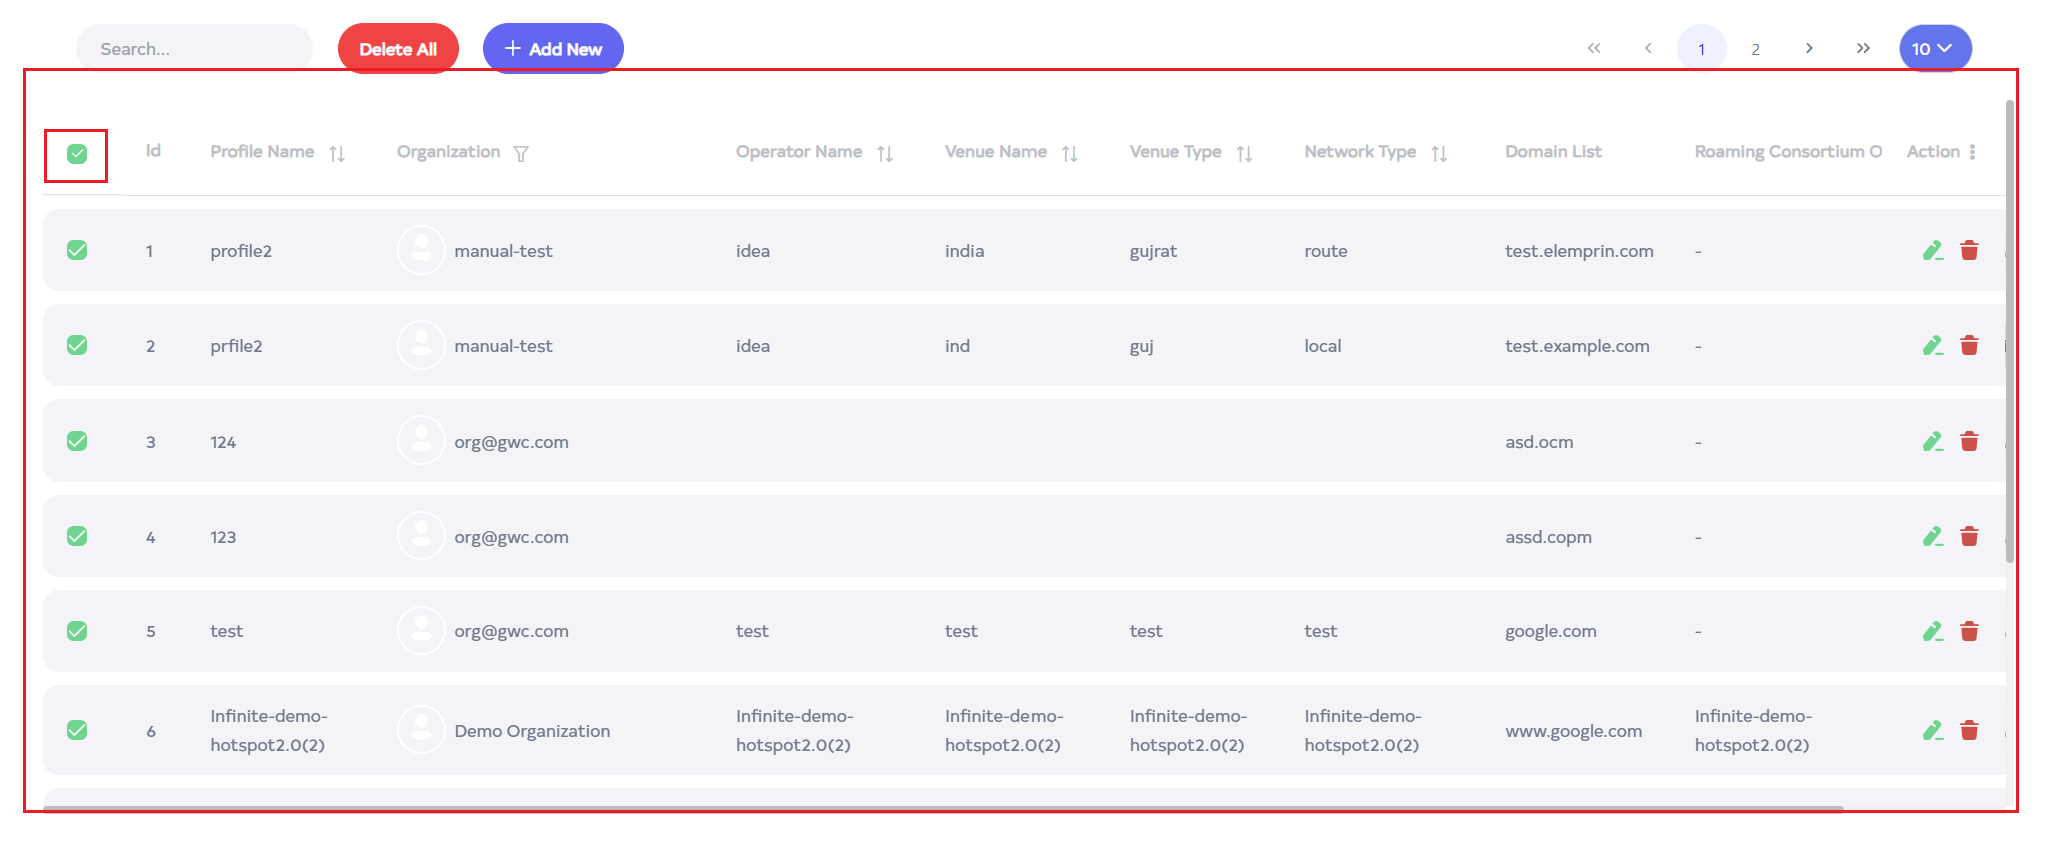
To delete multiple records, select the desired records by using the checkboxes and delete the selected records. To delete all Firmware management ID in bulk, use select-All checkbox next to the "ID" column header to select all entries and click the "Delete All" button to execute the bulk deletion process.
How to create and use organization user and full access user hotspot 2.0.
-
Organization users and full-access users can create, use, delete, and edit in the same way as shown above.
-
organization user, full access user, and platform admin user 3 are the same, the difference between organization user and full access user is that the details of the organization in which he is created will be shown and he can select the same organization and the same organization A new one will be created in
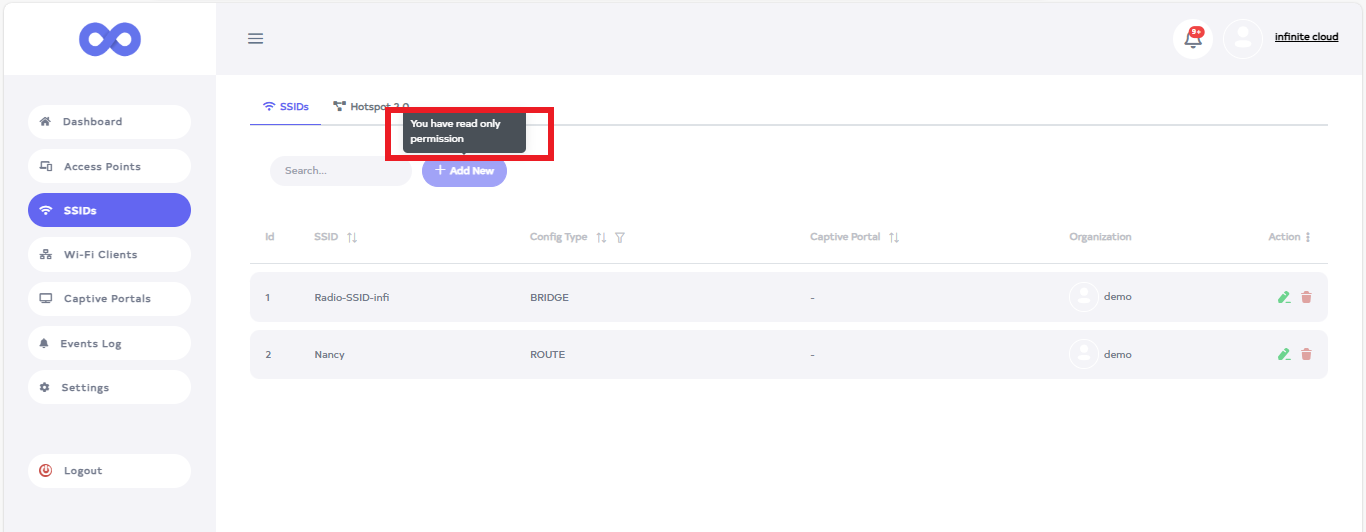
How to create Read-only hotspot 2.0.
-
Only that view can read and has read-only access.
-
Go to the SSIDs menu.
-
After going to the SSIDs menu, click on the Hotspot 2.0 tab.
-
create, edit, or delete is not allowed. Attempting to create will result in a message stating you only have read permission. The same applies to editing and deleting.