Logging Configuration
Logging Configuration
The logging configuration enables tracking of system events by sending logs to a remote server. This setup helps monitor and record various activities, provides a detailed account of system performance and potential problems, and ensures better management and troubleshooting of network performance.
How to config Logging Configuration
-
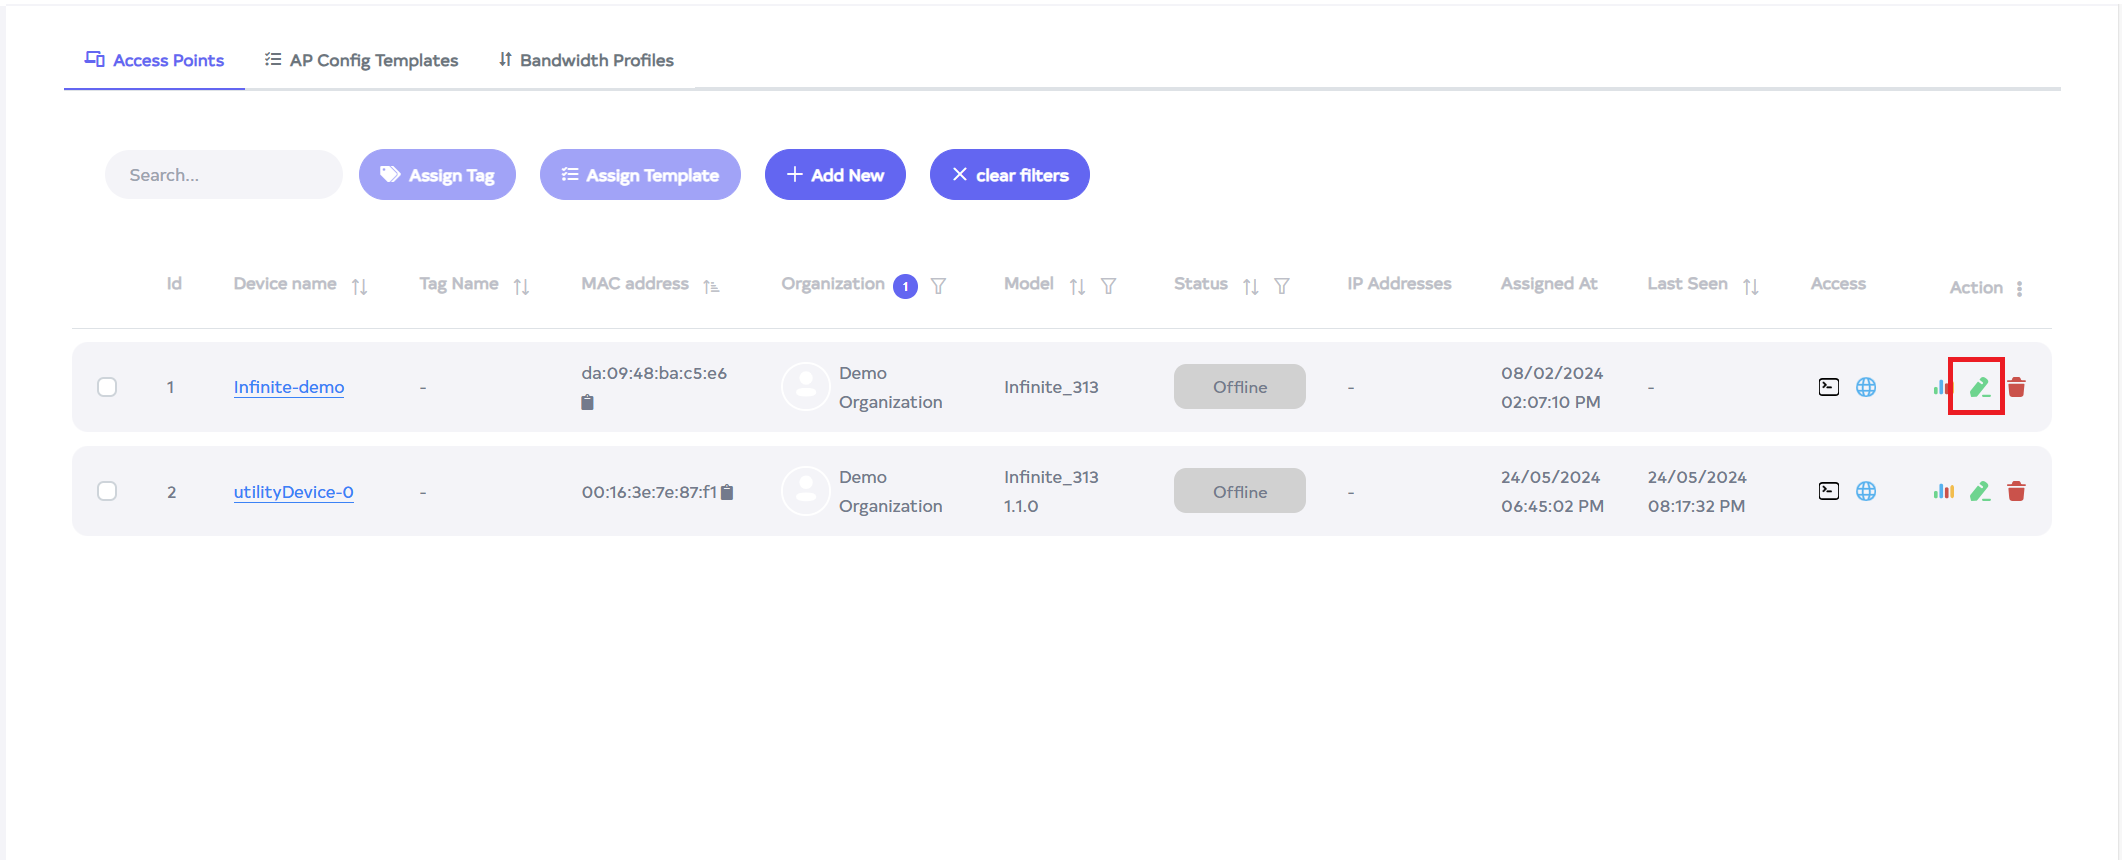
Go to the Access Point menu > Press on Edit Button > Go to Logging section.
-
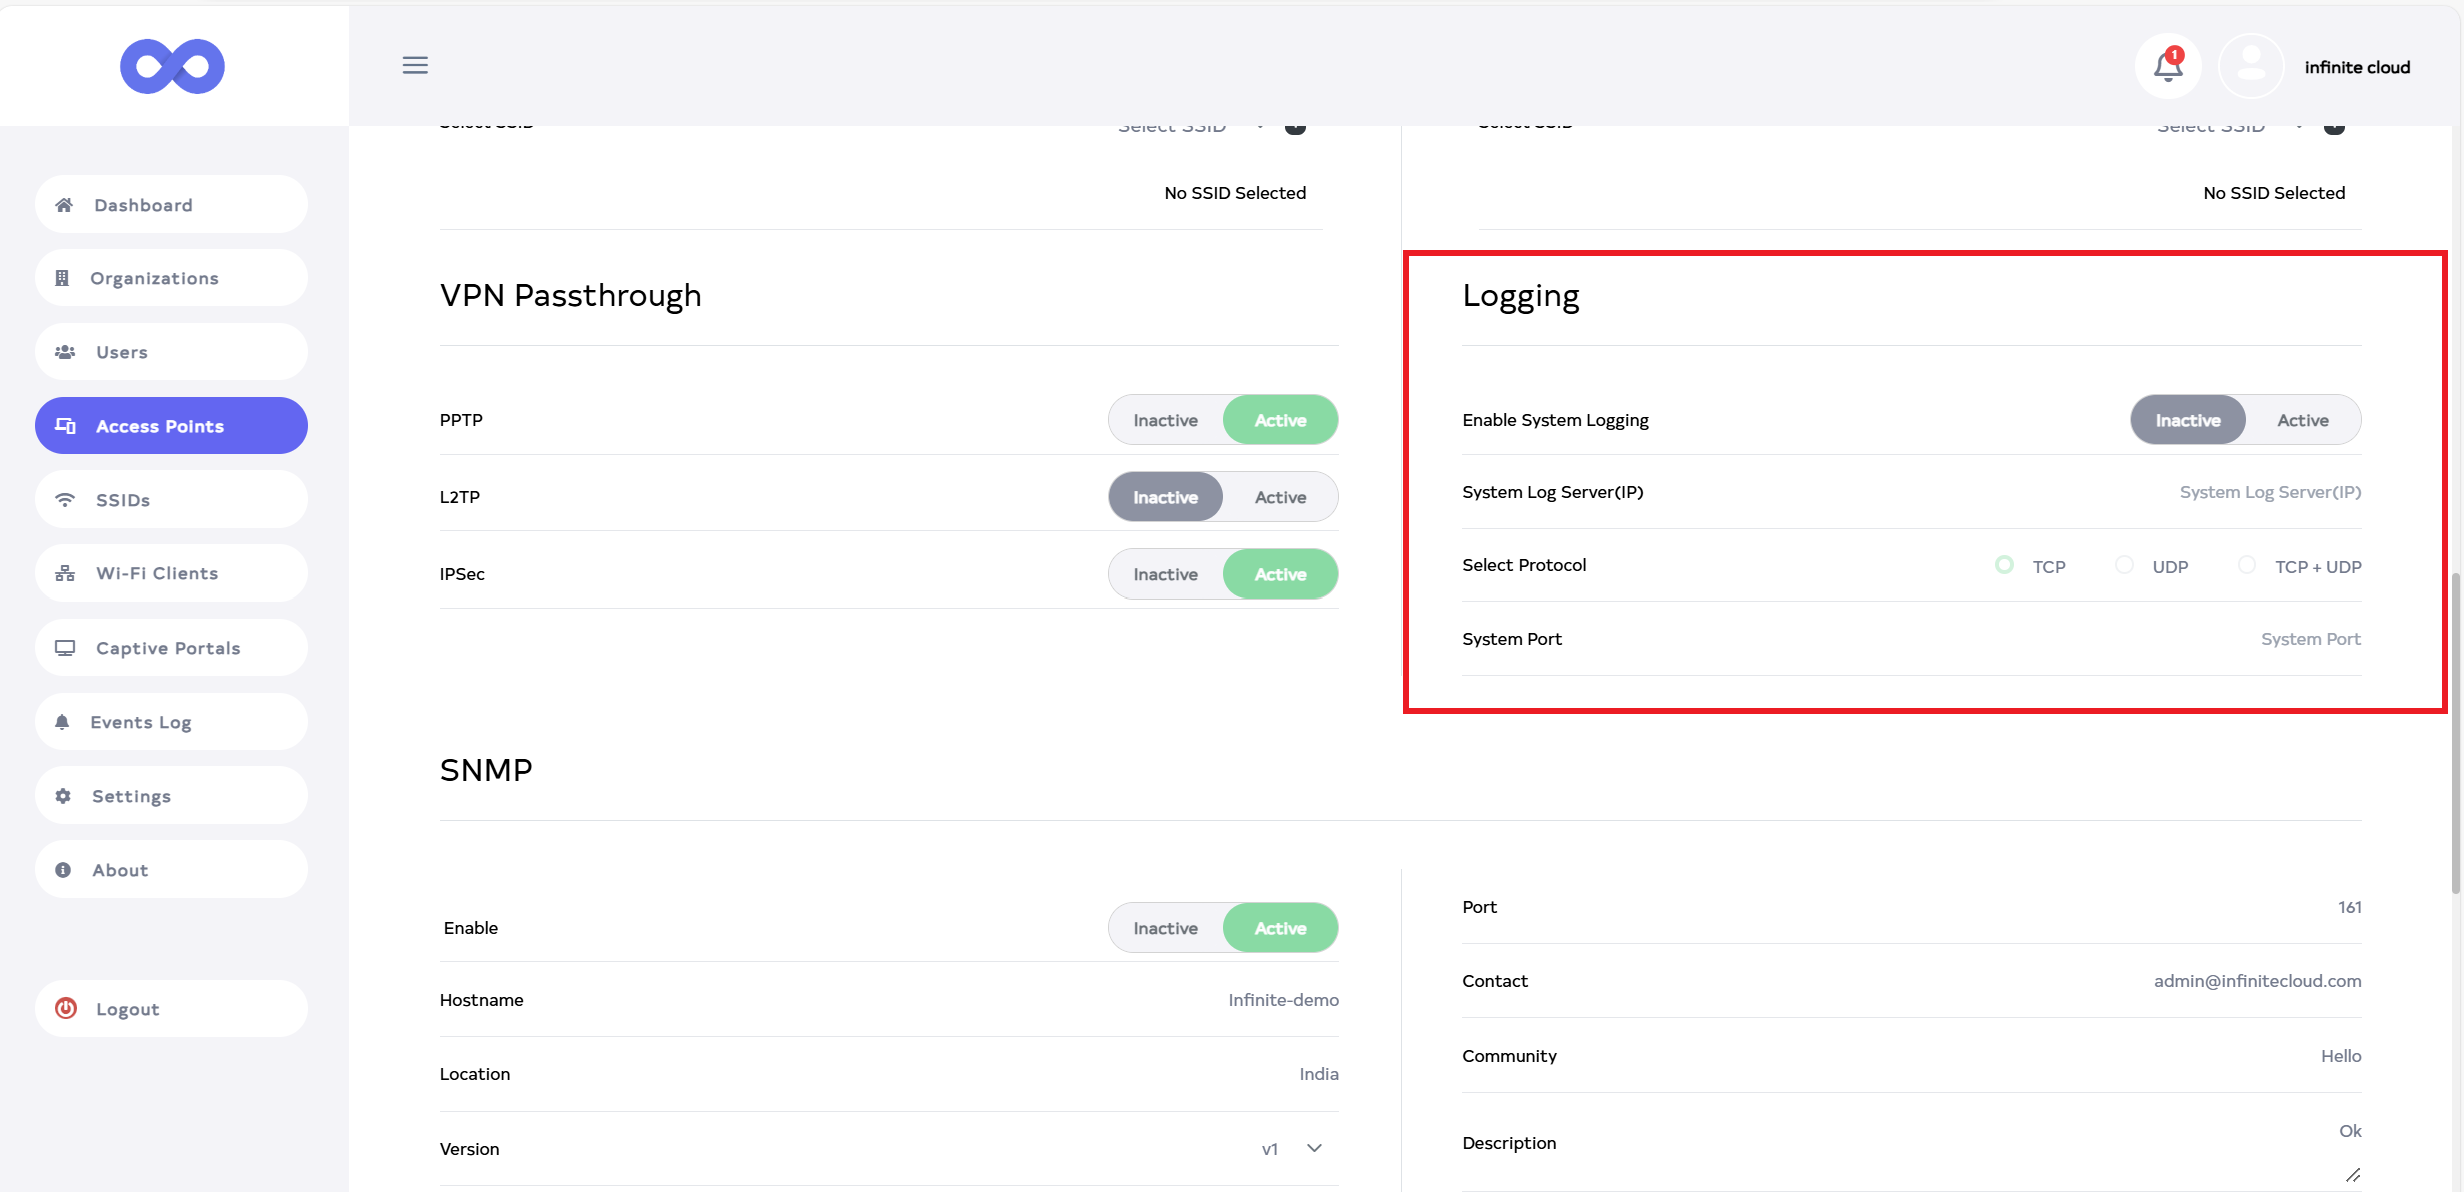
After clicking on edit button, scroll down a little to find Logging.
-
Fill the given details below.
-
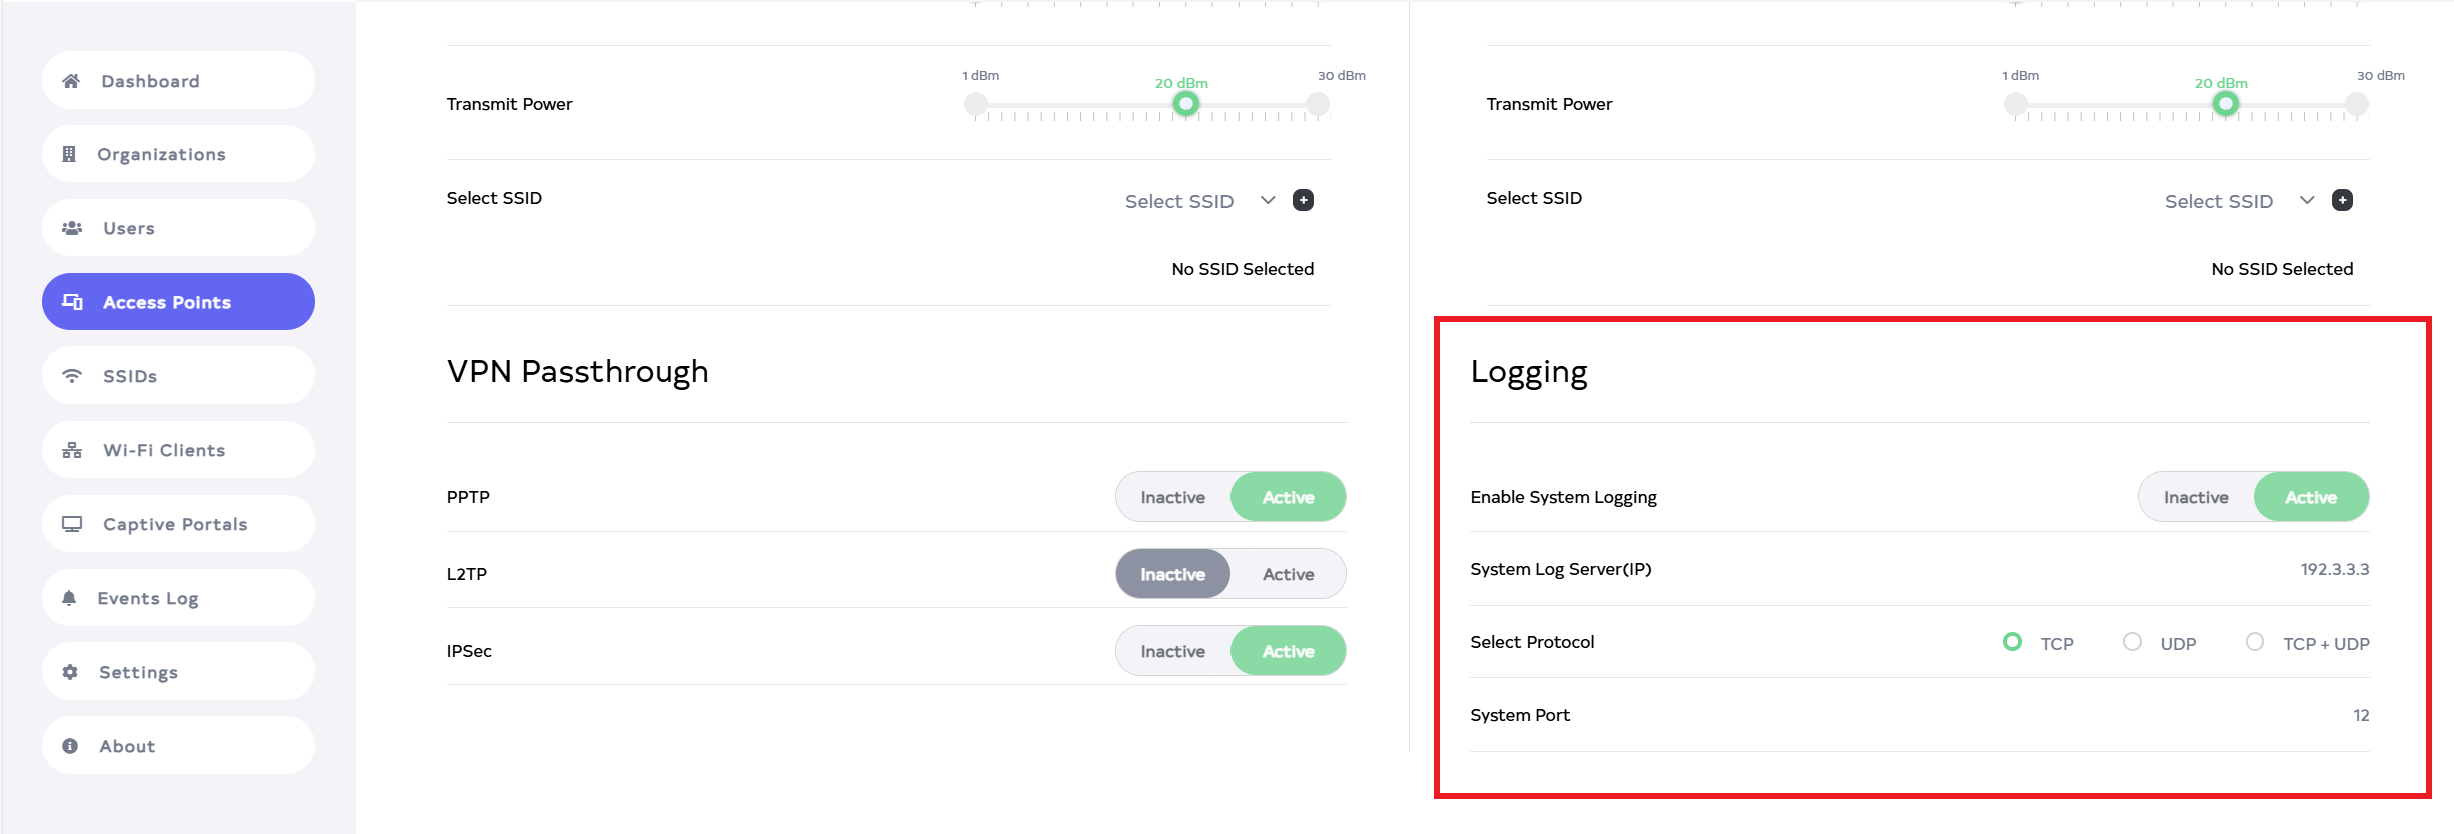
Enable System Logging :- Select Inactive or Active. To enable logging, click Active, to disable it, click Inactive. For Example Active.
-
System Log Server(IP):- Enter the Log Server IP. Enter the IP of the log server. For example:- 192.3.3.3.
-
Select Protocol:- Here is 3 types 1:- TCP, 2. UDP and 3. TCP+ UDP. Select the needed protocol. For example here selected TCP.
-
System Port:- Enter the System Port.A message will indicate, please enter a value between 1 and 65000. Any port value up to 65000 can be entered. For example 12.
Enable-System-Logging-InfoNo changes can be made to the logging configuration when the enable button is inactive.
-
-
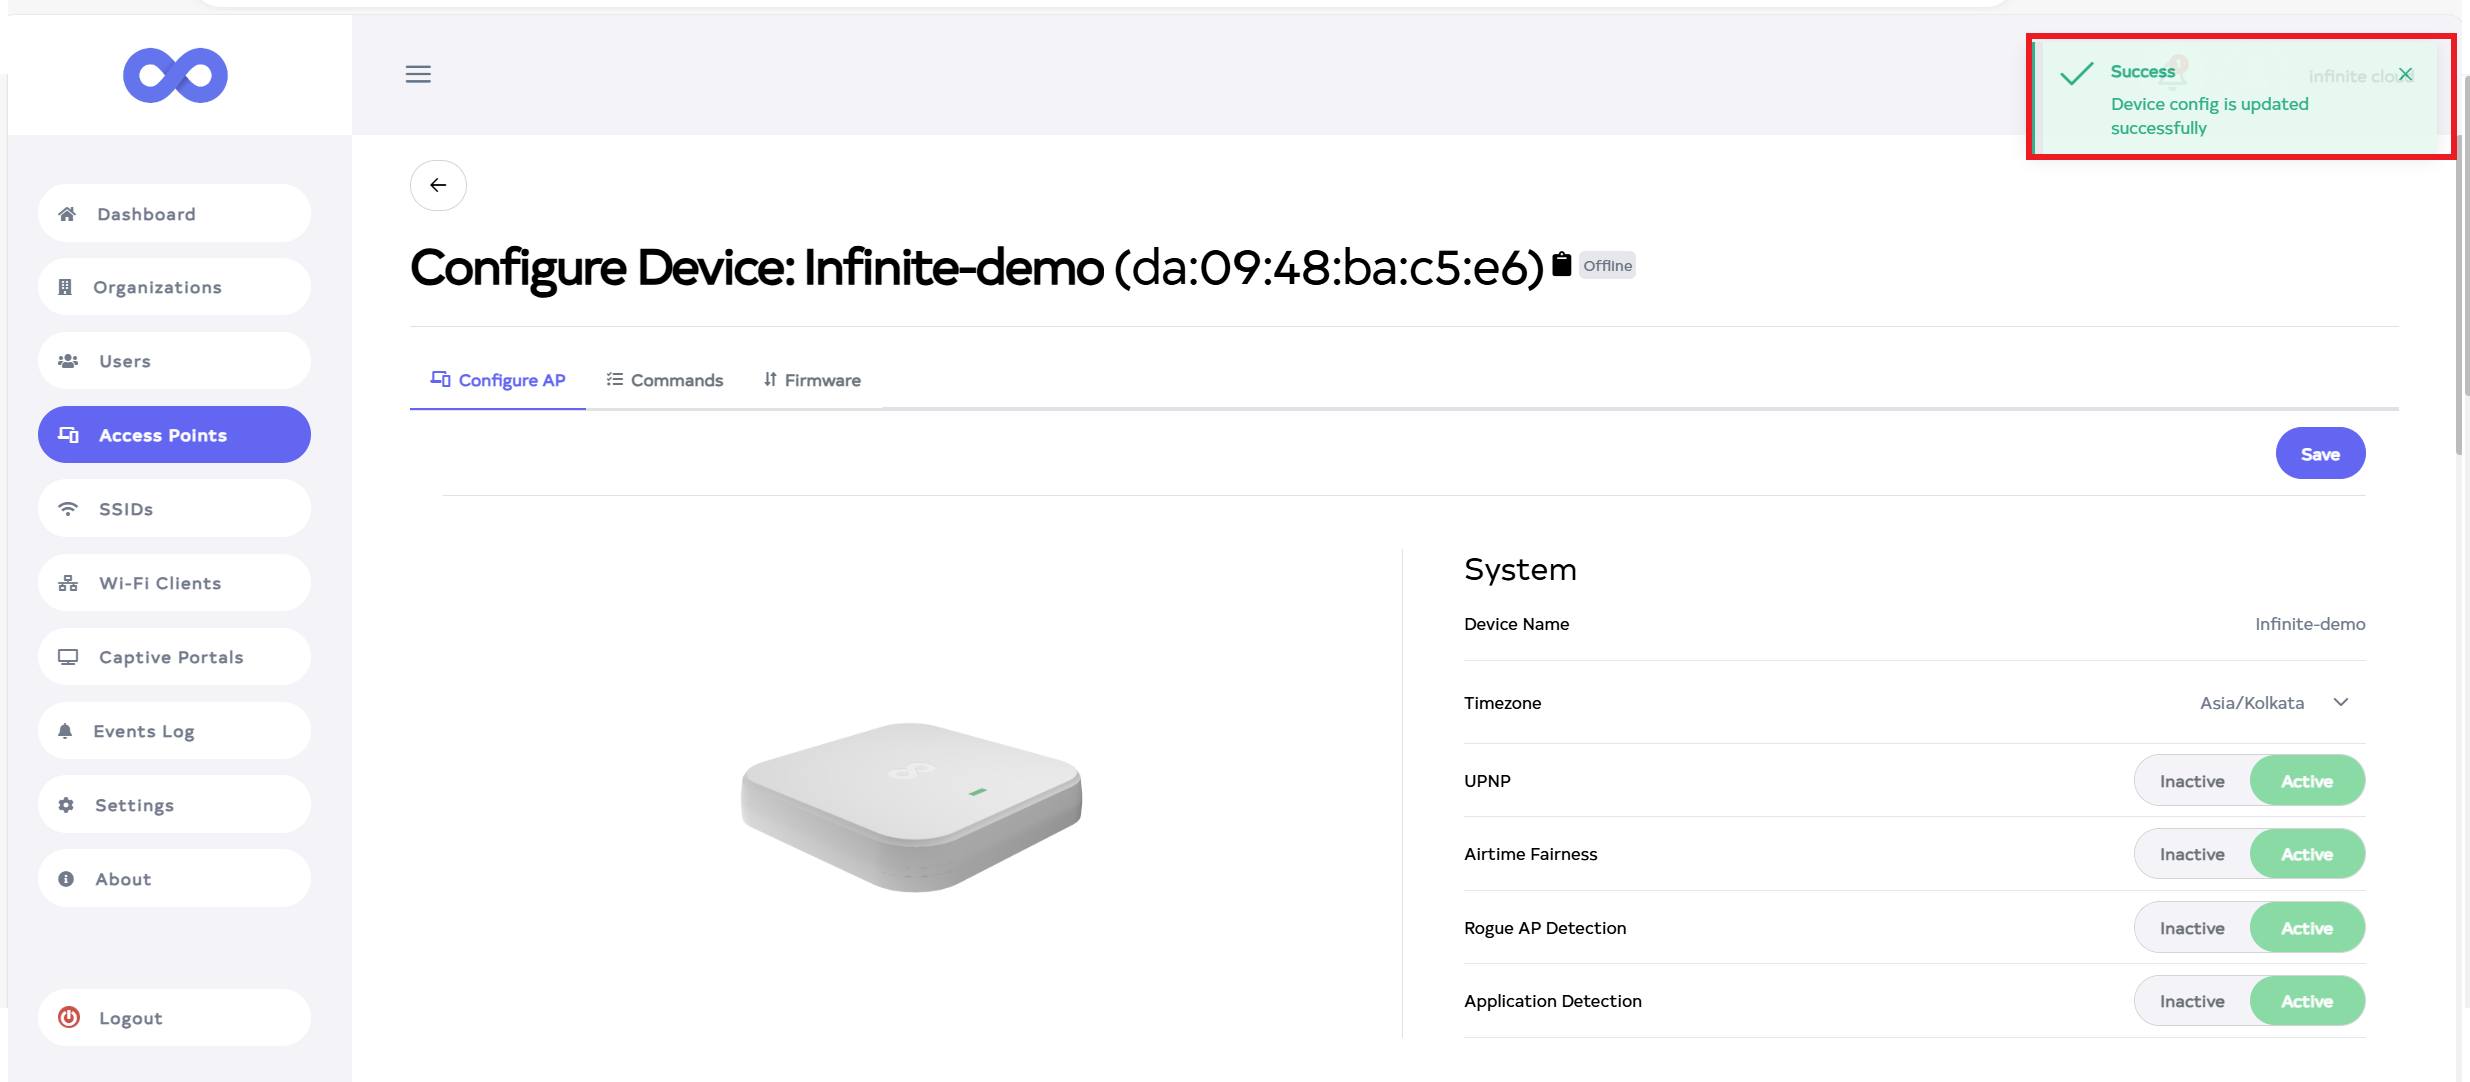
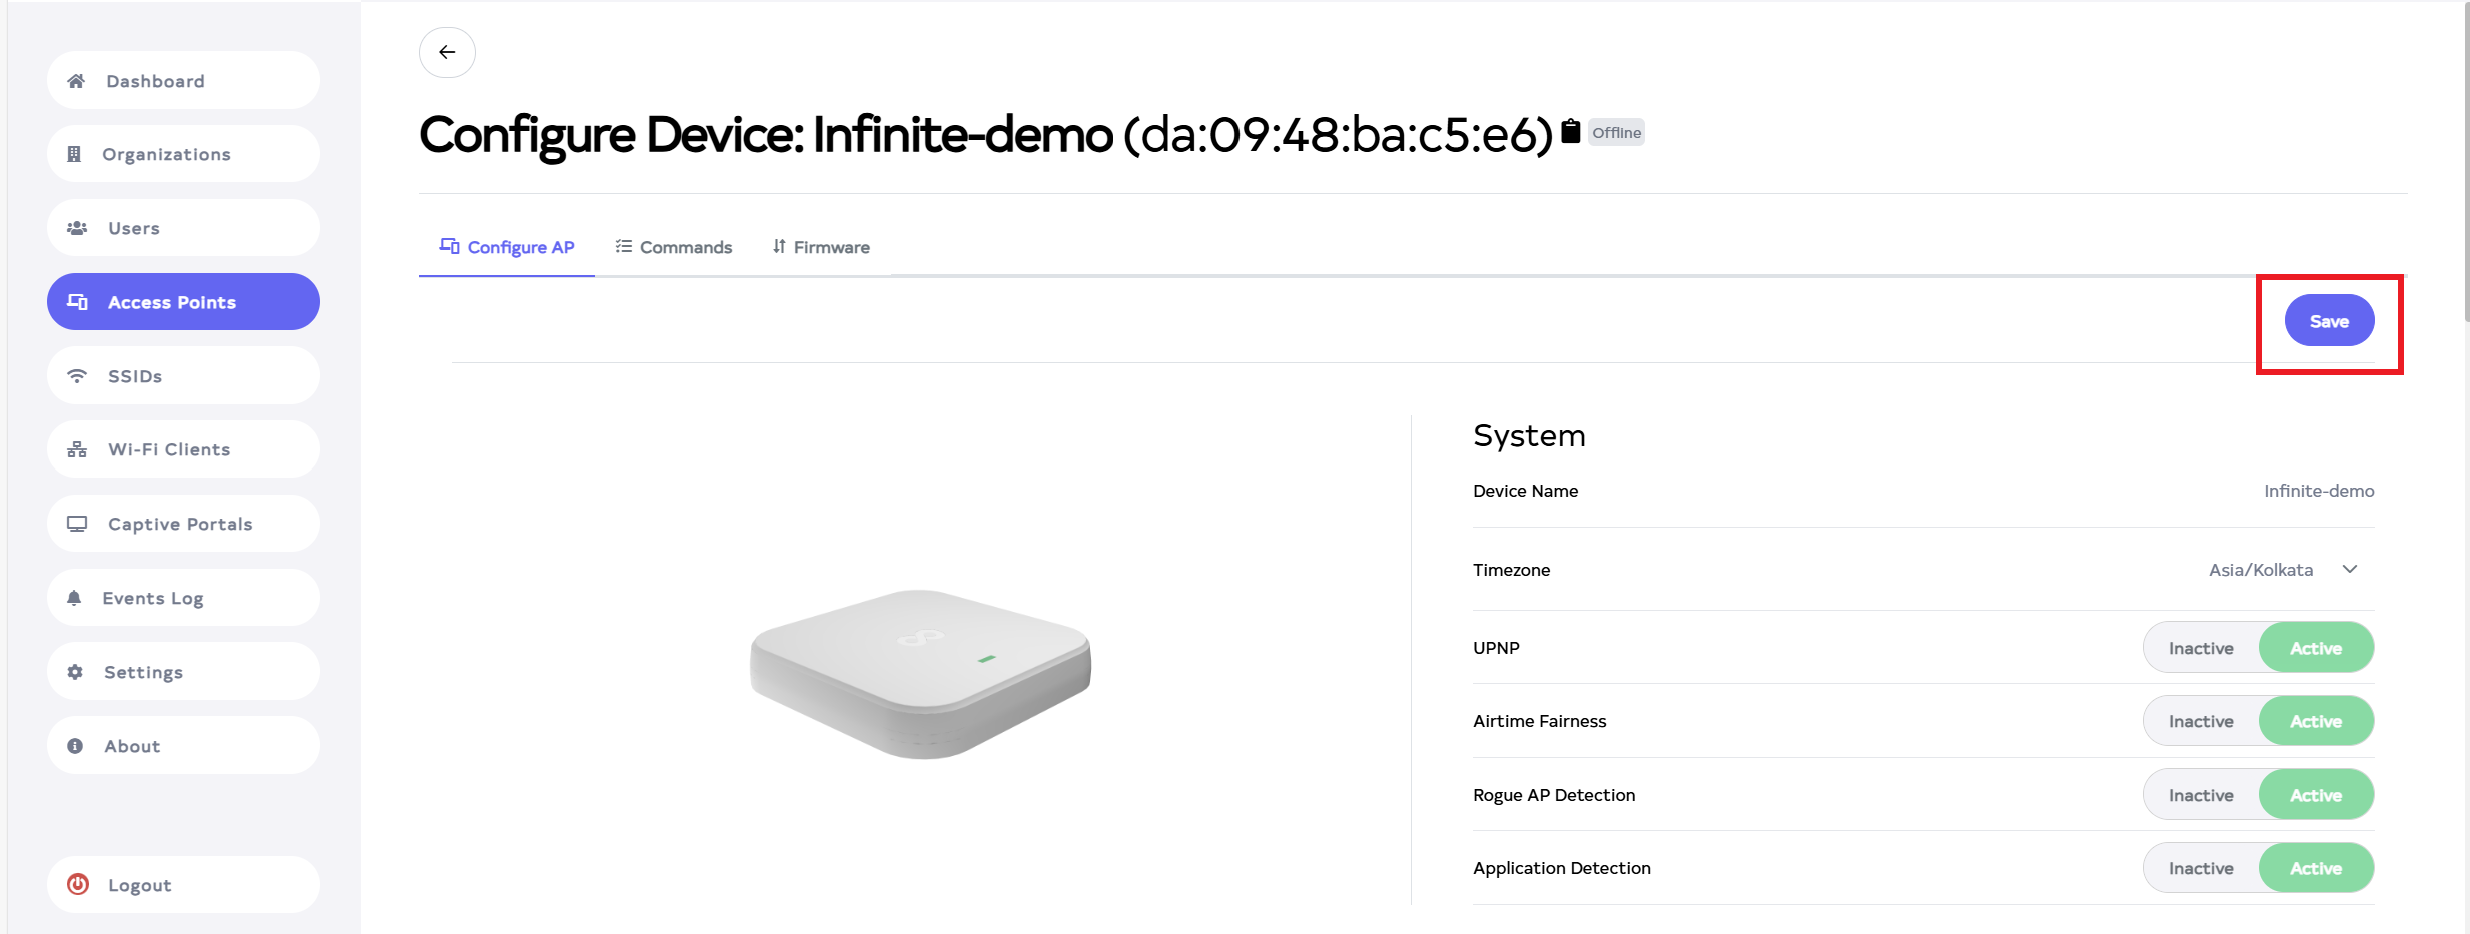
Then click on the Save button, located right side on top.
-
After the Logging configure Section is saved successfully, a success message will display Device config is updated successfully.