Advanced Menu
This document outlines advanced product configuration, focusing on log configuration, log lists, and global configuration settings. It provides step-by-step instructions on how to configure these settings to ensure optimal functionality and performance.
Detailed Configuration Steps
Log Configuration
The log configuration section enables setting the log level for the application. Based on the log level set, entries in the log list will be recorded accordingly. This section is crucial for managing and filtering log data.
- Login to the Application
- Login to the application by entering the username and password.
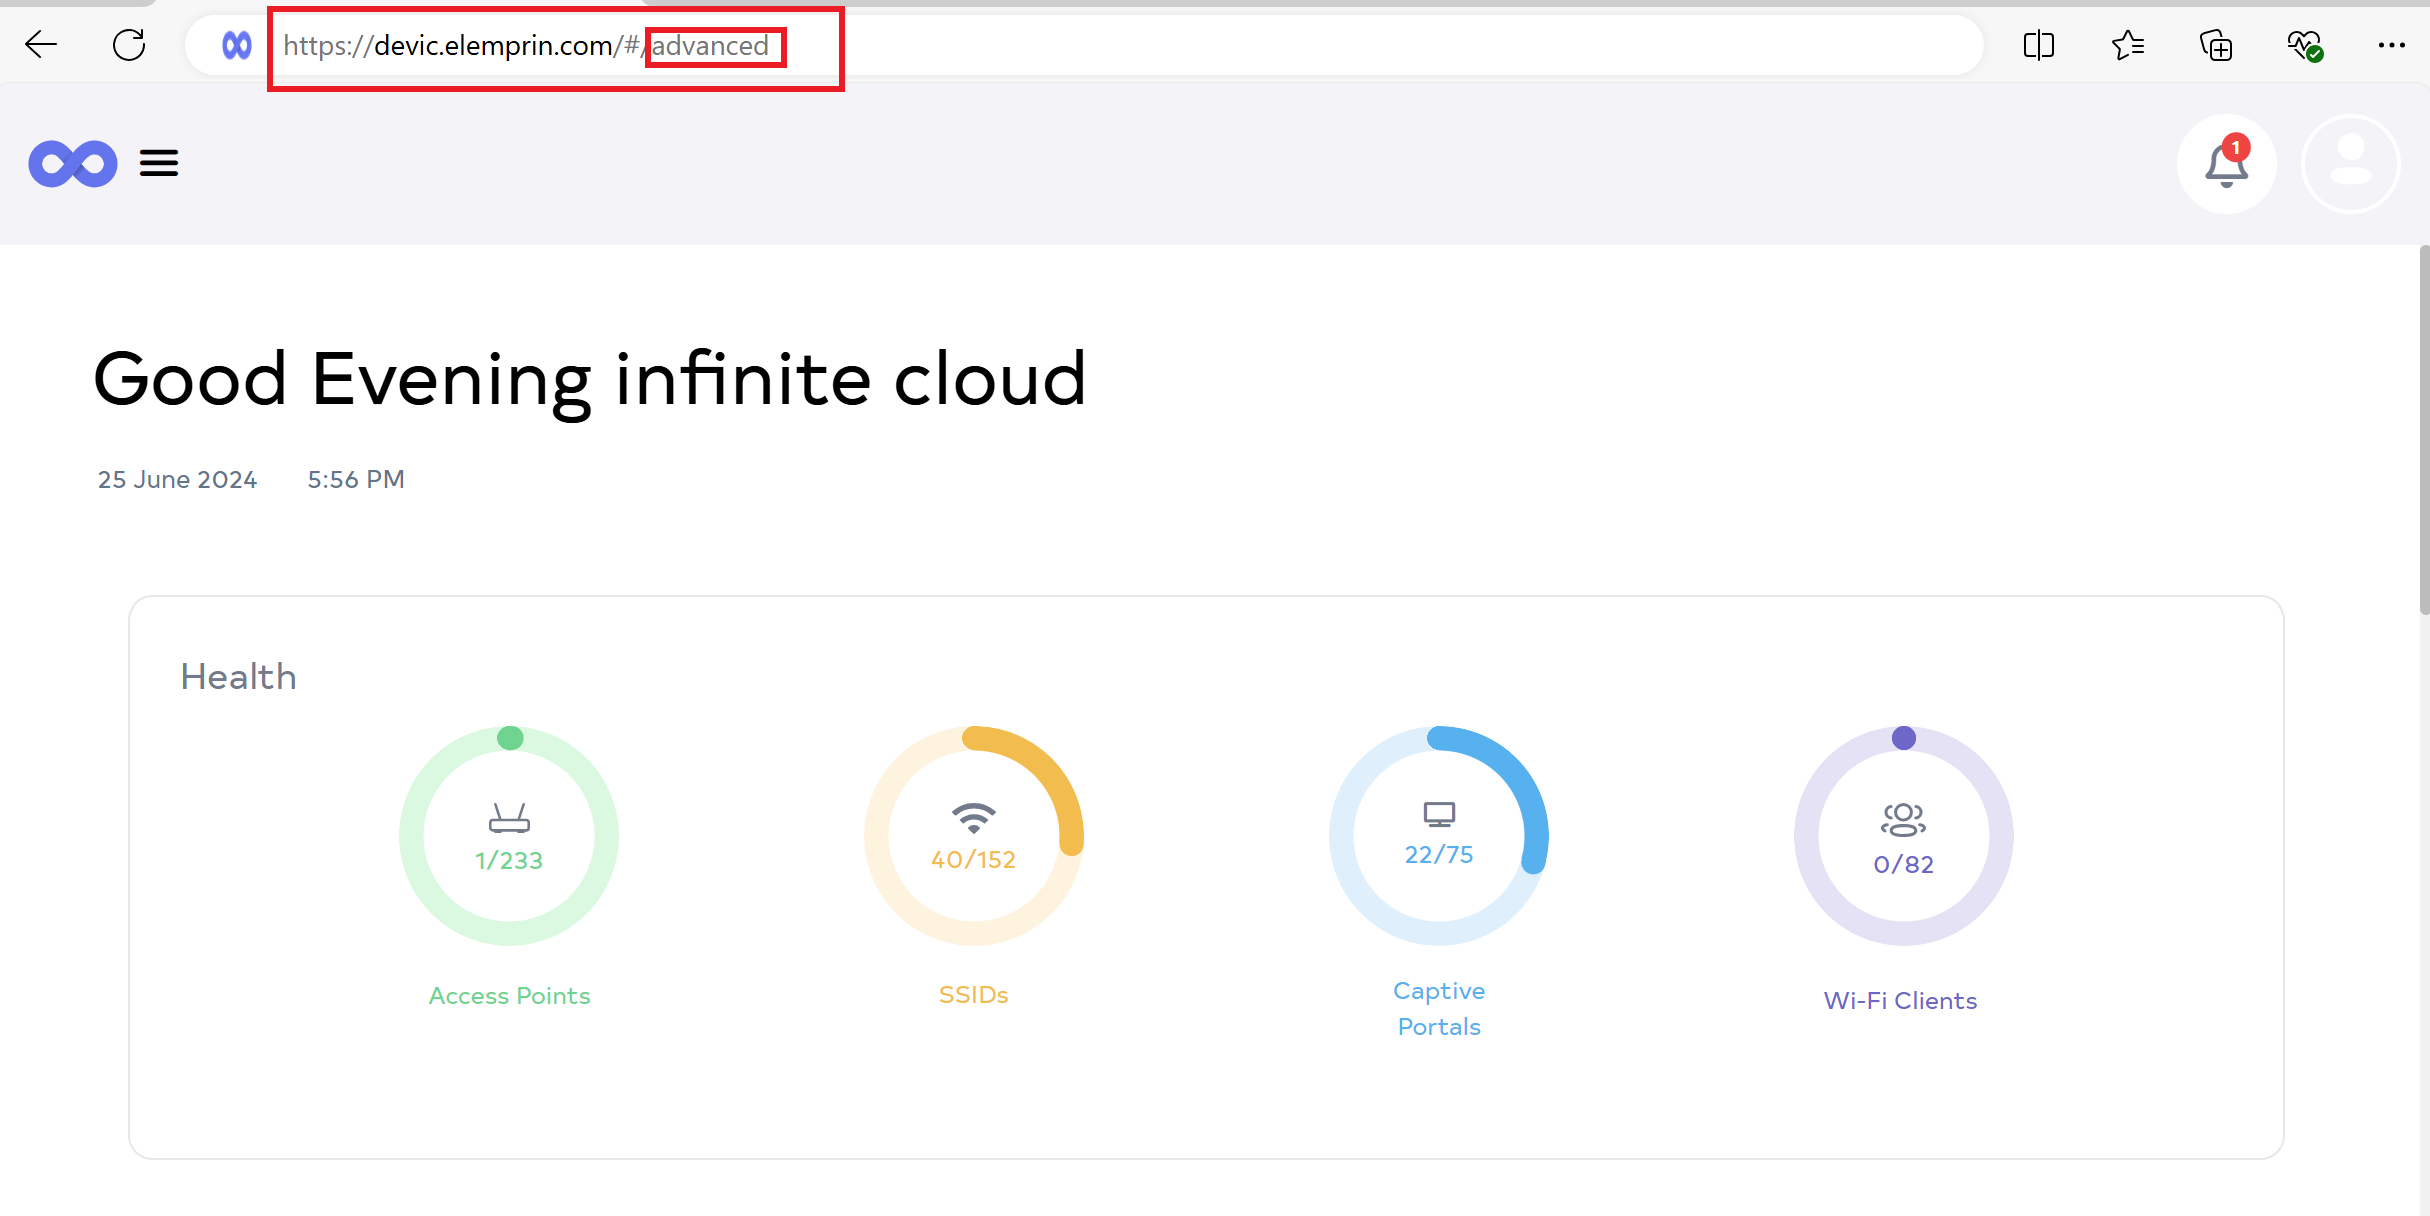
- Access the Advanced Configuration
-
Enter advanced in the application URL as demonstrated in the image. For instance, with the URL devic.elemprin.com the term advanced is appended. Replace this with the appropriate application URL.
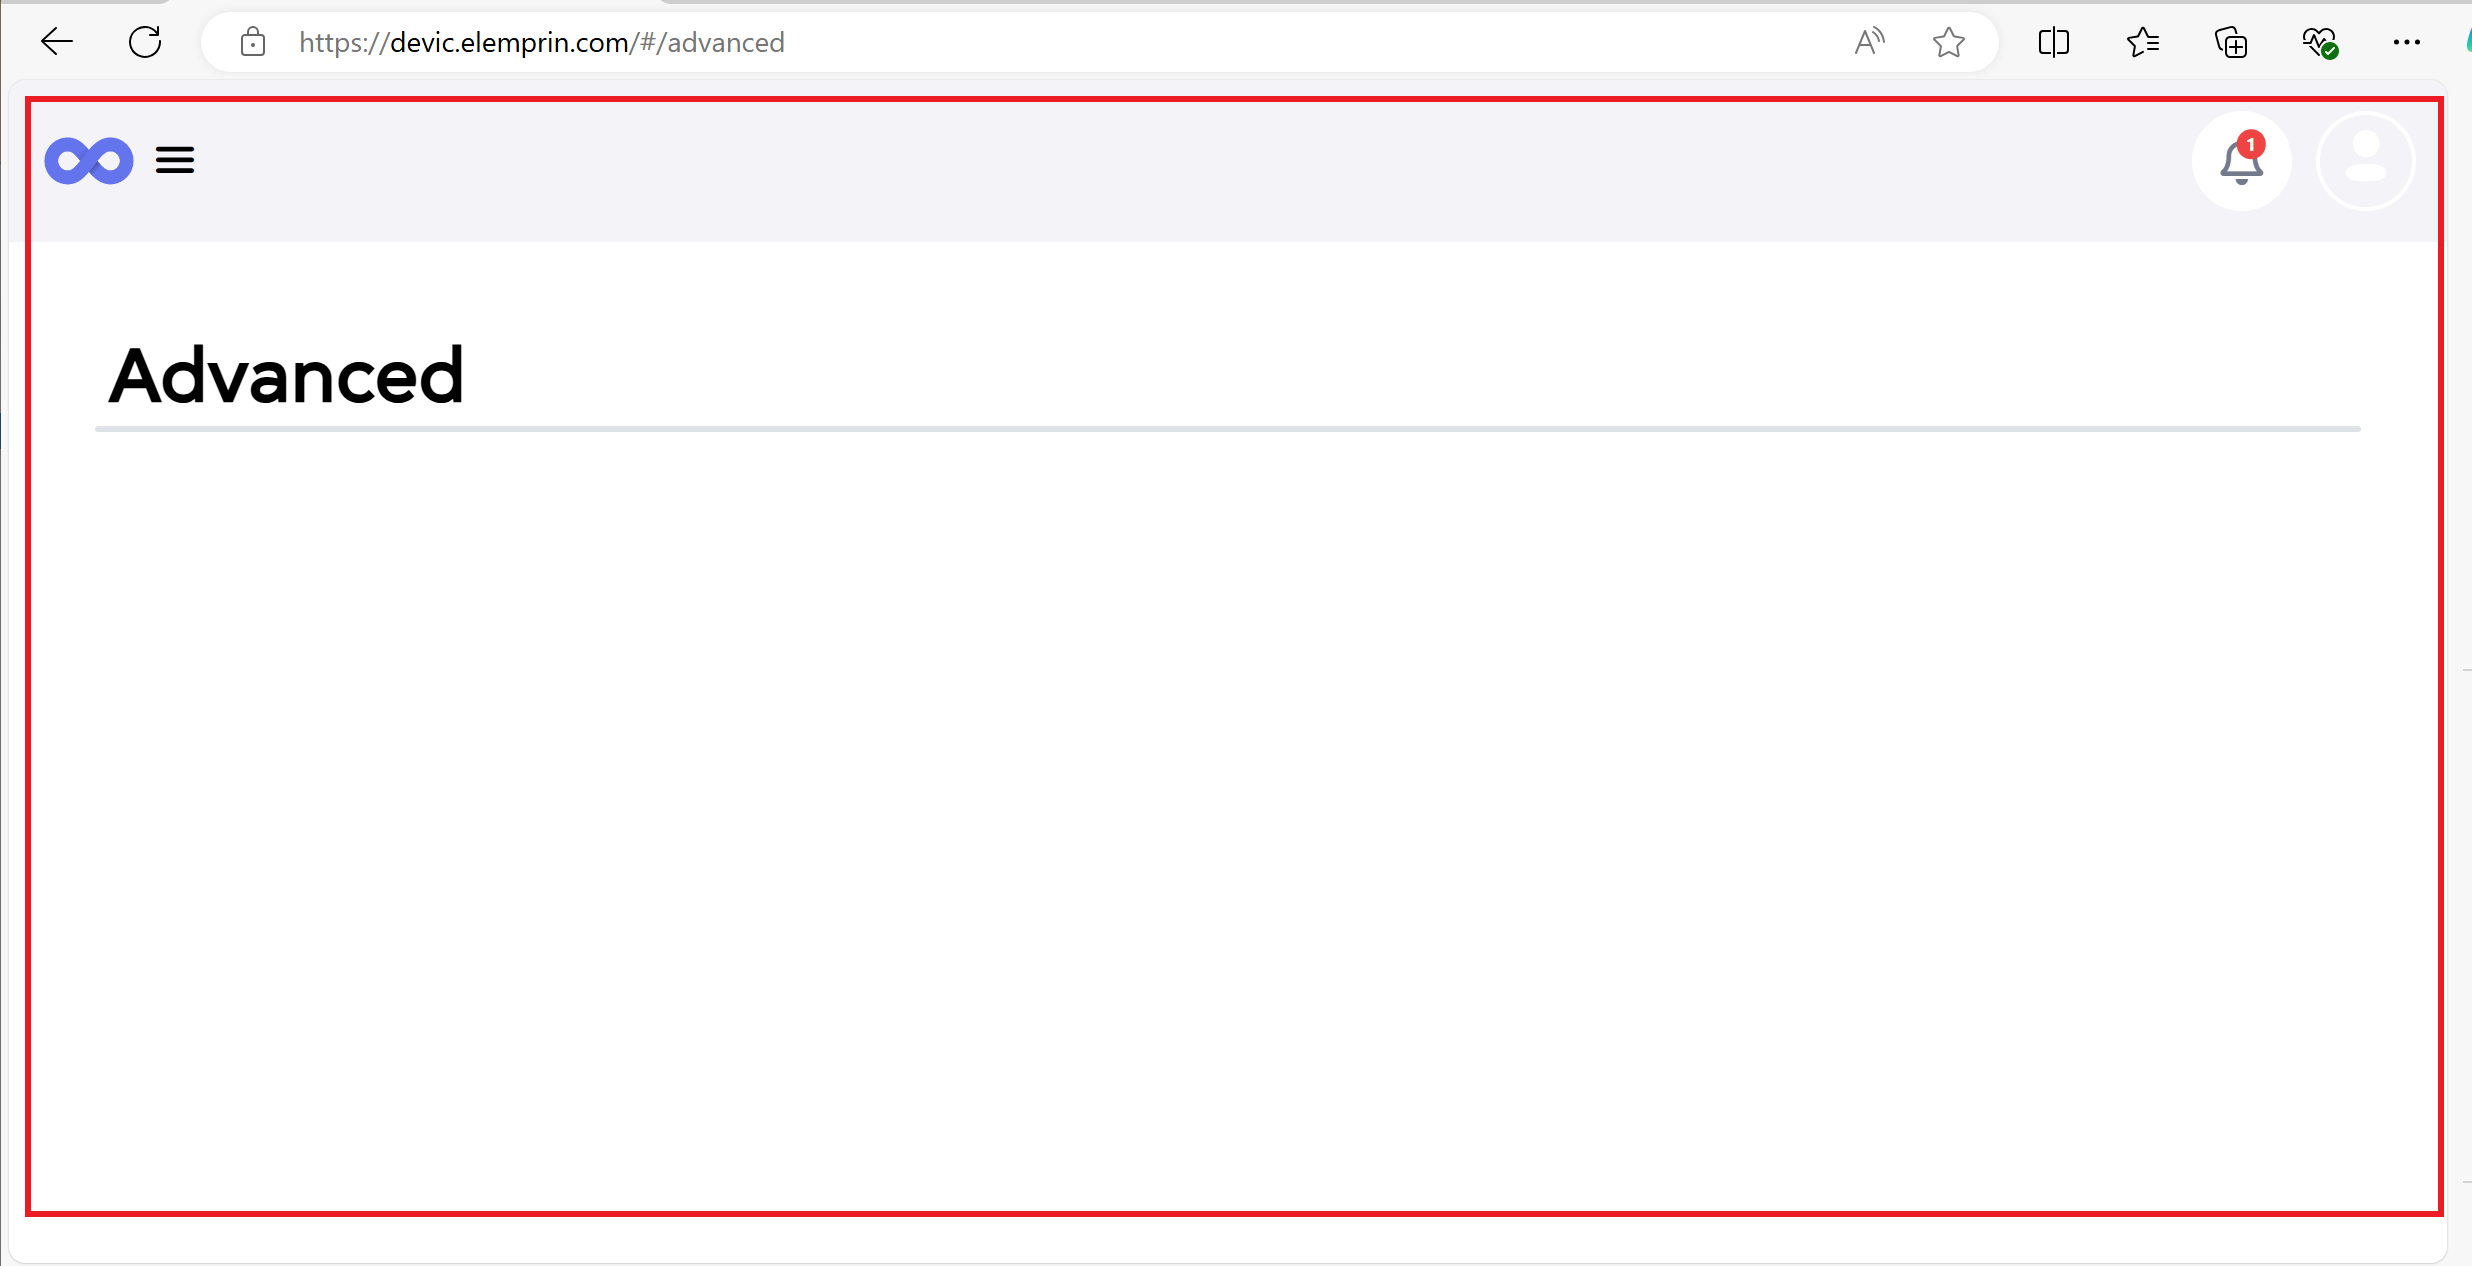
- Open Advanced Configuration Page
-
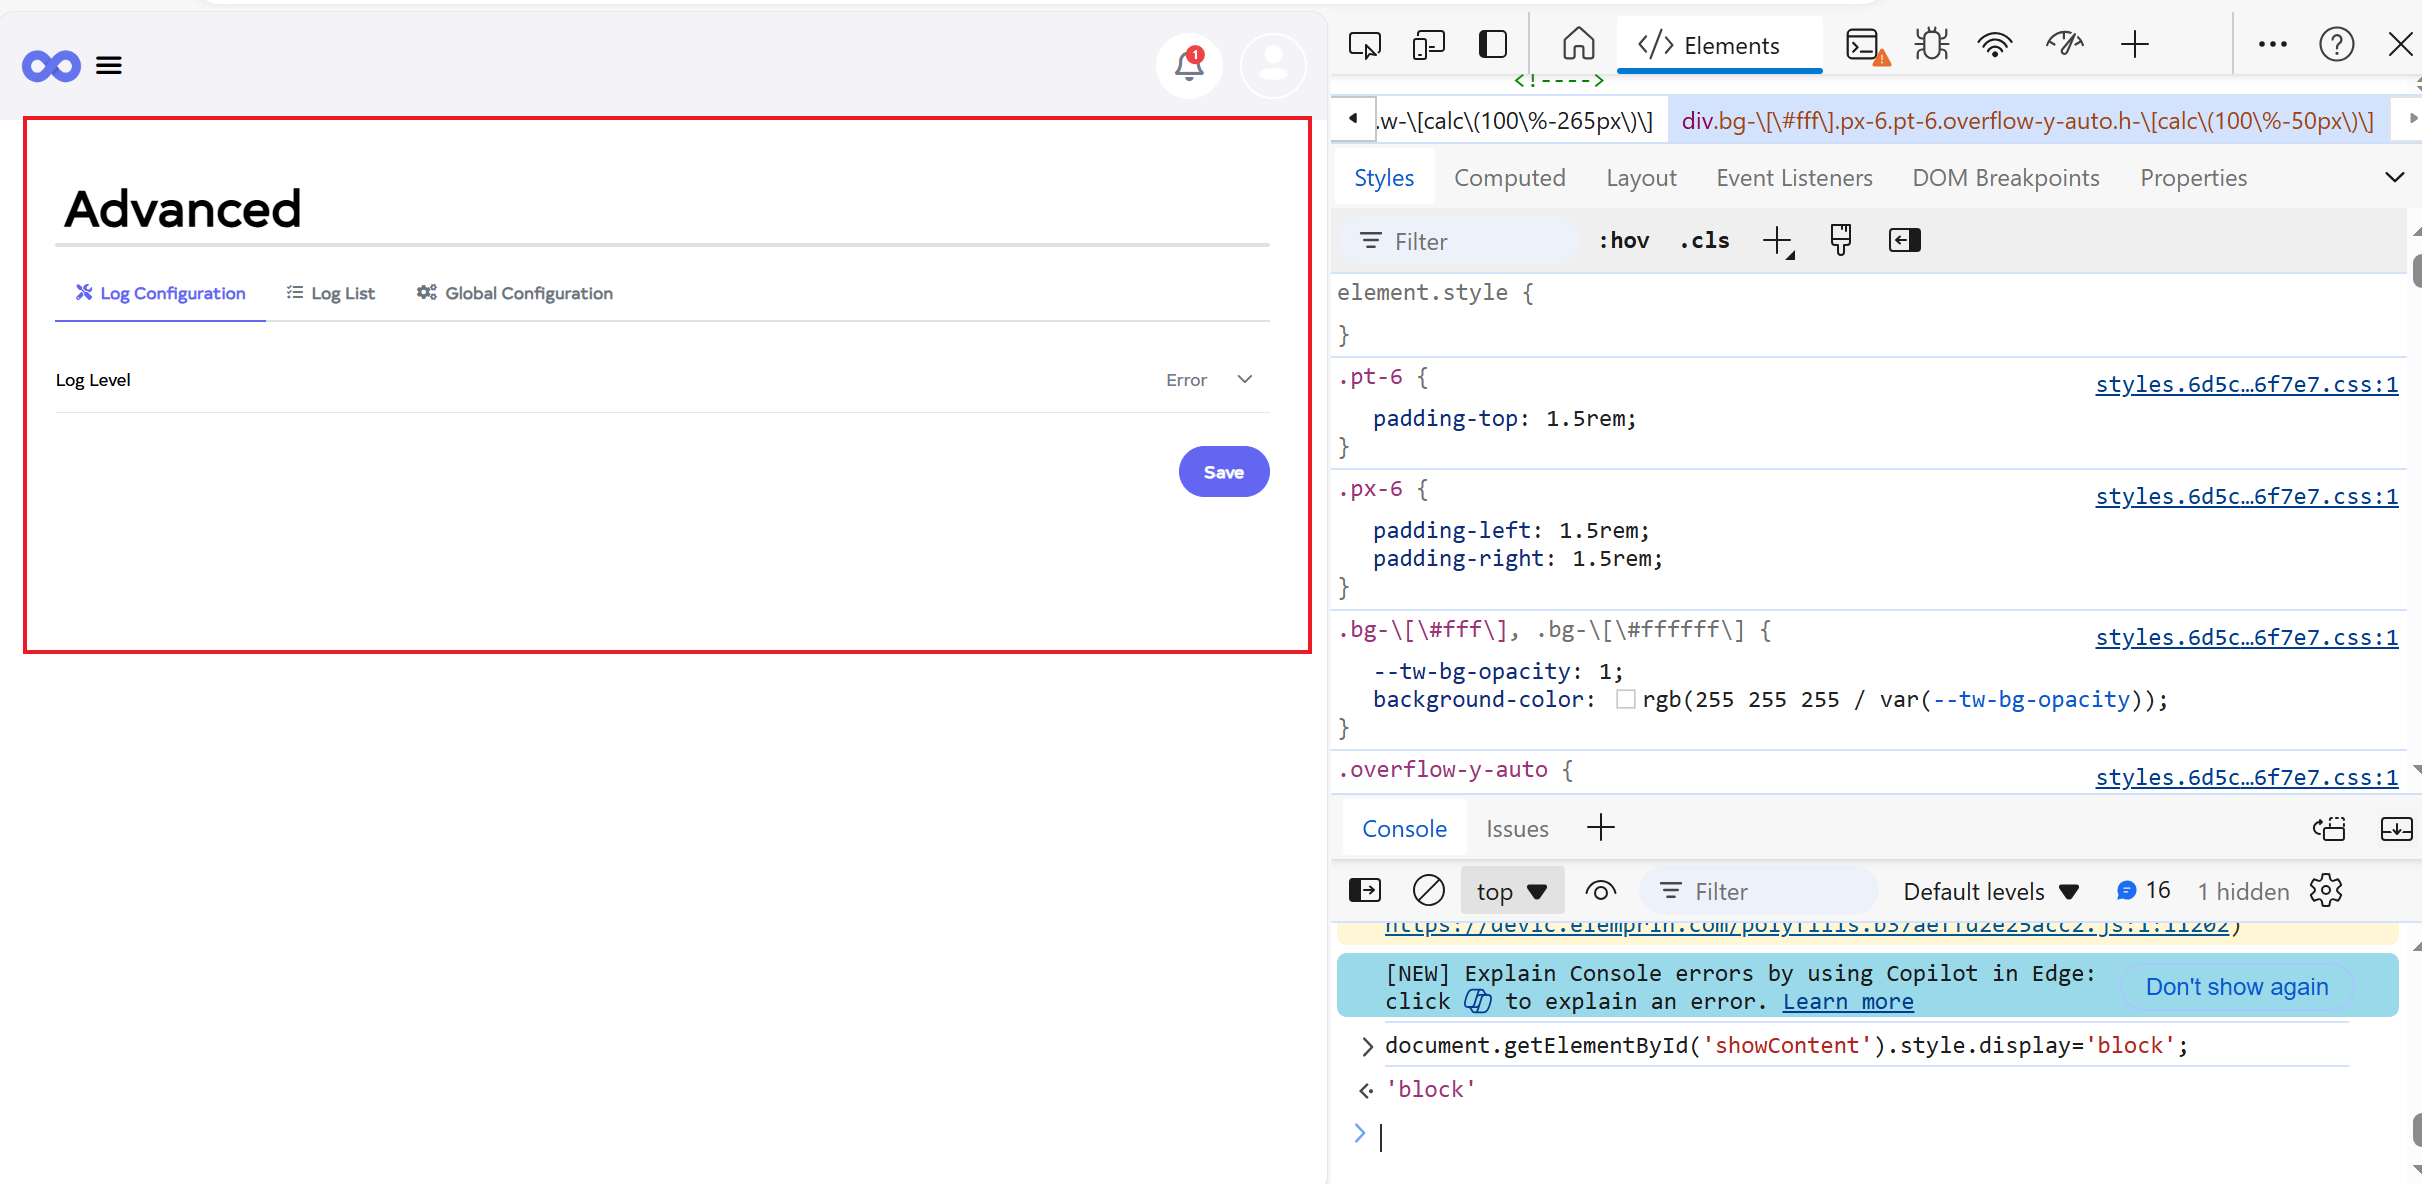
Entering advanced in the URL will open a new page like this.
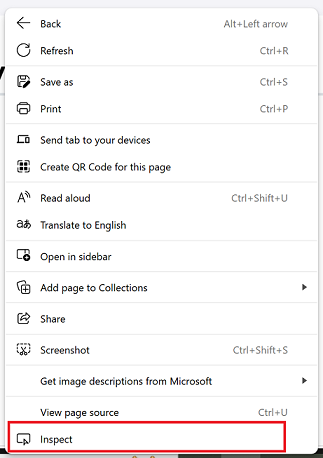
- Open Developer Tools
-
Right-click on the page and select Inspect from the context menu.
-
Navigate to the Console tab. In the Console, enter the following command. Press Enter to execute the command and reveal the Log Configuration section.
document.getElementById('showContent').style.display='block';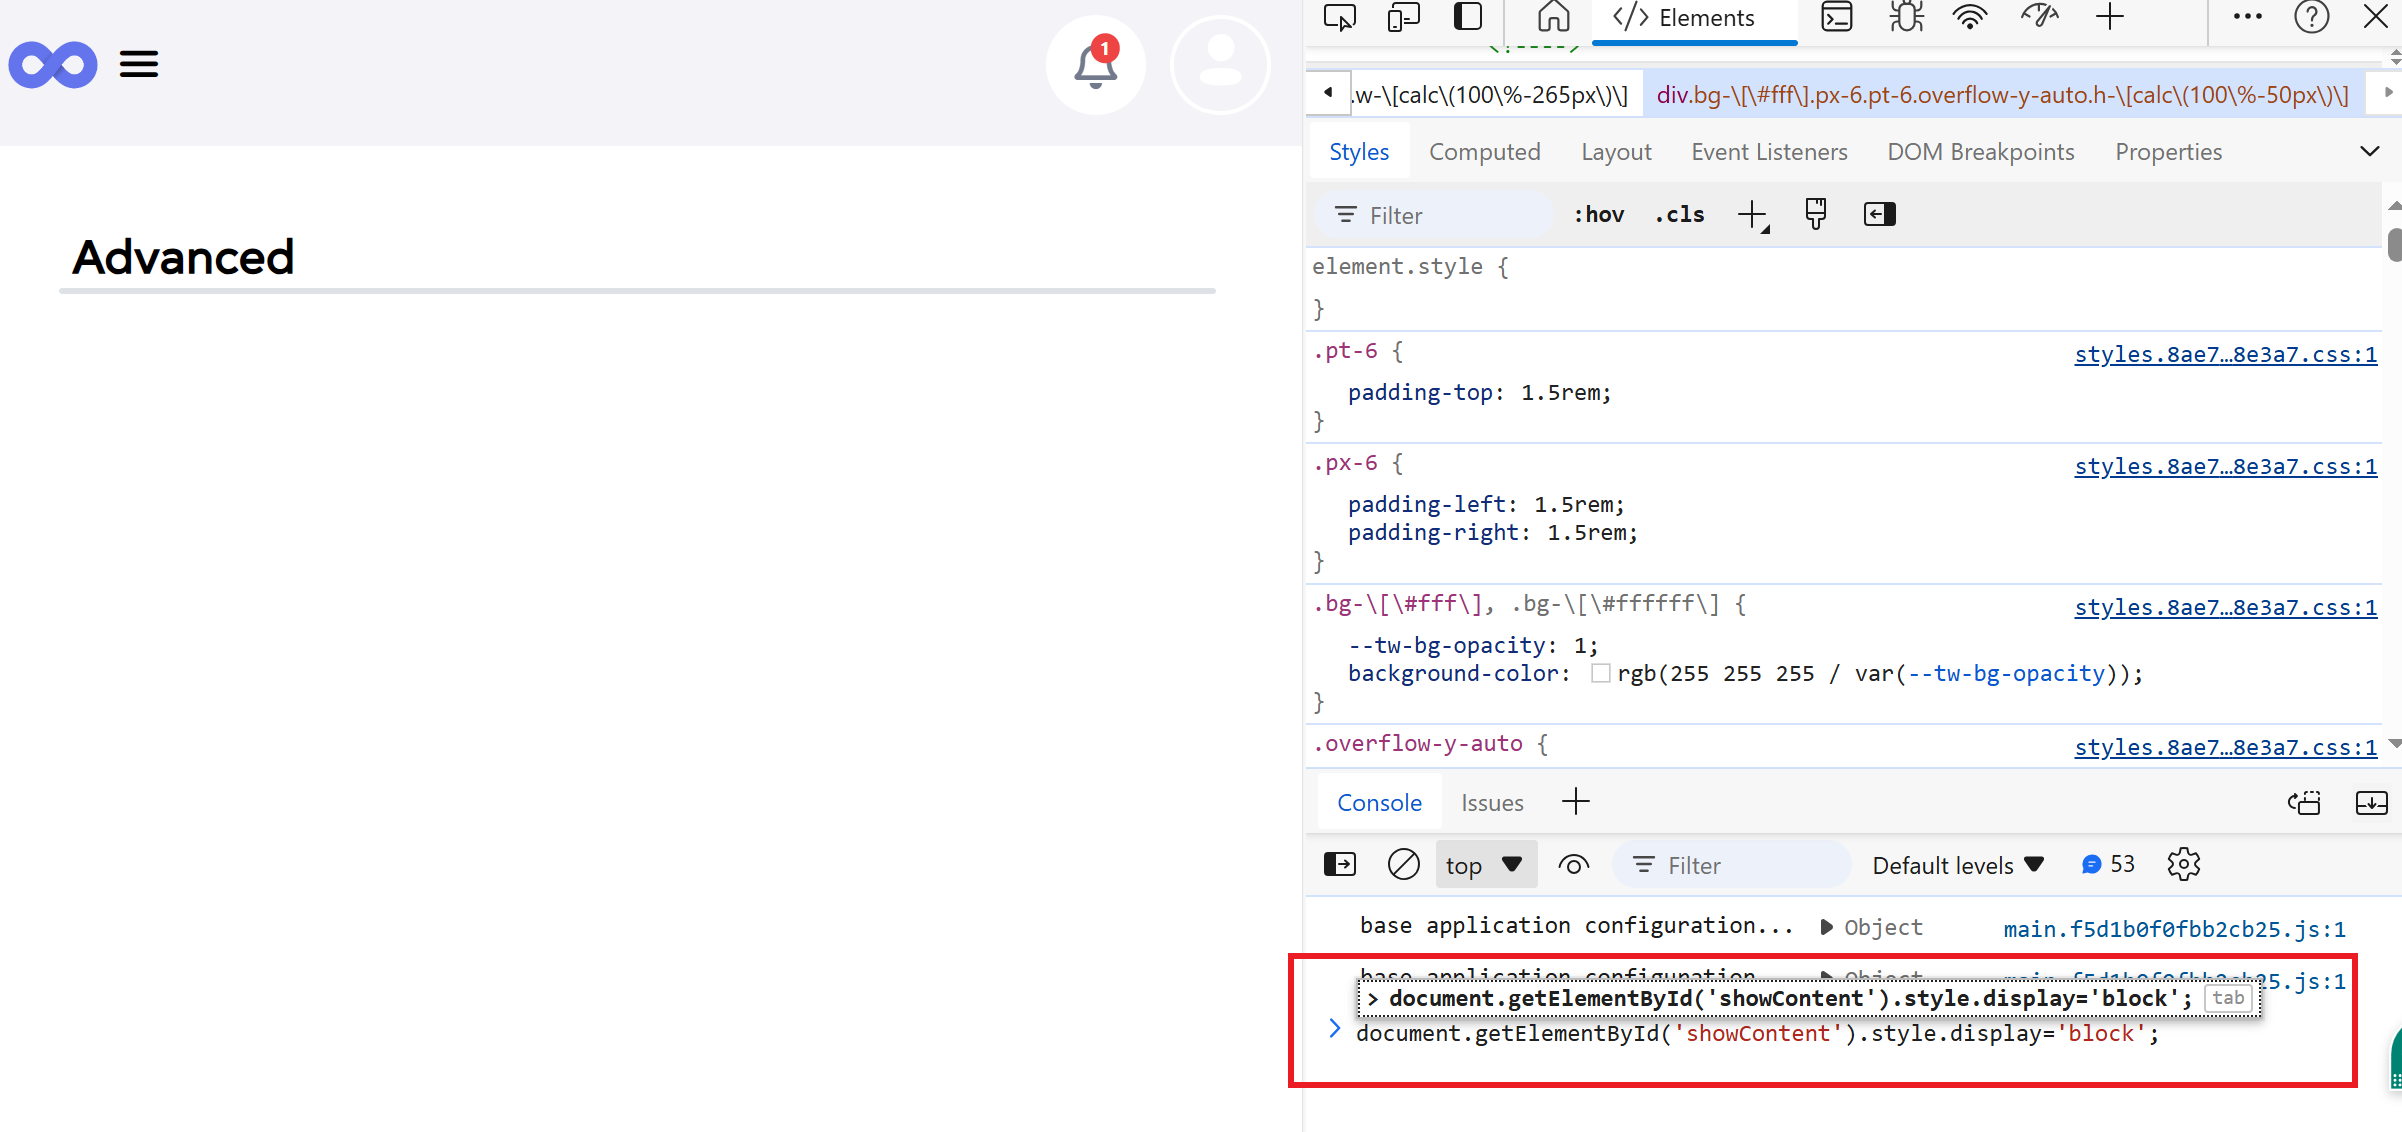
- Configure Log Level
-
Click on the Log Configuration tab.
-
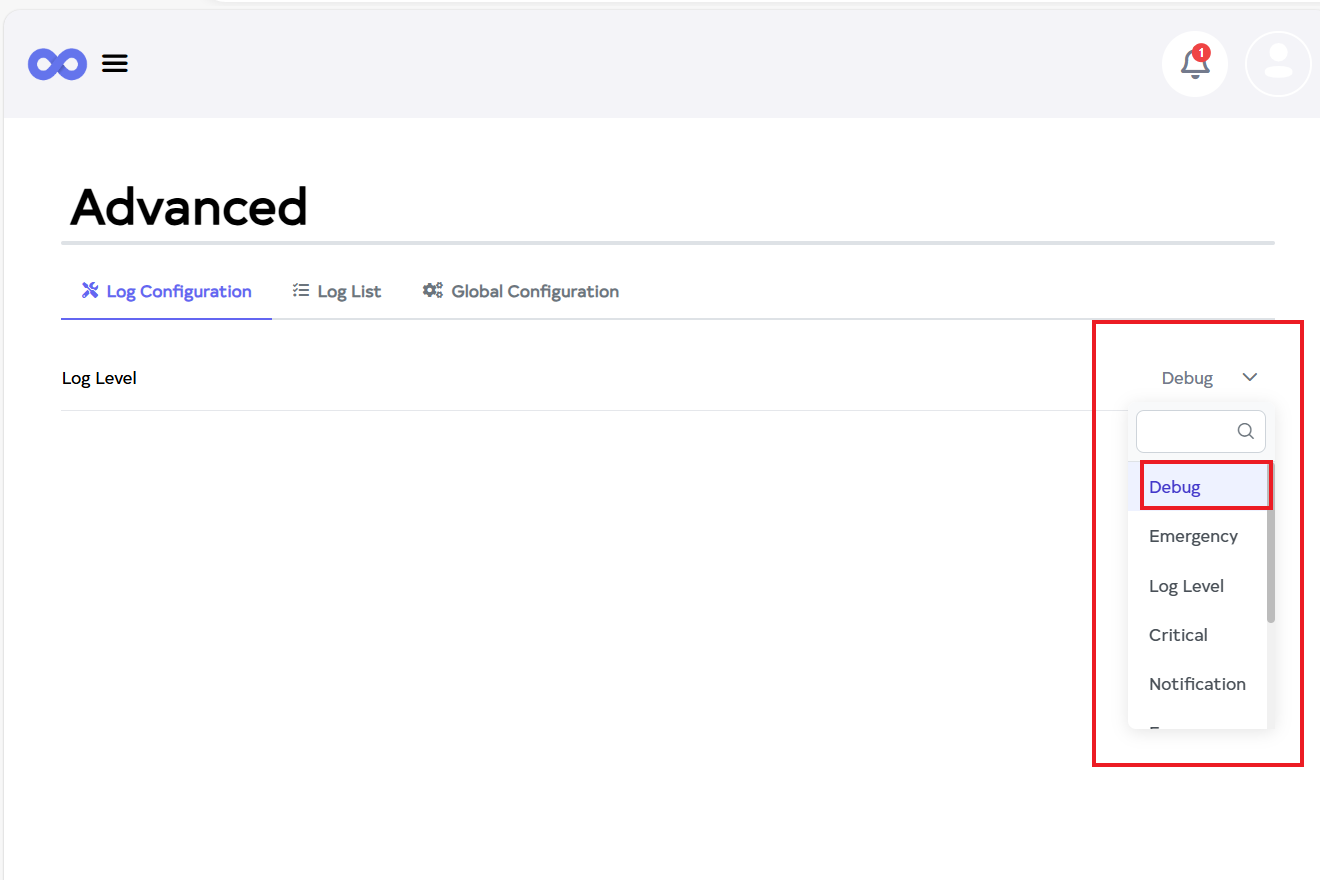
Then clicking on the Log Configuration given here and select the log level. Here if there is any log level store in the DB then by defualt it will show the log level here and if there is no log level store then by defualt ALL will come.For example debug selected.
- Save Configuration
-
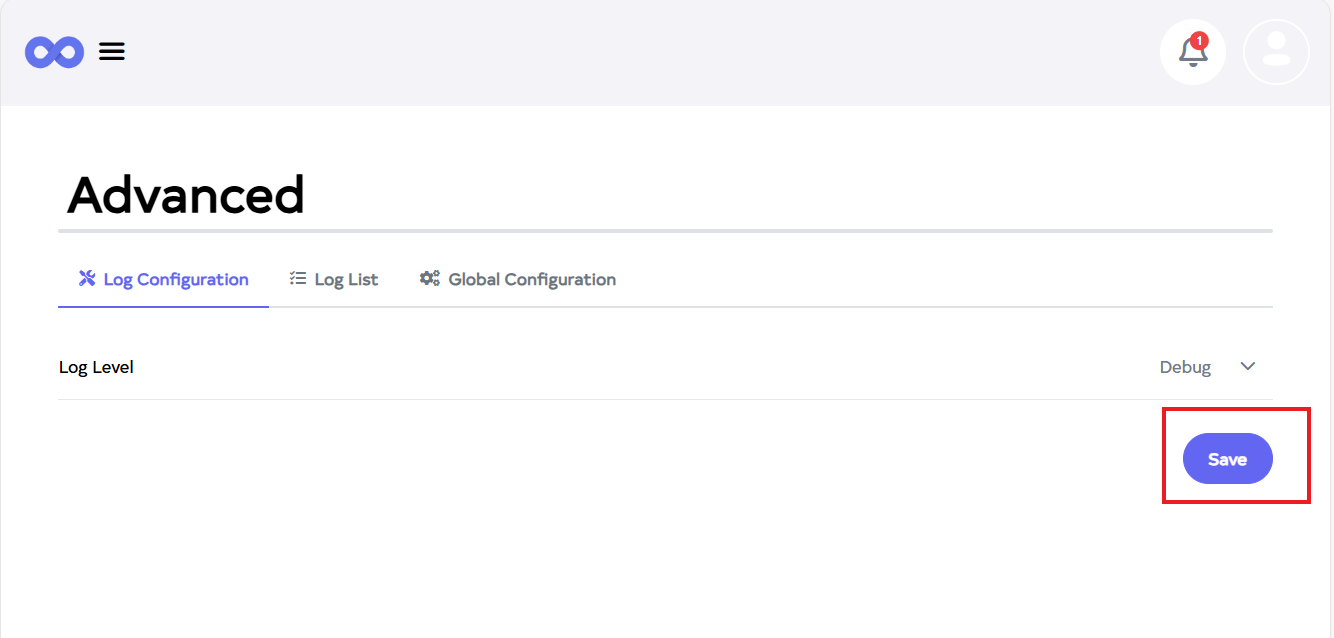
Then click on Save button.
-
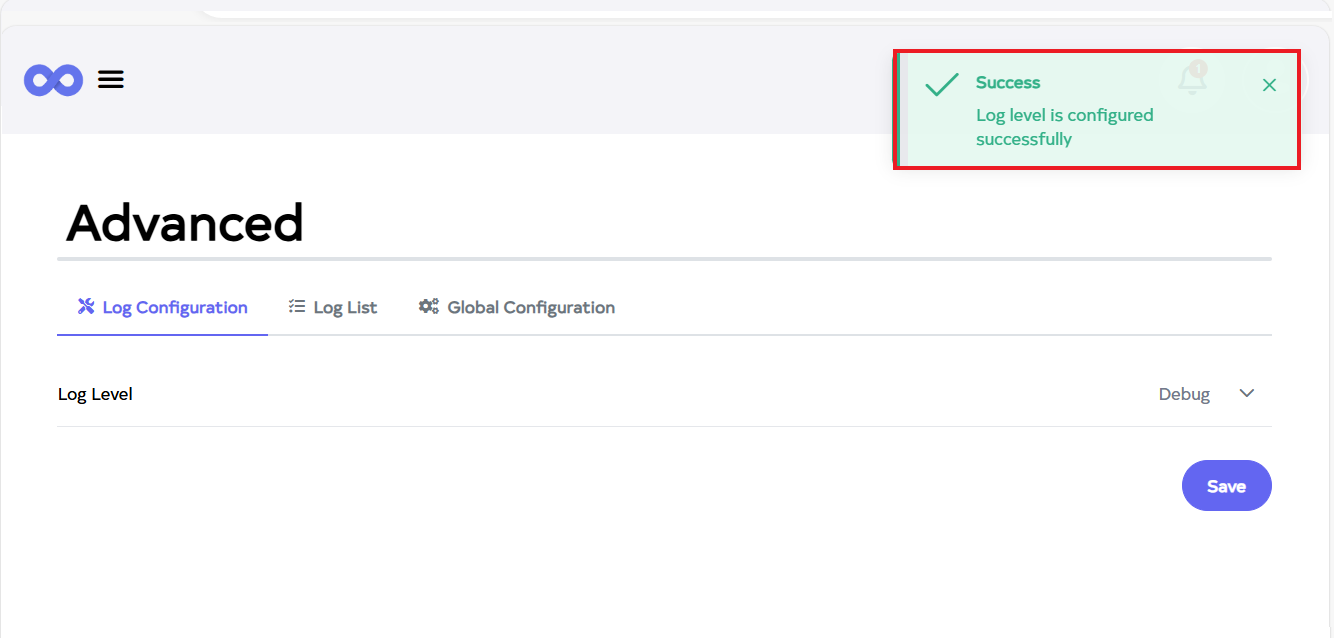
After the Log configuration Section is saved successfully, a success message will display Log level is configured successfully
 Info:
Info:A message will be logged at the selected log level.
Log List
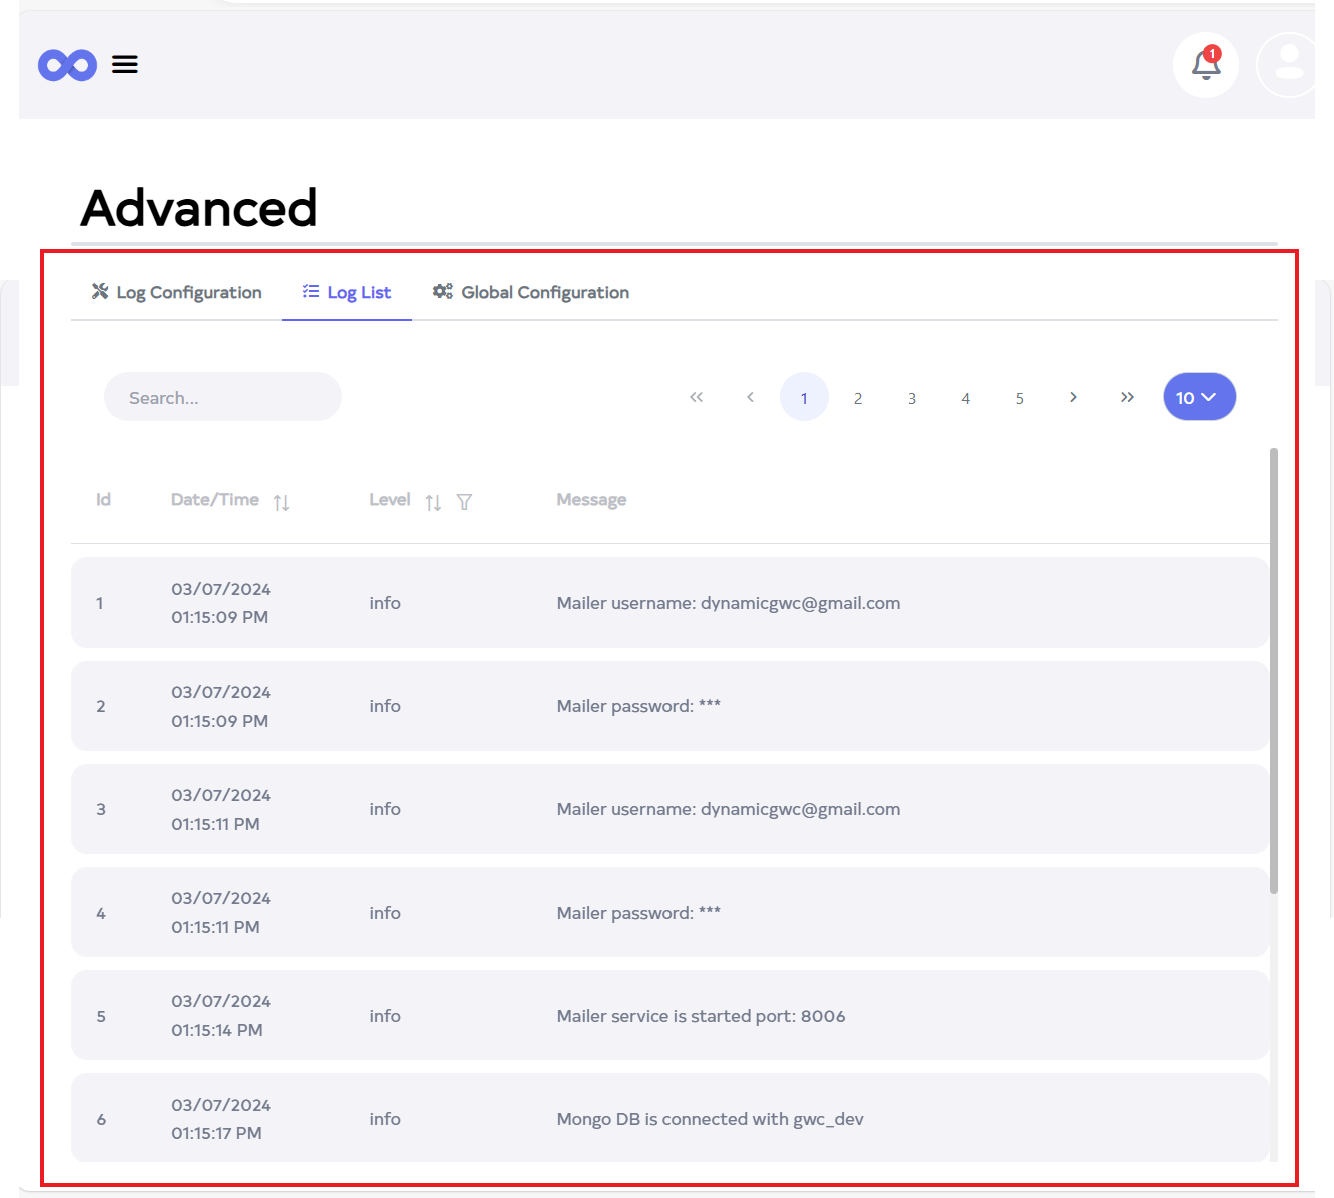
The Log List section displays a comprehensive list of logs that have been recorded based on the configured log levels. This section provides filtering and search options to facilitate quick retrieval of specific log entries.
- Access the Log List
- Click on the Log List tab to view recorded logs.
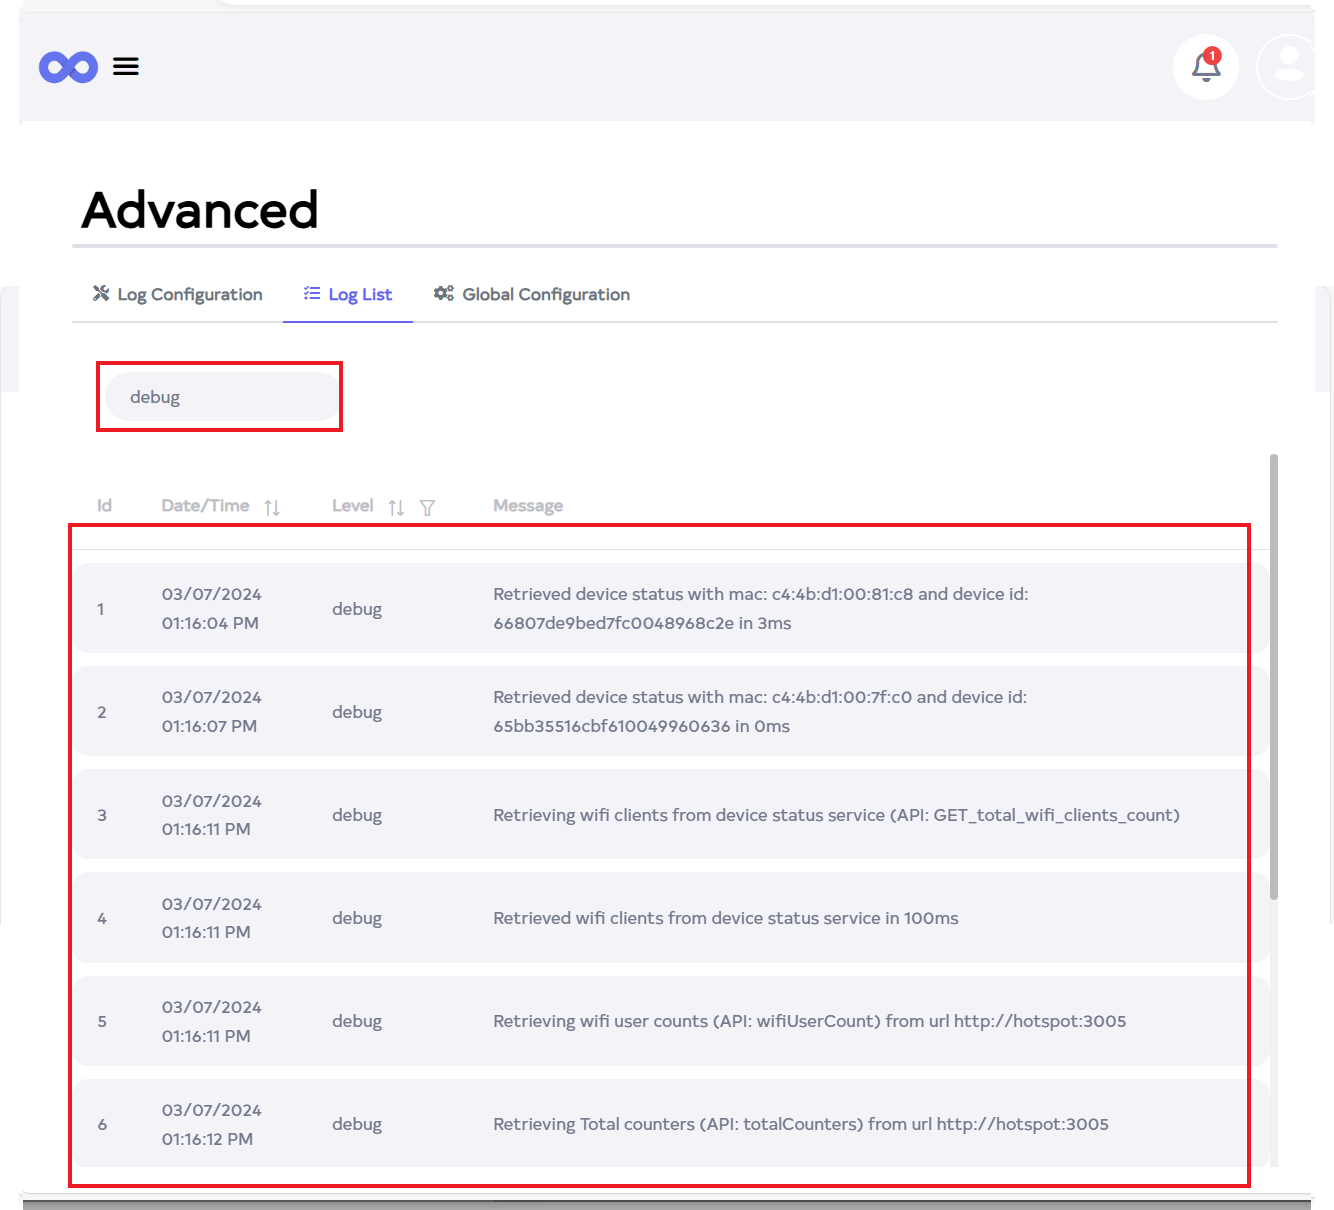
- Search Specific Log Entries
- To check a specific level and message, go to the Search tab and search. For example,a debug search will display the corresponding level.
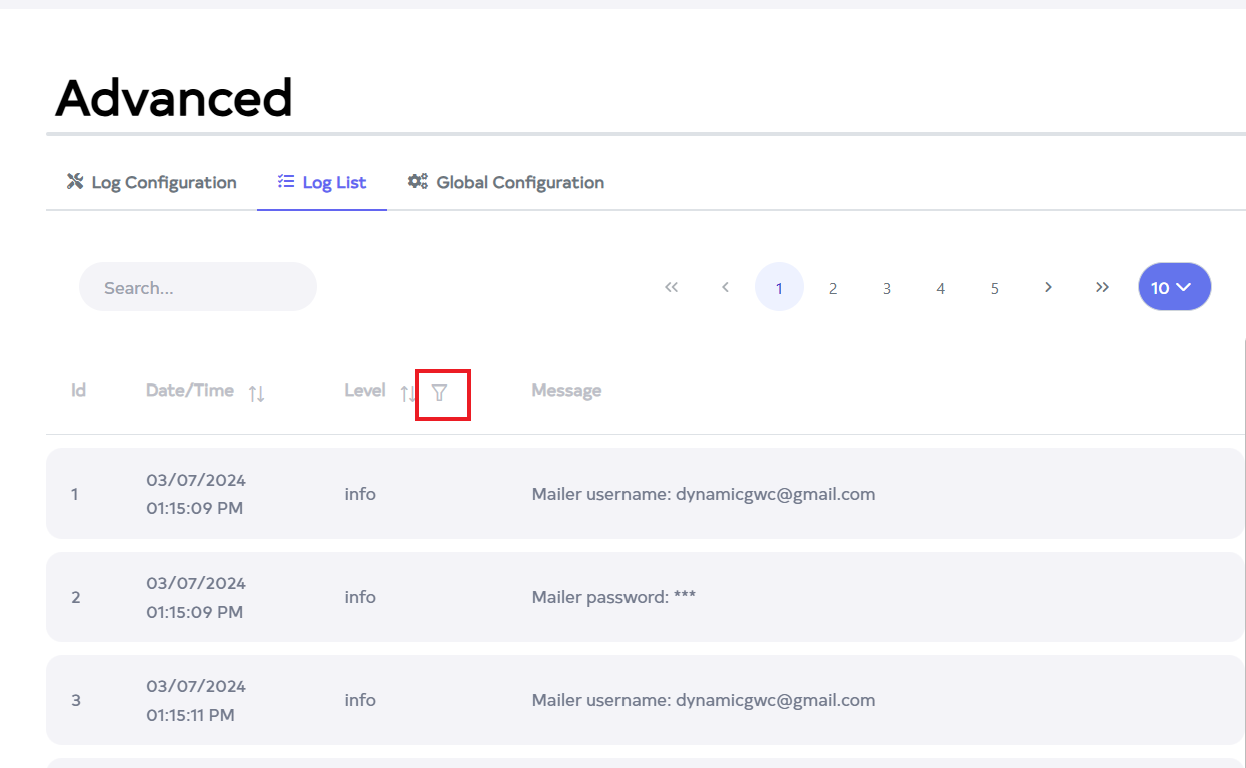
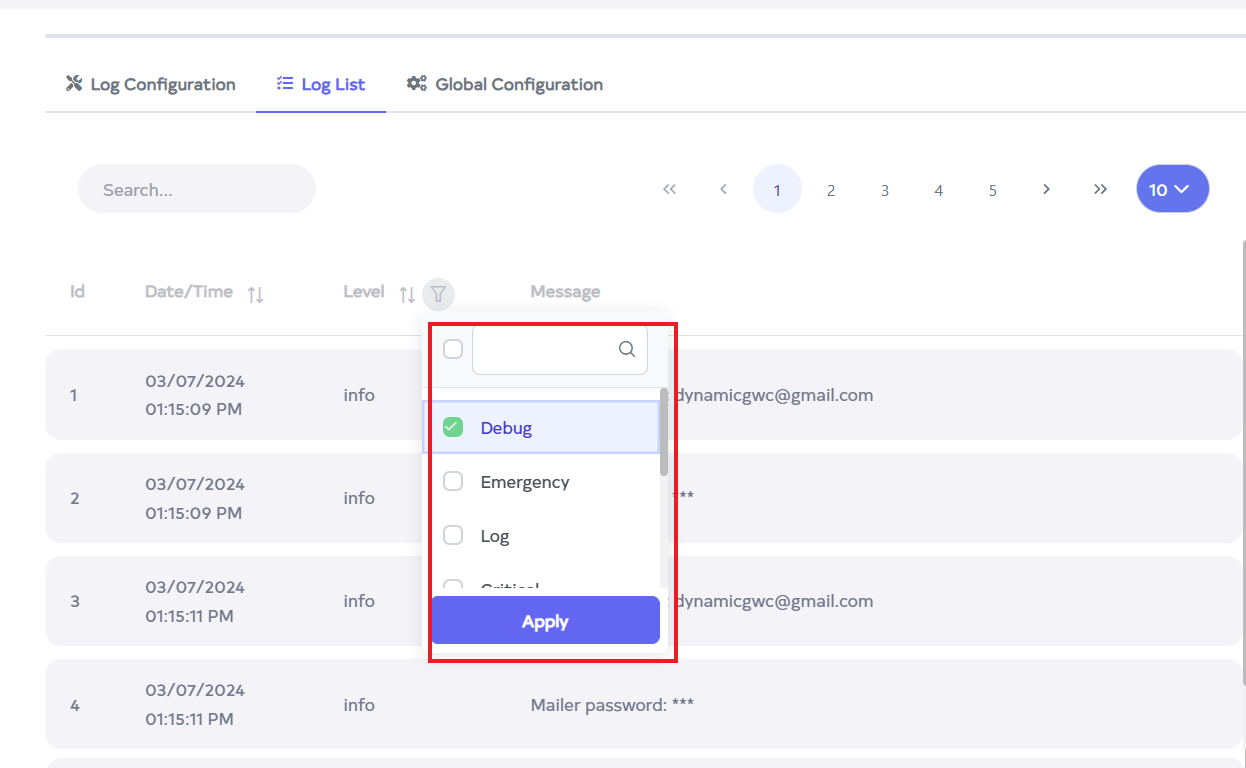
- Filter Logs by Level
- The level can also be seen by filtering. Click on the level filter.
- Apply Filter
- Open the new popup. Different levels will be displayed. Click the checkbox for the desired level, then click the Apply button.
Global Configuration
The Global Configuration section allows for the configuration of essential system-wide settings, including the Geo Location API Key, Grafana URL, Console URLs, Mailer Config, and Kafka Config. These settings ensure seamless integration and communication across various services within the system.
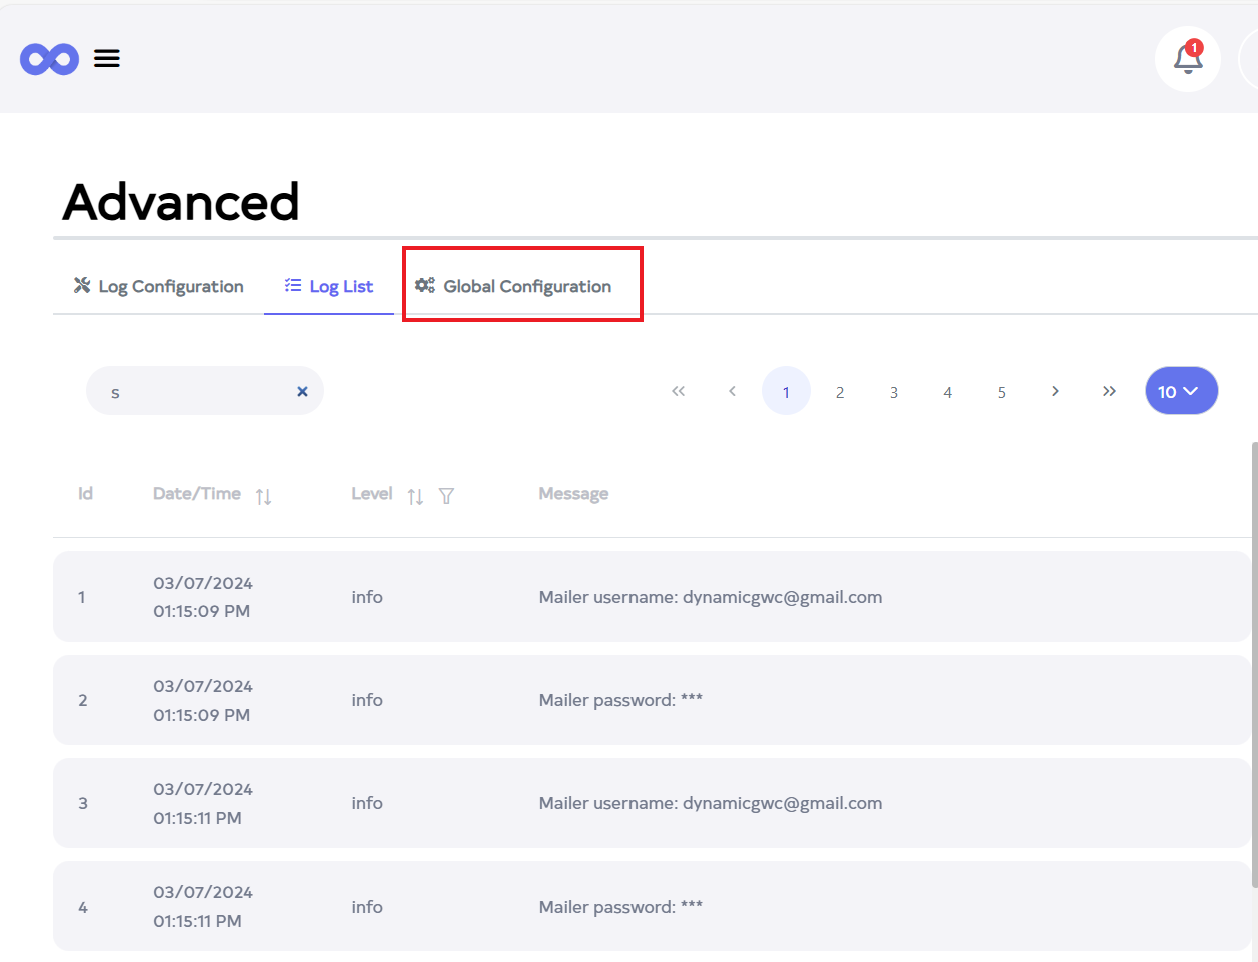
- Access Global Configuration
- Click on the Global Configuration tab.
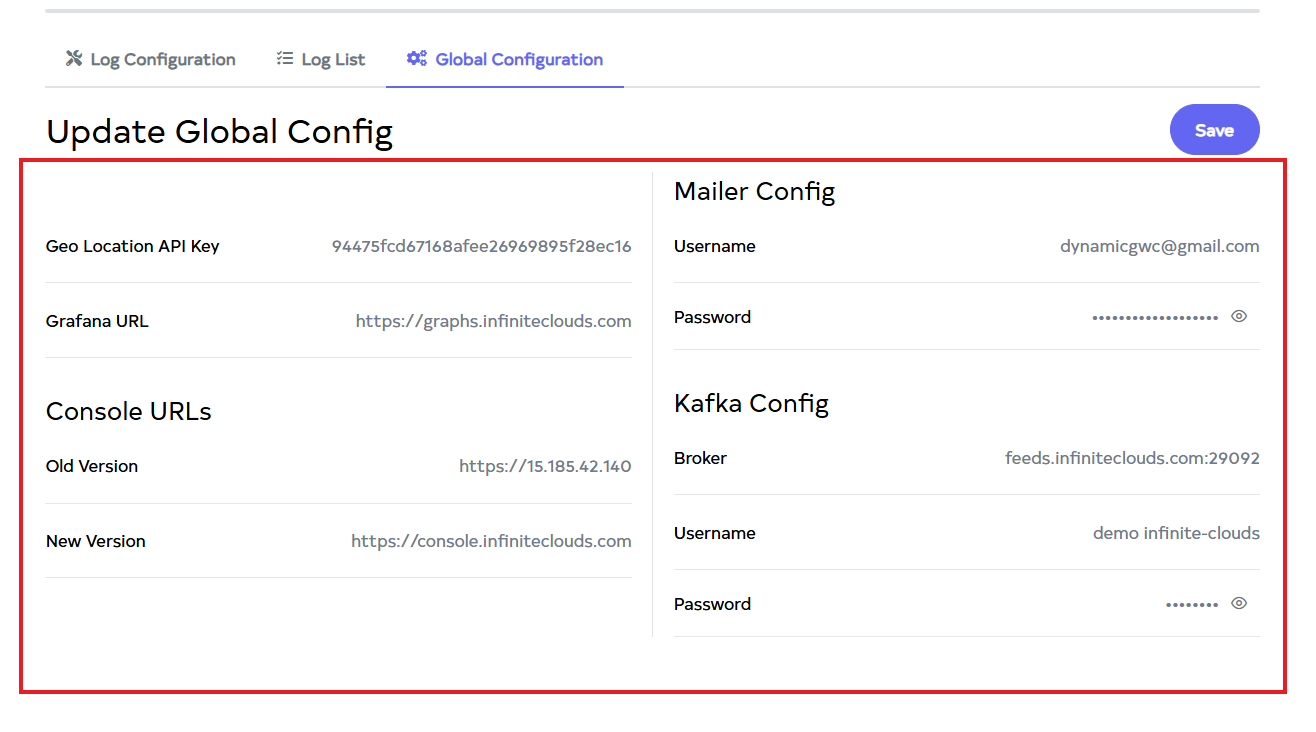
- Update Configuration Settings
-
Clicking the Global Configuration will reveal its settings. Here in this section, Users can update the
-
Geo Location API Key,
-
Grafana URL,
-
Console URLs,
-
Mailer Config, and Kafka Config. They can also add their own Grafana URL and Console URLs.
- Save Global Configuration
-
Press on the Save button.
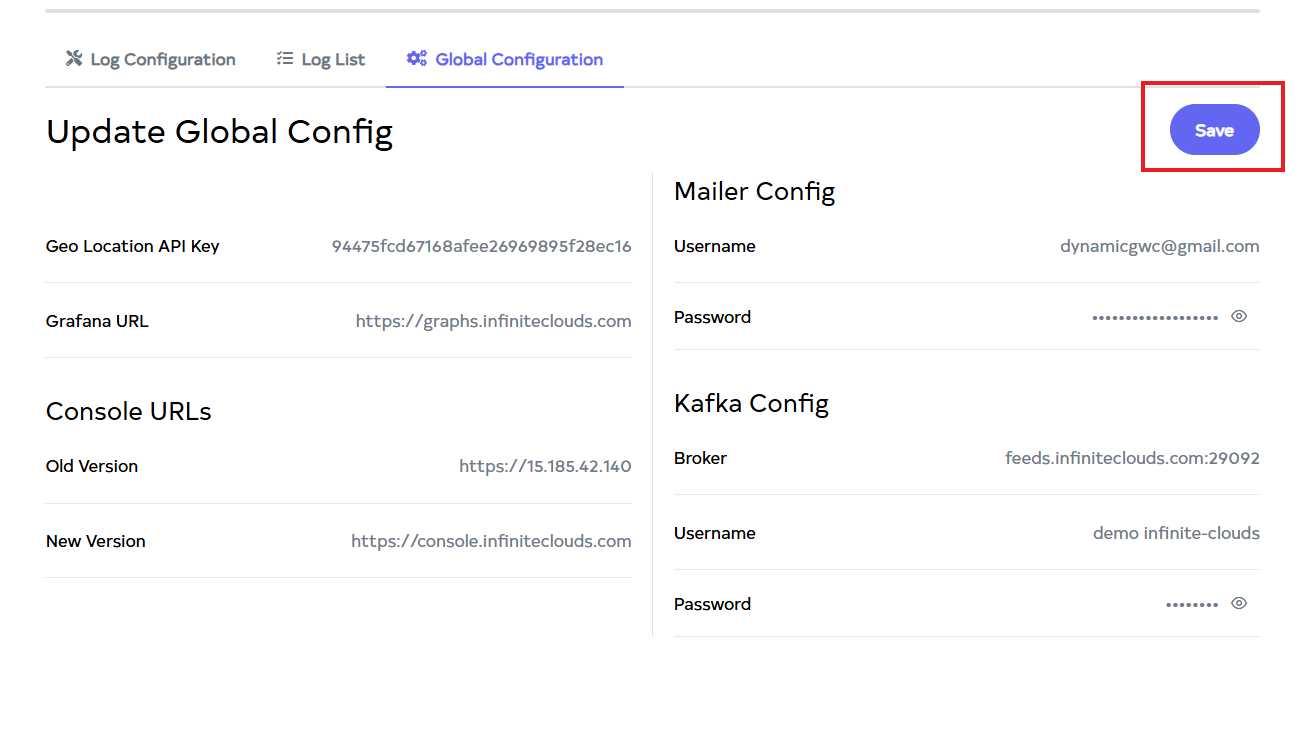
-
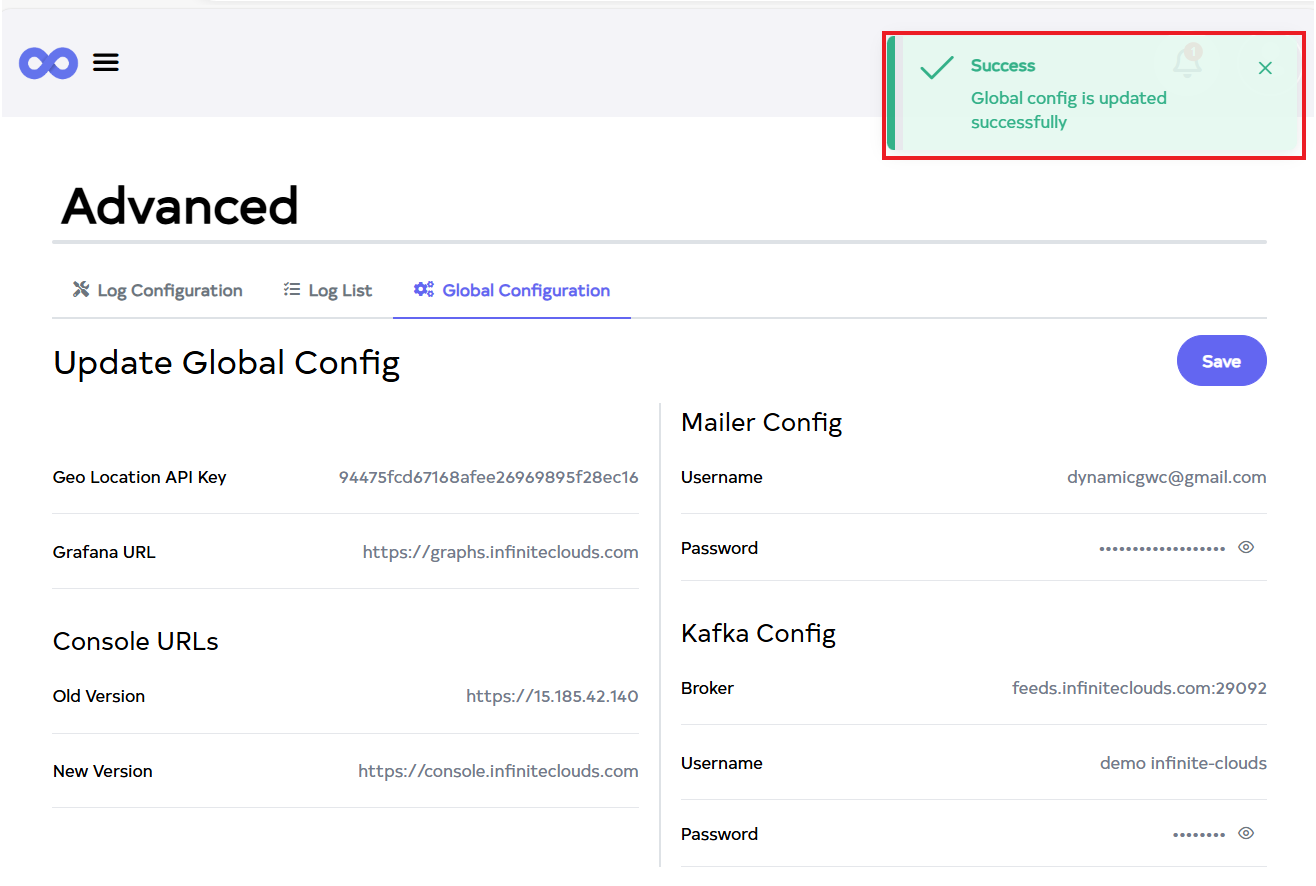
After the Global Configuration Section has been saved, a success message will appear stating Global config is updated successfully.
Application Reset for On-premise Environments
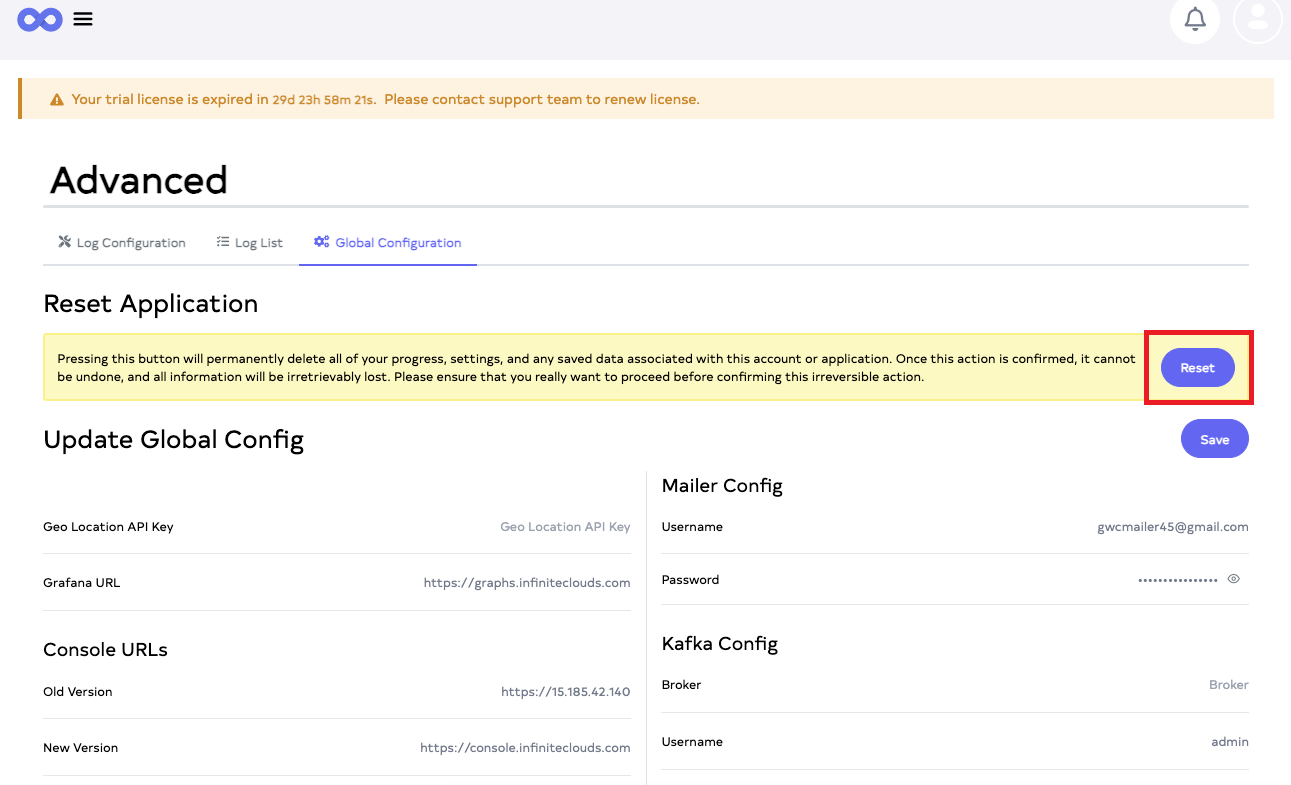
The application can be reset within on-premise environments via the Global Configuration interface. This process permanently removes all data and restarts the system.
-
In the Global Configuration section, locate and click the Reset button.
-
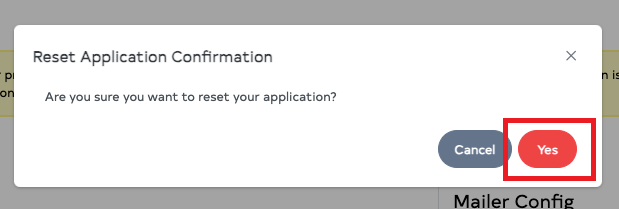
A confirmation message will appear, prompting confirmation of the reset. Click on the "Yes" button to proceed with the reset.
Confirmation-Dialog-Information- If Yes is clicked on the confirmation dialog, all existing data will be permanently removed. To confirm the deletion and proceed with the reset, click Yes.
- Once confirmed, the application will be reset, resulting in the loss of all data. It is essential to back up any necessary information before proceeding.
 Reconfiguration-After-Reset
After the application is reset, it will automatically restart. You will need to reconfigure the wizard setup. Log in using
admin@example.comand complete the wizard configuration.Data-Loss-WarningPlease be aware that resetting the application will result in the loss of all existing data. You will need to re-enter all information from scratch.