Radius Accounting
Overview of Radius Accounting
Accounting, in this case Radius, is the act of managing wireless network services. This may include information about the connection, session length, and bytes transferred. It is usually controlled by a Remote Authentication Dial-In User Service, or RADIUS, server that would collect this information to make sure that the network resources are being used efficiently and safely.
Benefits of Radius Accounting
It gives several radius accounting advantages in areas of effective management of the network. This manages to let the administration monitor and manage the network usage to achieve optimal performance and resource allocation. Such will help to identify and check security threats to the safety of your network by analyzing user trends in activities. This helps businesses with supporting correct billing through details of usage, thereby assisting to send the correct and accurate invoices to their customers. In addition, it addresses regulatory needs for compliance by giving full details in relation to network performance and usage.
Steps to Create Radius Accounting
-
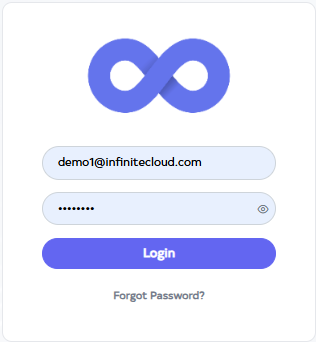
Go to Cloud platform and go there fill the details and then click on login button.
-
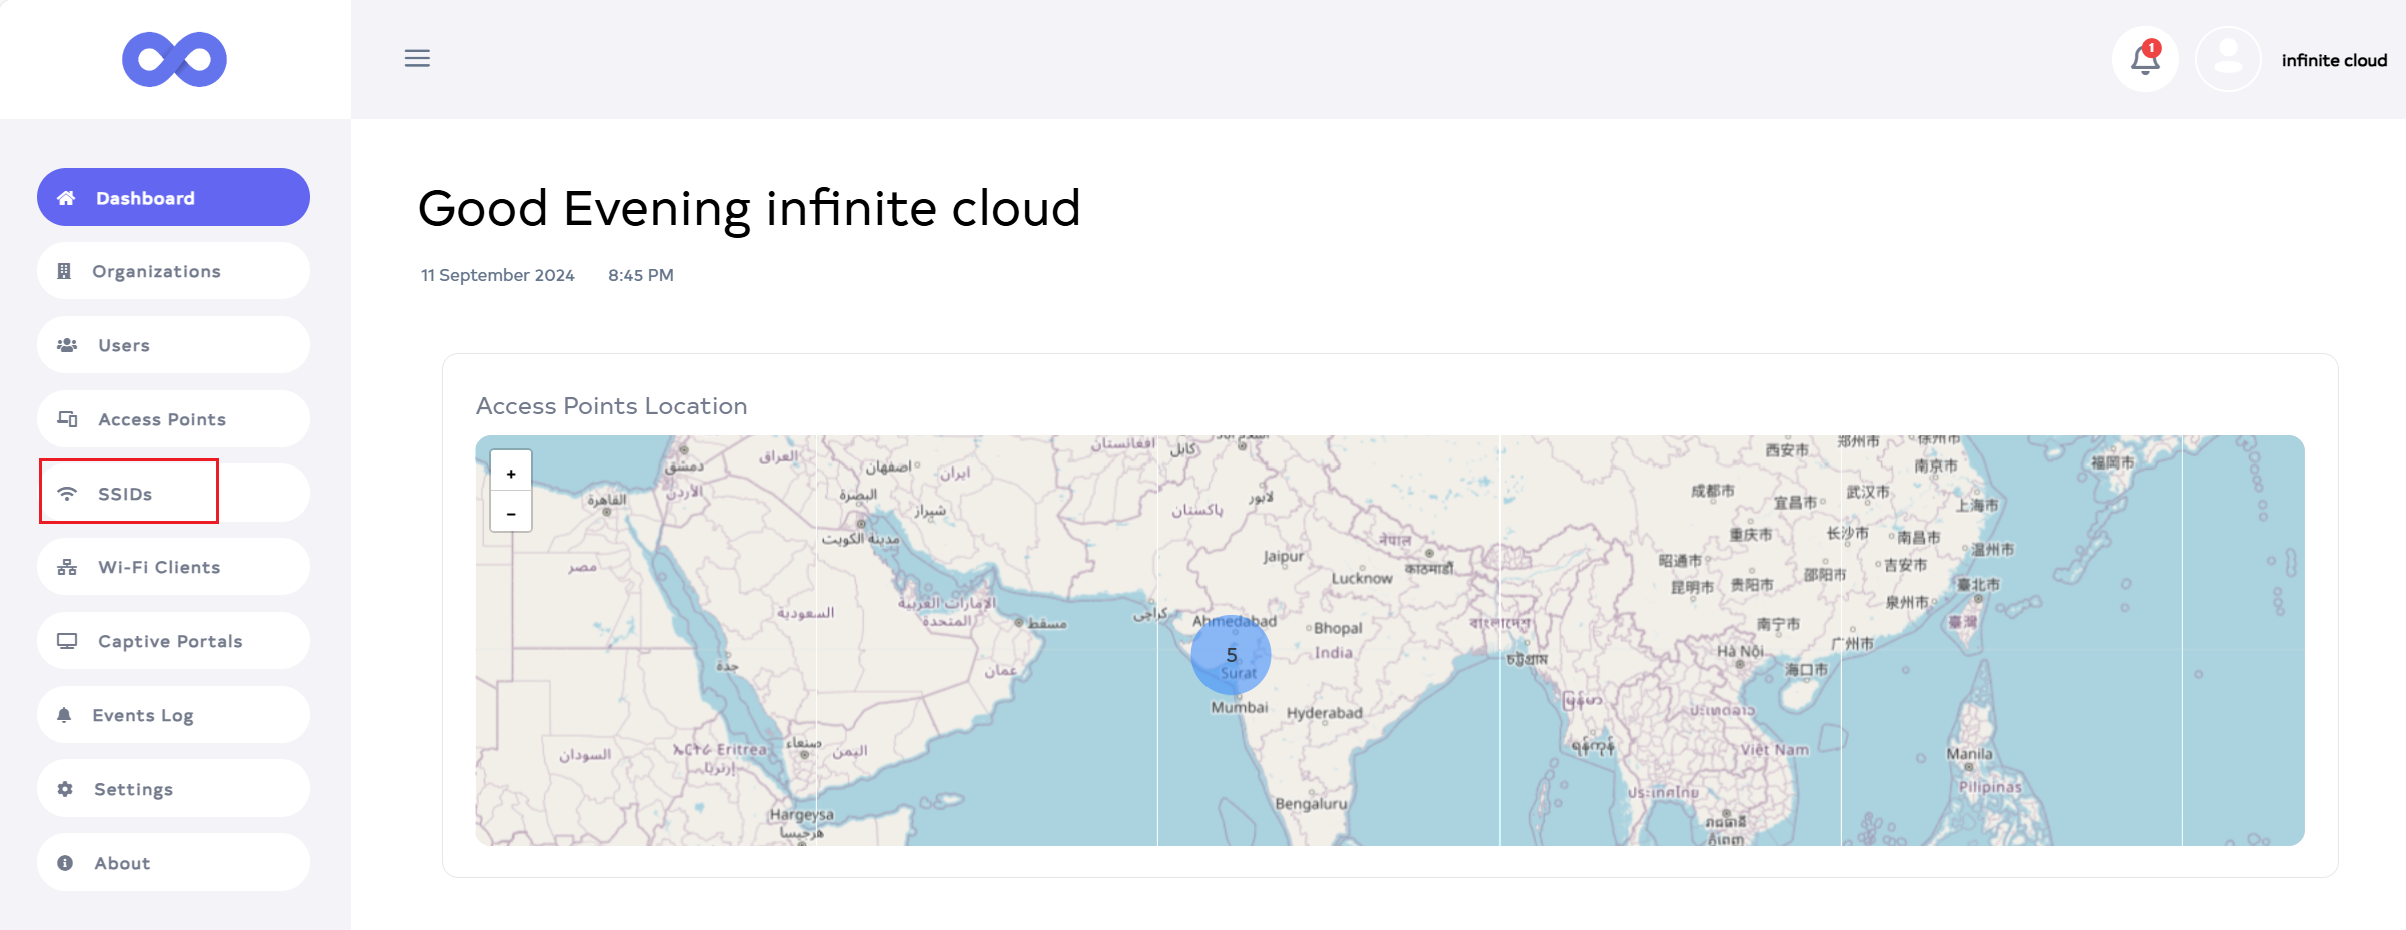
Upon logging in, access the Dashboard and proceed to the SSID menu.
-
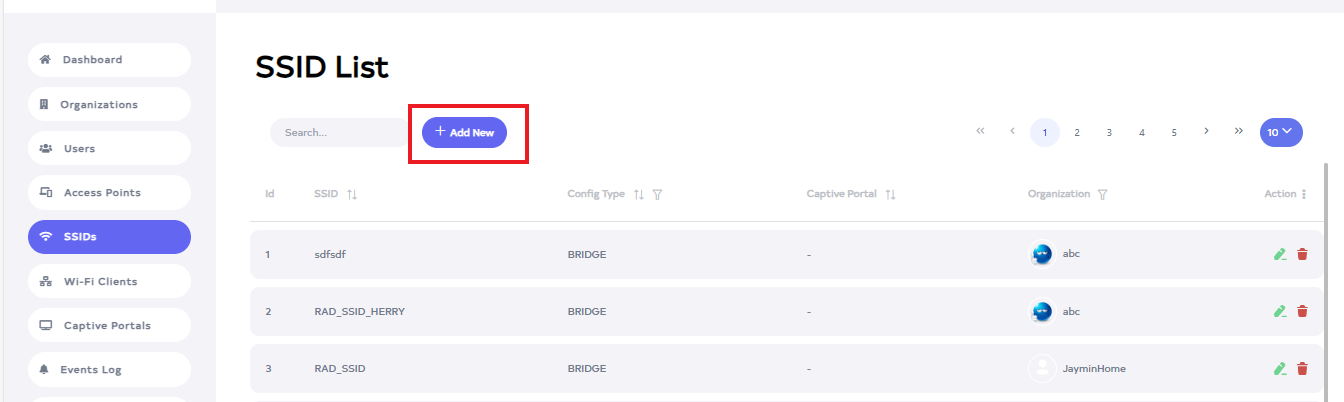
After going to SSID menu click on Add New button.
-
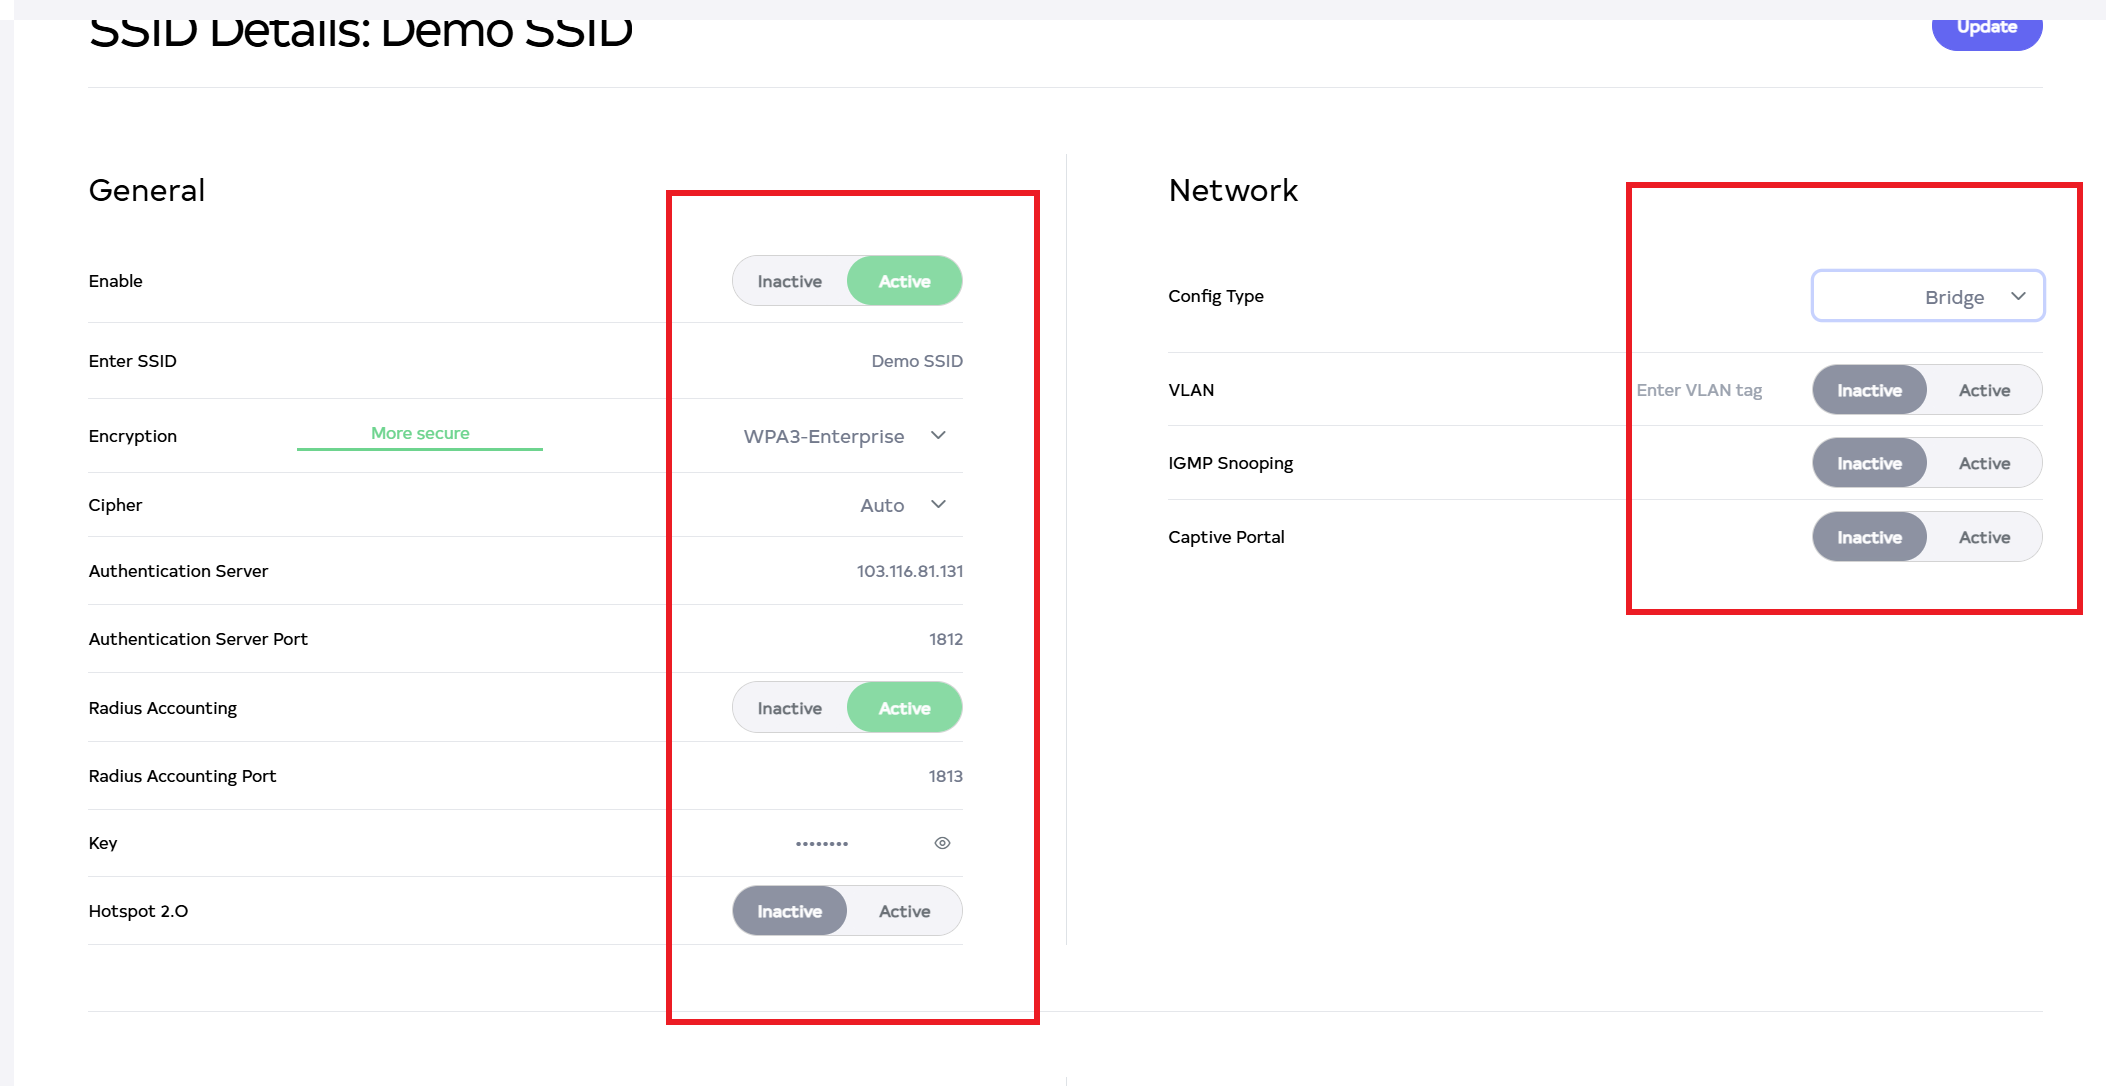
A new window will open. Fill in the details there.
- Enable:- click on Inactive and Active button. for example:- Active.
- Select organization:- Select organization there for example:- Demo SSID.
- Enter SSID:- Enter SSID here. For Example Radio-SSID-infi.
- Encryption:- Select Encryption. Be careful not to do anything other than select encryption WPA3-Enterprise or Wpa2-Enterprise. For Example:- WPA3-Enterprise.
- Cipher:- Select cipher. For example:- auto.
- Authentication server:- Enter authentication server. For Example:- 103.116.81.131.
- Authentication server port: The authentication server comes by default and if not then enter it. For Example:- 1812.
- Radius accounting:- Select Radius accounting. For Example:-Active.
- Radius accounting port:- Radius accounting port will be selected by default, if not then enter. For Example:- 1813.
- key- Enter the key.
- Config type:- Select config type. It has two types, bridge, and router, Any of these can be chosen, and the configuration type can be set as route or bridge. In this example, the bridge is selected.
-
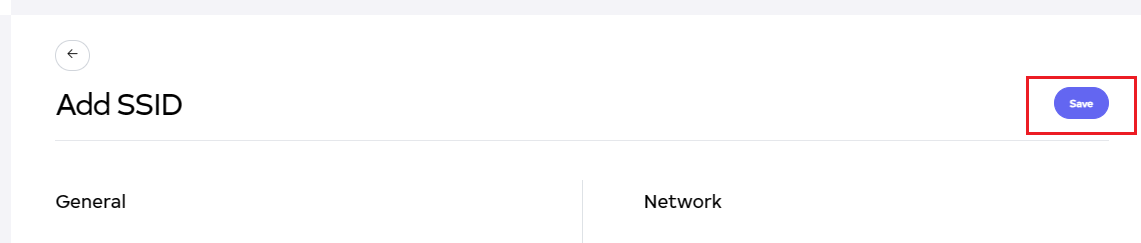
After that click on Save button.
-
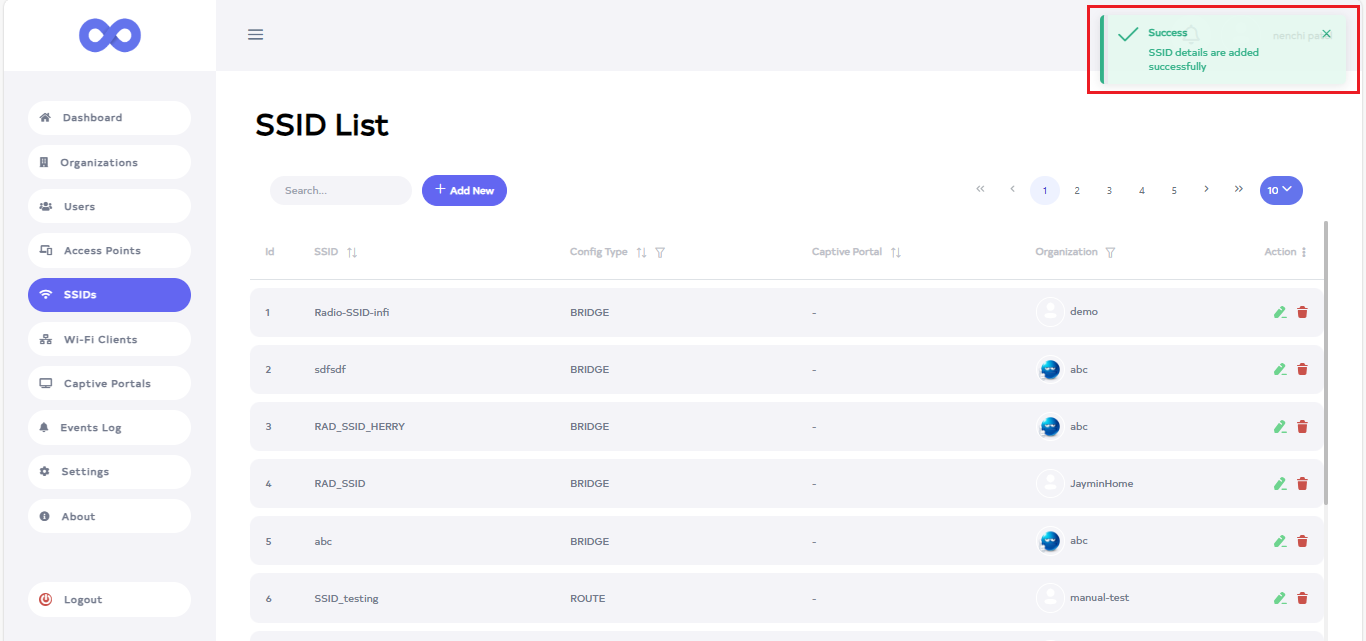
After the SSID Section is saved successfully, a success message will display SSID derails are added successfully.
How to connect Radius Accounting
-
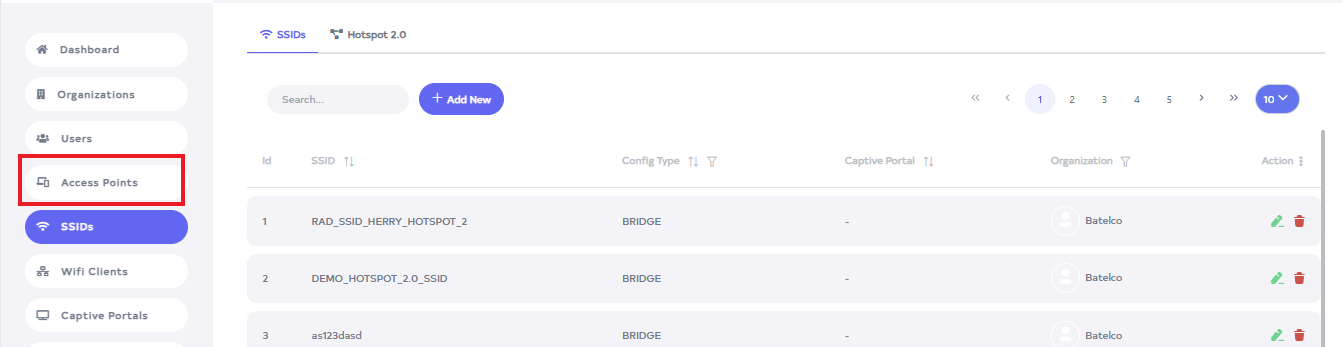
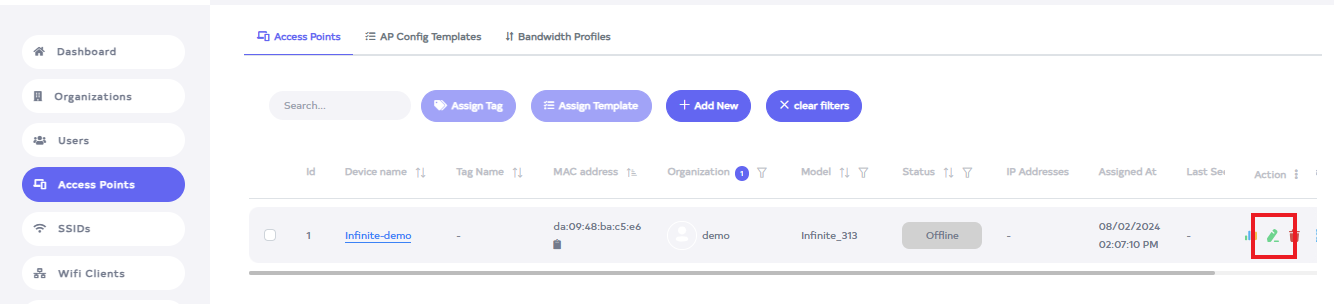
Click on the Access Point menu located on the left side.
-
Go to the device for Radio Accounting.
-
Click the Edit button located on the right side of the Access Point.
-
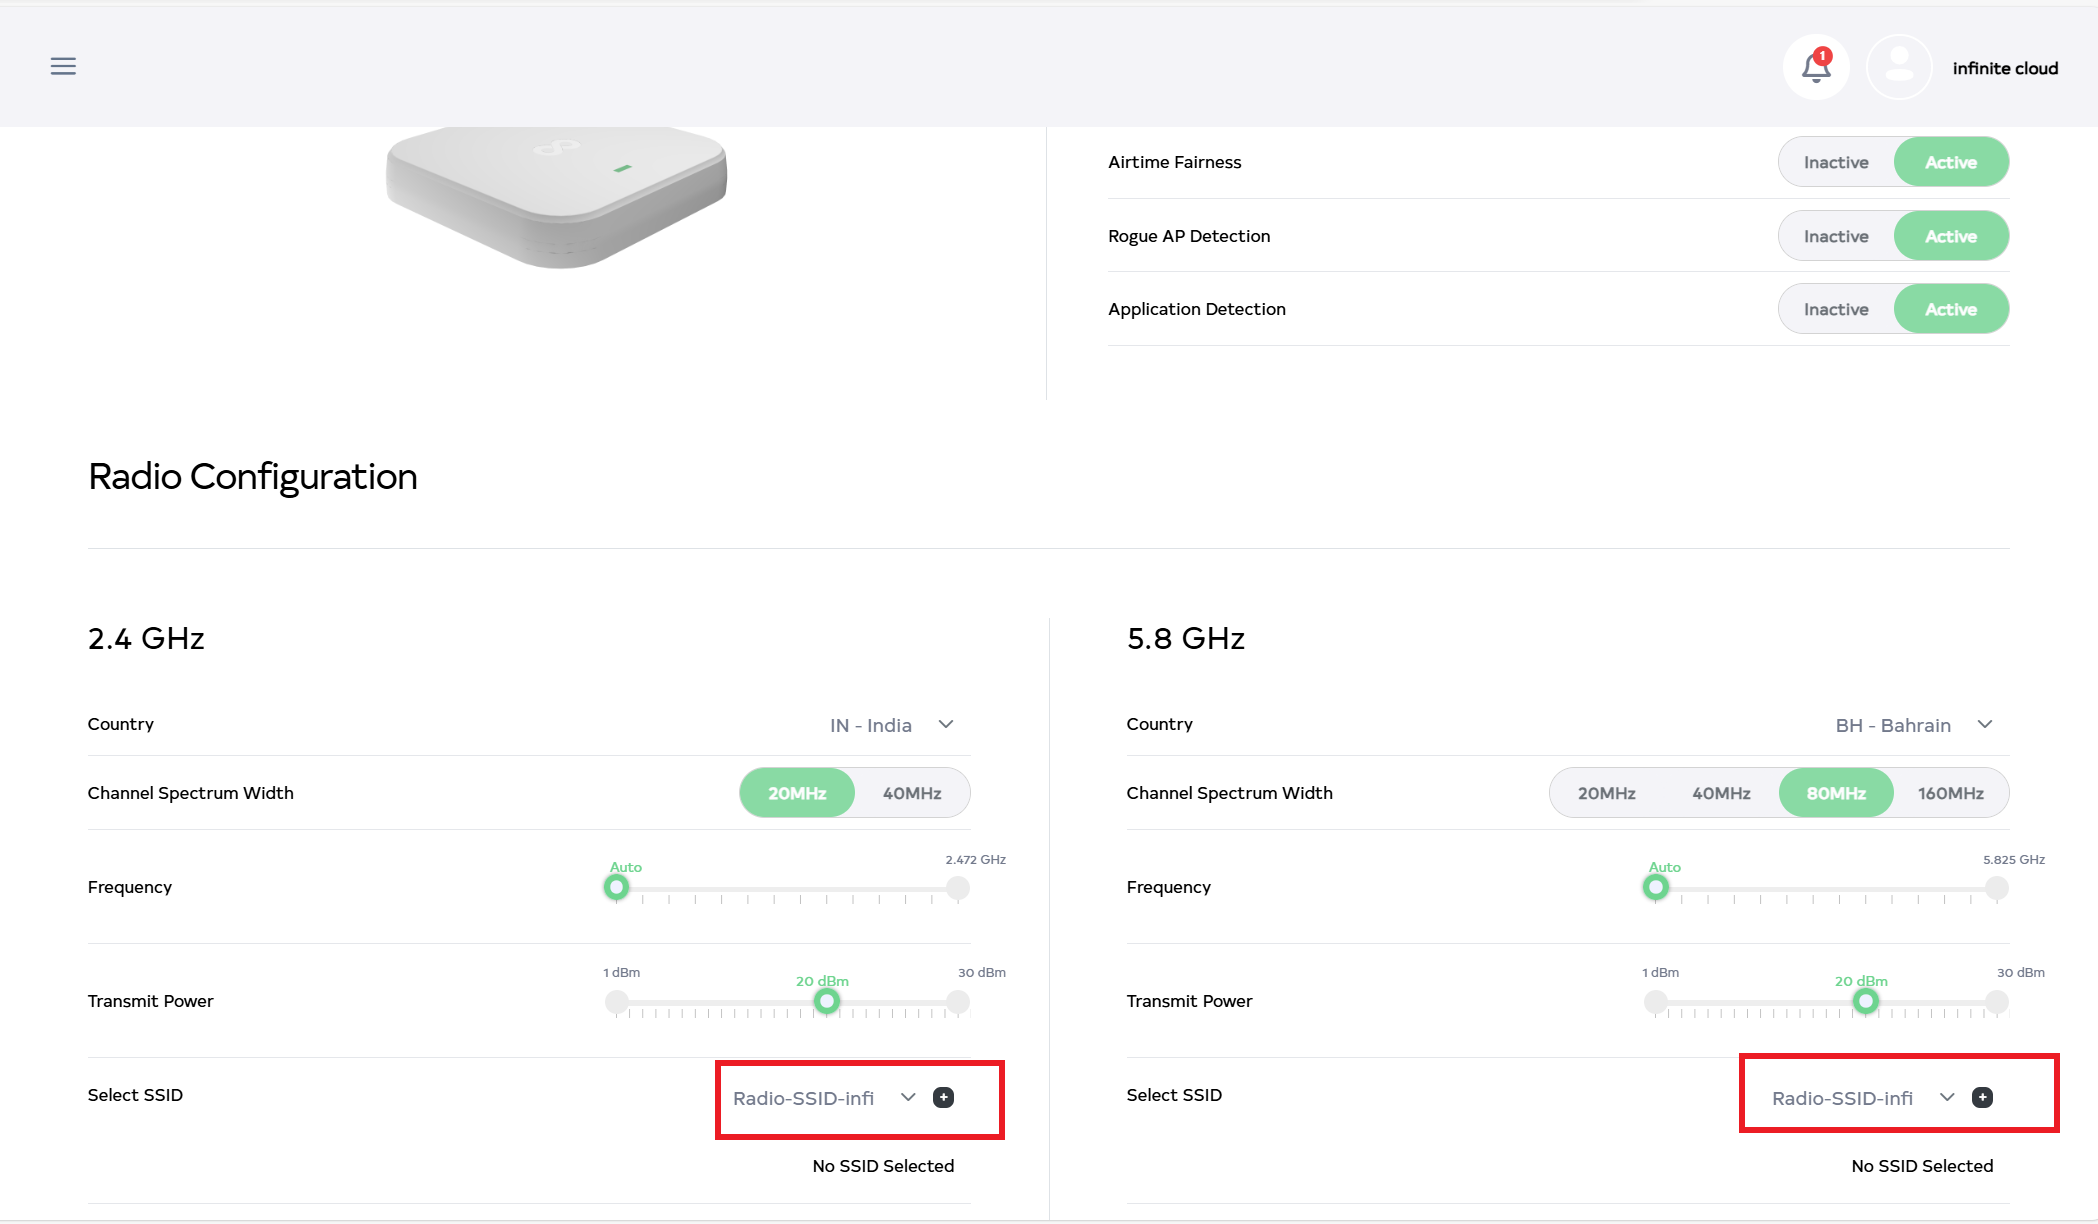
After clicking, scroll down to find Radio Configuration. Radio Configuration has two types: (1) 2.4 GHz and (2) 5.8 GHz. Then select Radio-SSID by clicking on the select SSID arrow. For example: Radio-SSID-infi.
-
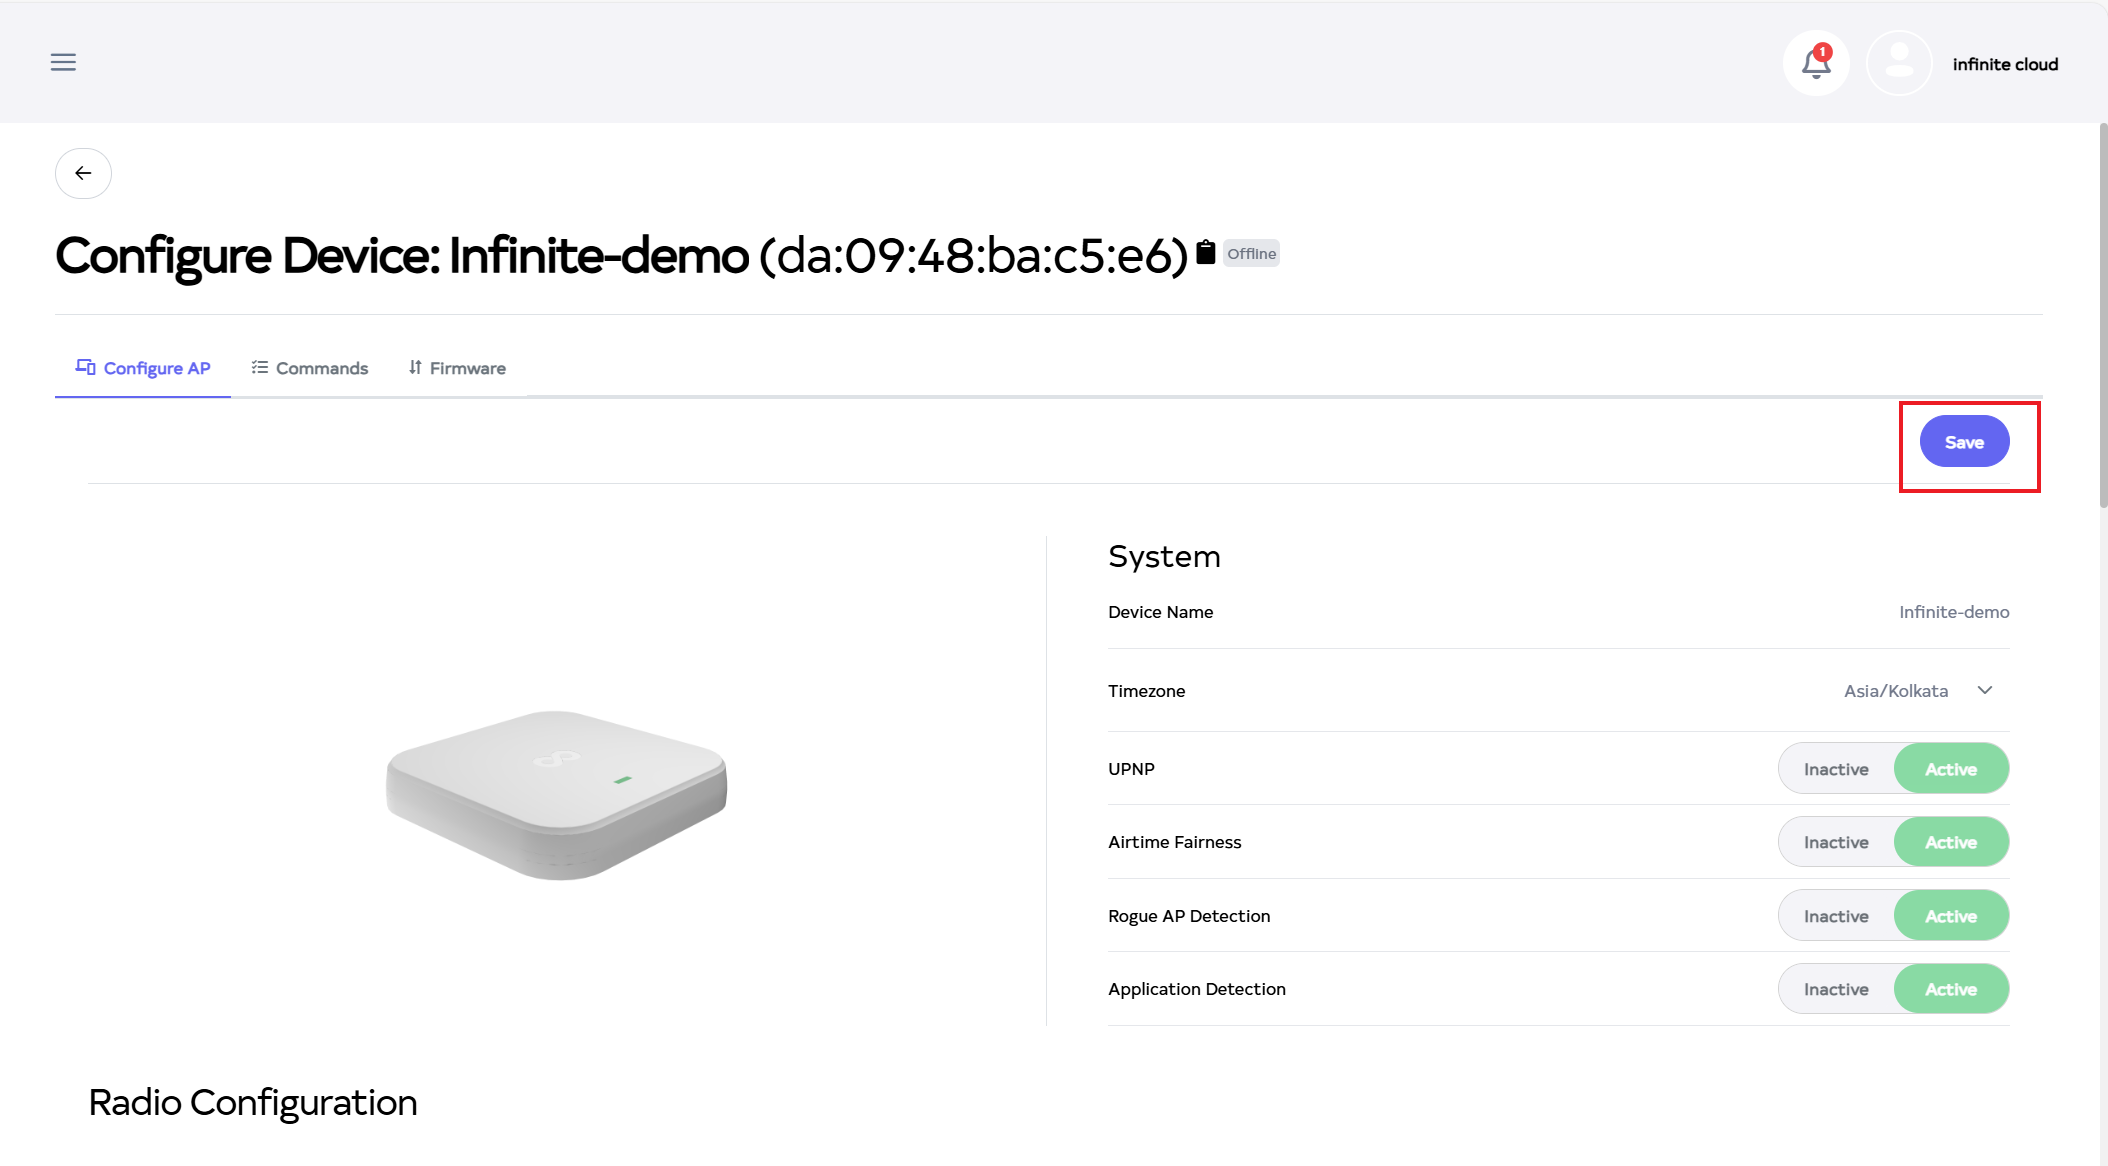
Then click on the Save button.
-
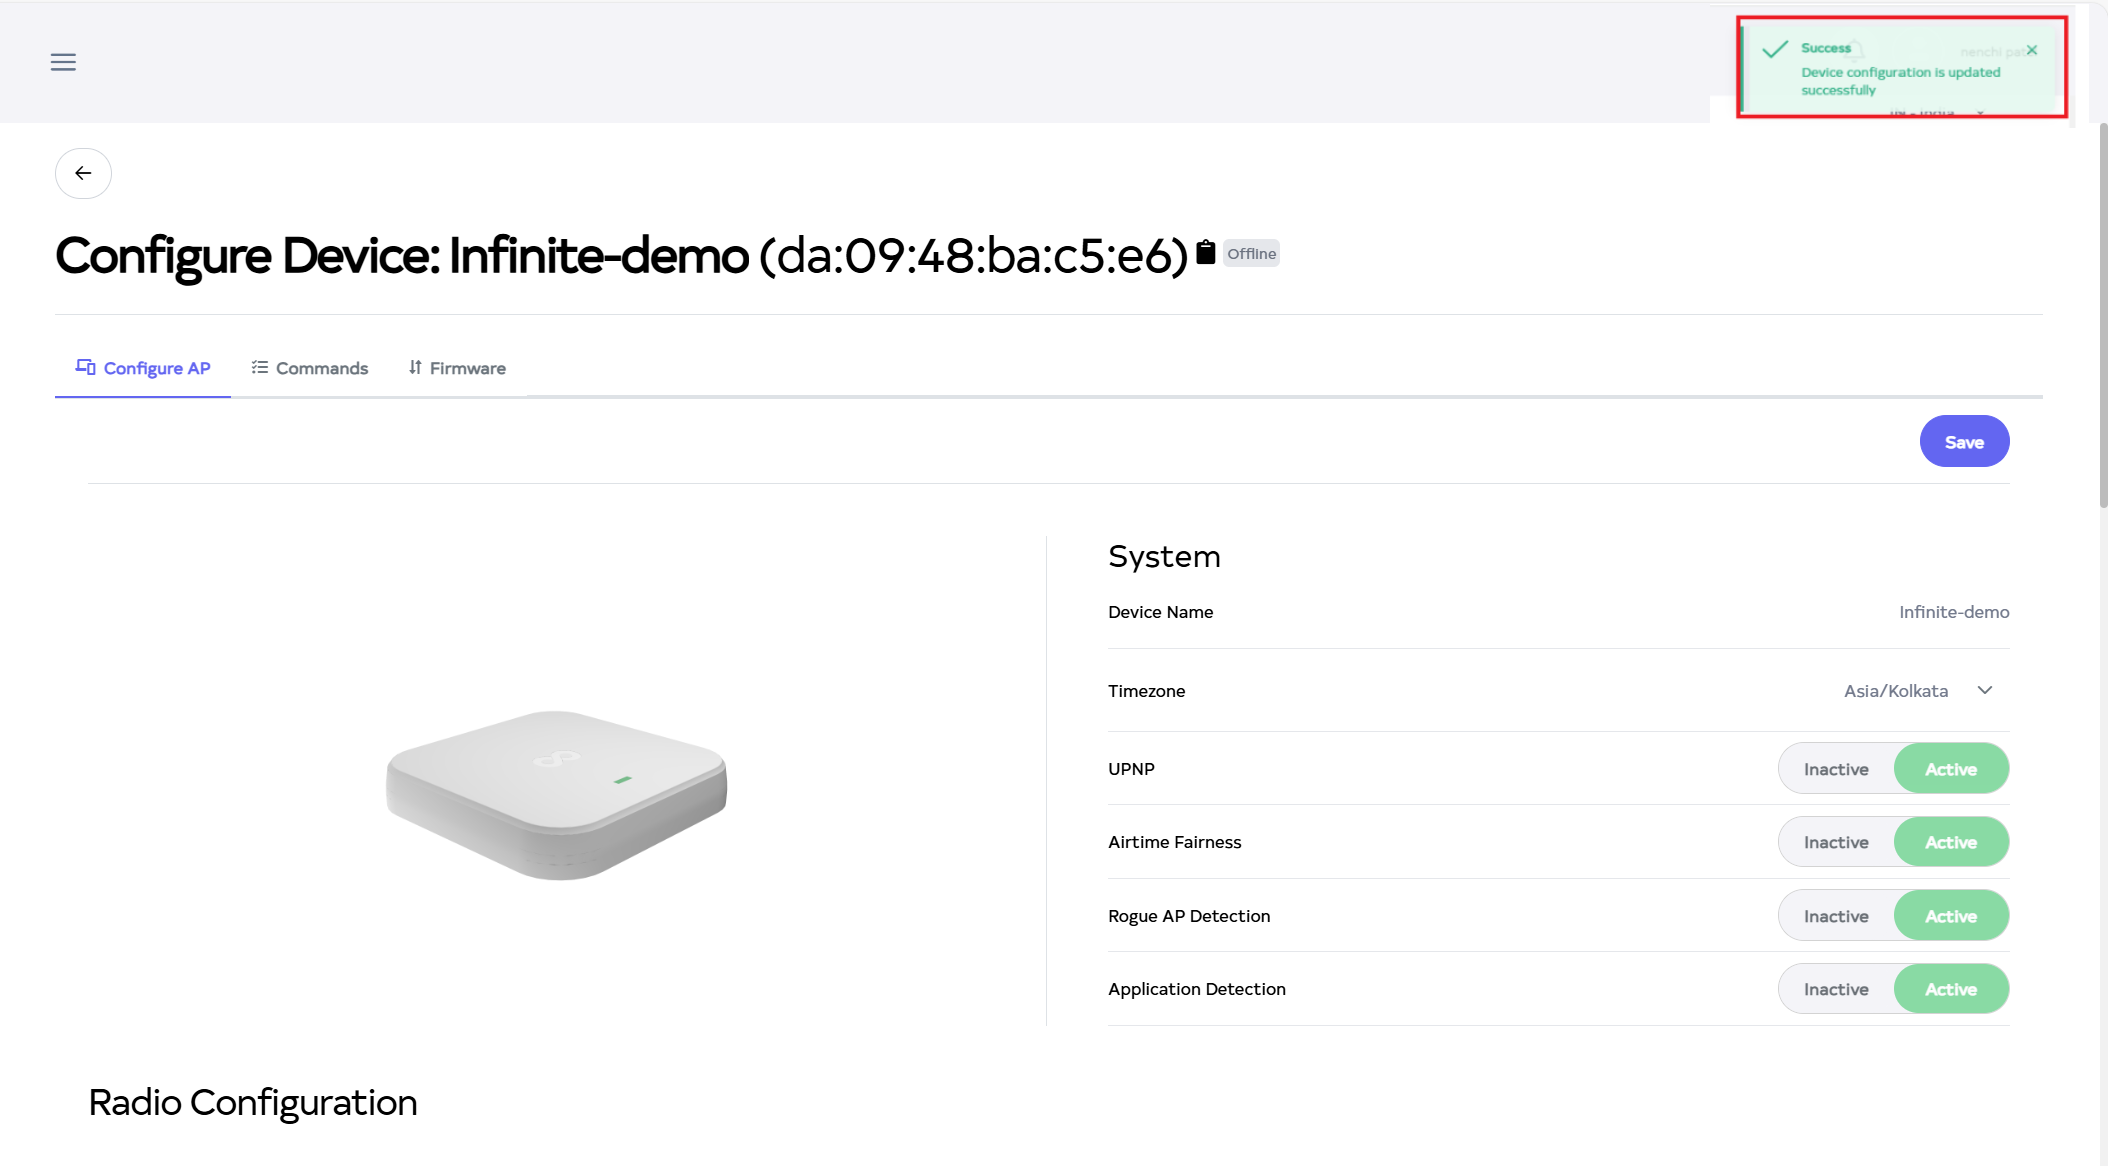
After the Radio configuration Section is saved successfully, a success message will display Device configuration is updated successfully.
How to connect Radius Accounting to the client in iPhone
-
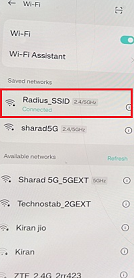
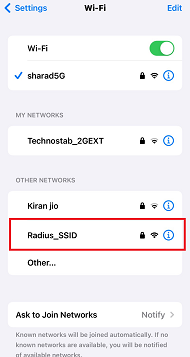
Connect Radius Wifi from the list of Wifi.
-
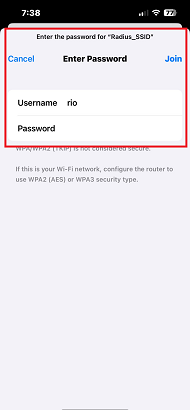
Connecting to WiFi will open a window.

-
Then enter Username and Password there. Enter rio for example in the username. And then click on join on the right side there.
-
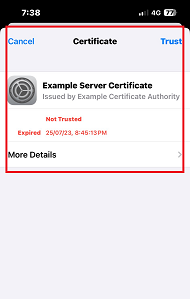
Click on join, then the certificate dashboard will open, and click on trust.
-
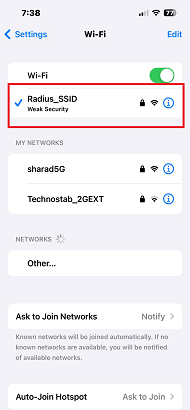
Clicking on trust will connect the Radius SSID.
How to connect Radius Accounting to the client in Android
-
Connect Radius Wifi from the list of Wifi.

-
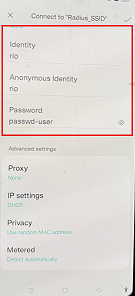
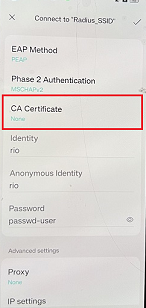
When connecting to WiFi, a window will open. Enter Identity, Anonymous Identity, and Password. For example, use rio for both Identity and Anonymous Identity. If there is no CA Certificate, select none.
-
And then click on the Right icon.

-
Clicking on the Right icon will connect the Radius SSID.