SSID
What is SSID
SSID stands for Service Set Identifier, and it refers to the name of a wireless network. In the context of an Access Point (AP), the SSID is a unique identifier that distinguishes one wireless network from another. When you search for available Wi-Fi networks on your device, the list of networks you see is populated by their respective SSIDs.
Importance of SSID
SSID is necessary for several reasons:
- Network Identification: It helps users identify and connect to the desired wireless network among several available options.
- Security: SSID plays a role in network security. It helps differentiate between secure and open networks, and users can configure their devices to automatically connect to specific SSIDs.
- Network Management: For network administrators, SSID serves as a means to manage and organize different wireless networks within a specific area.
How to create SSID
-
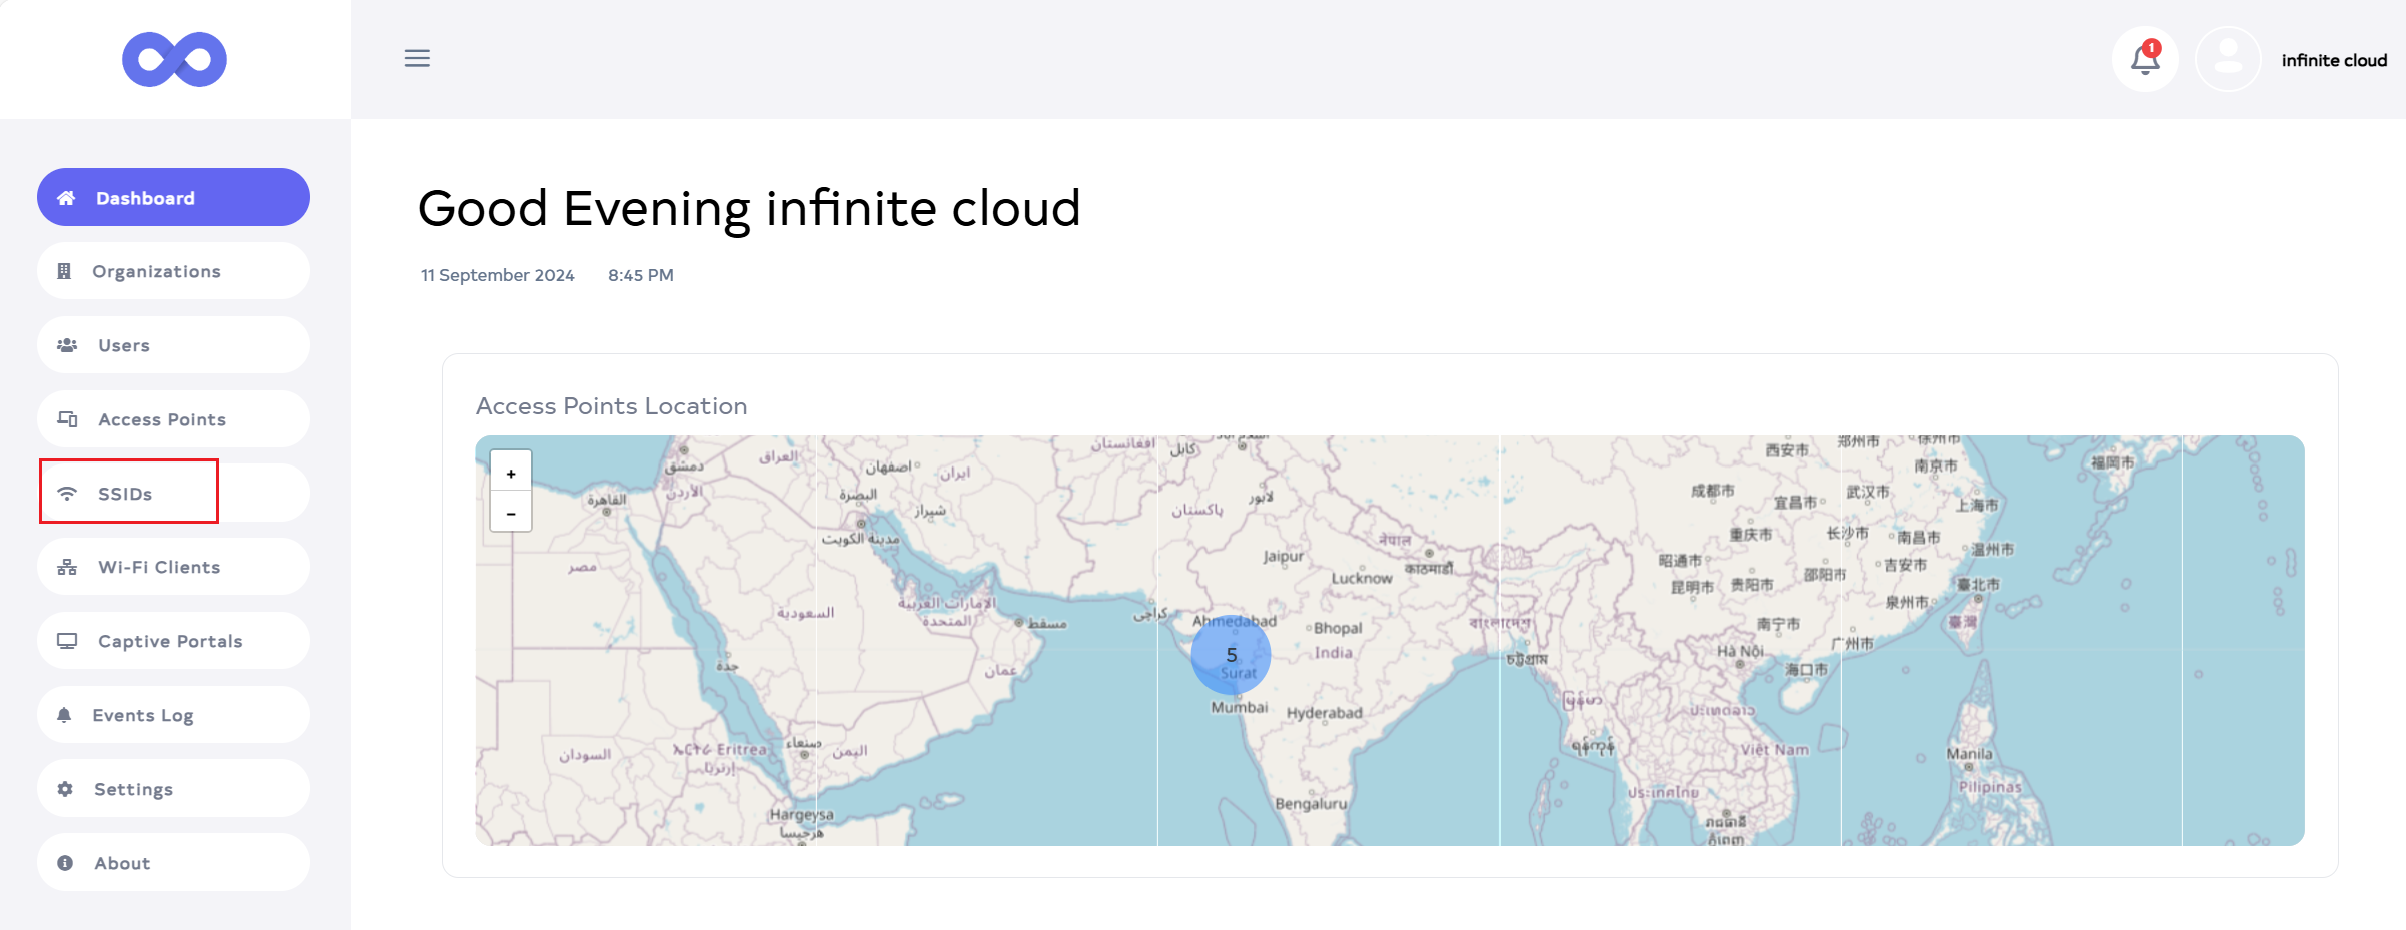
Click on the SSIDs menu located on the left side.
-
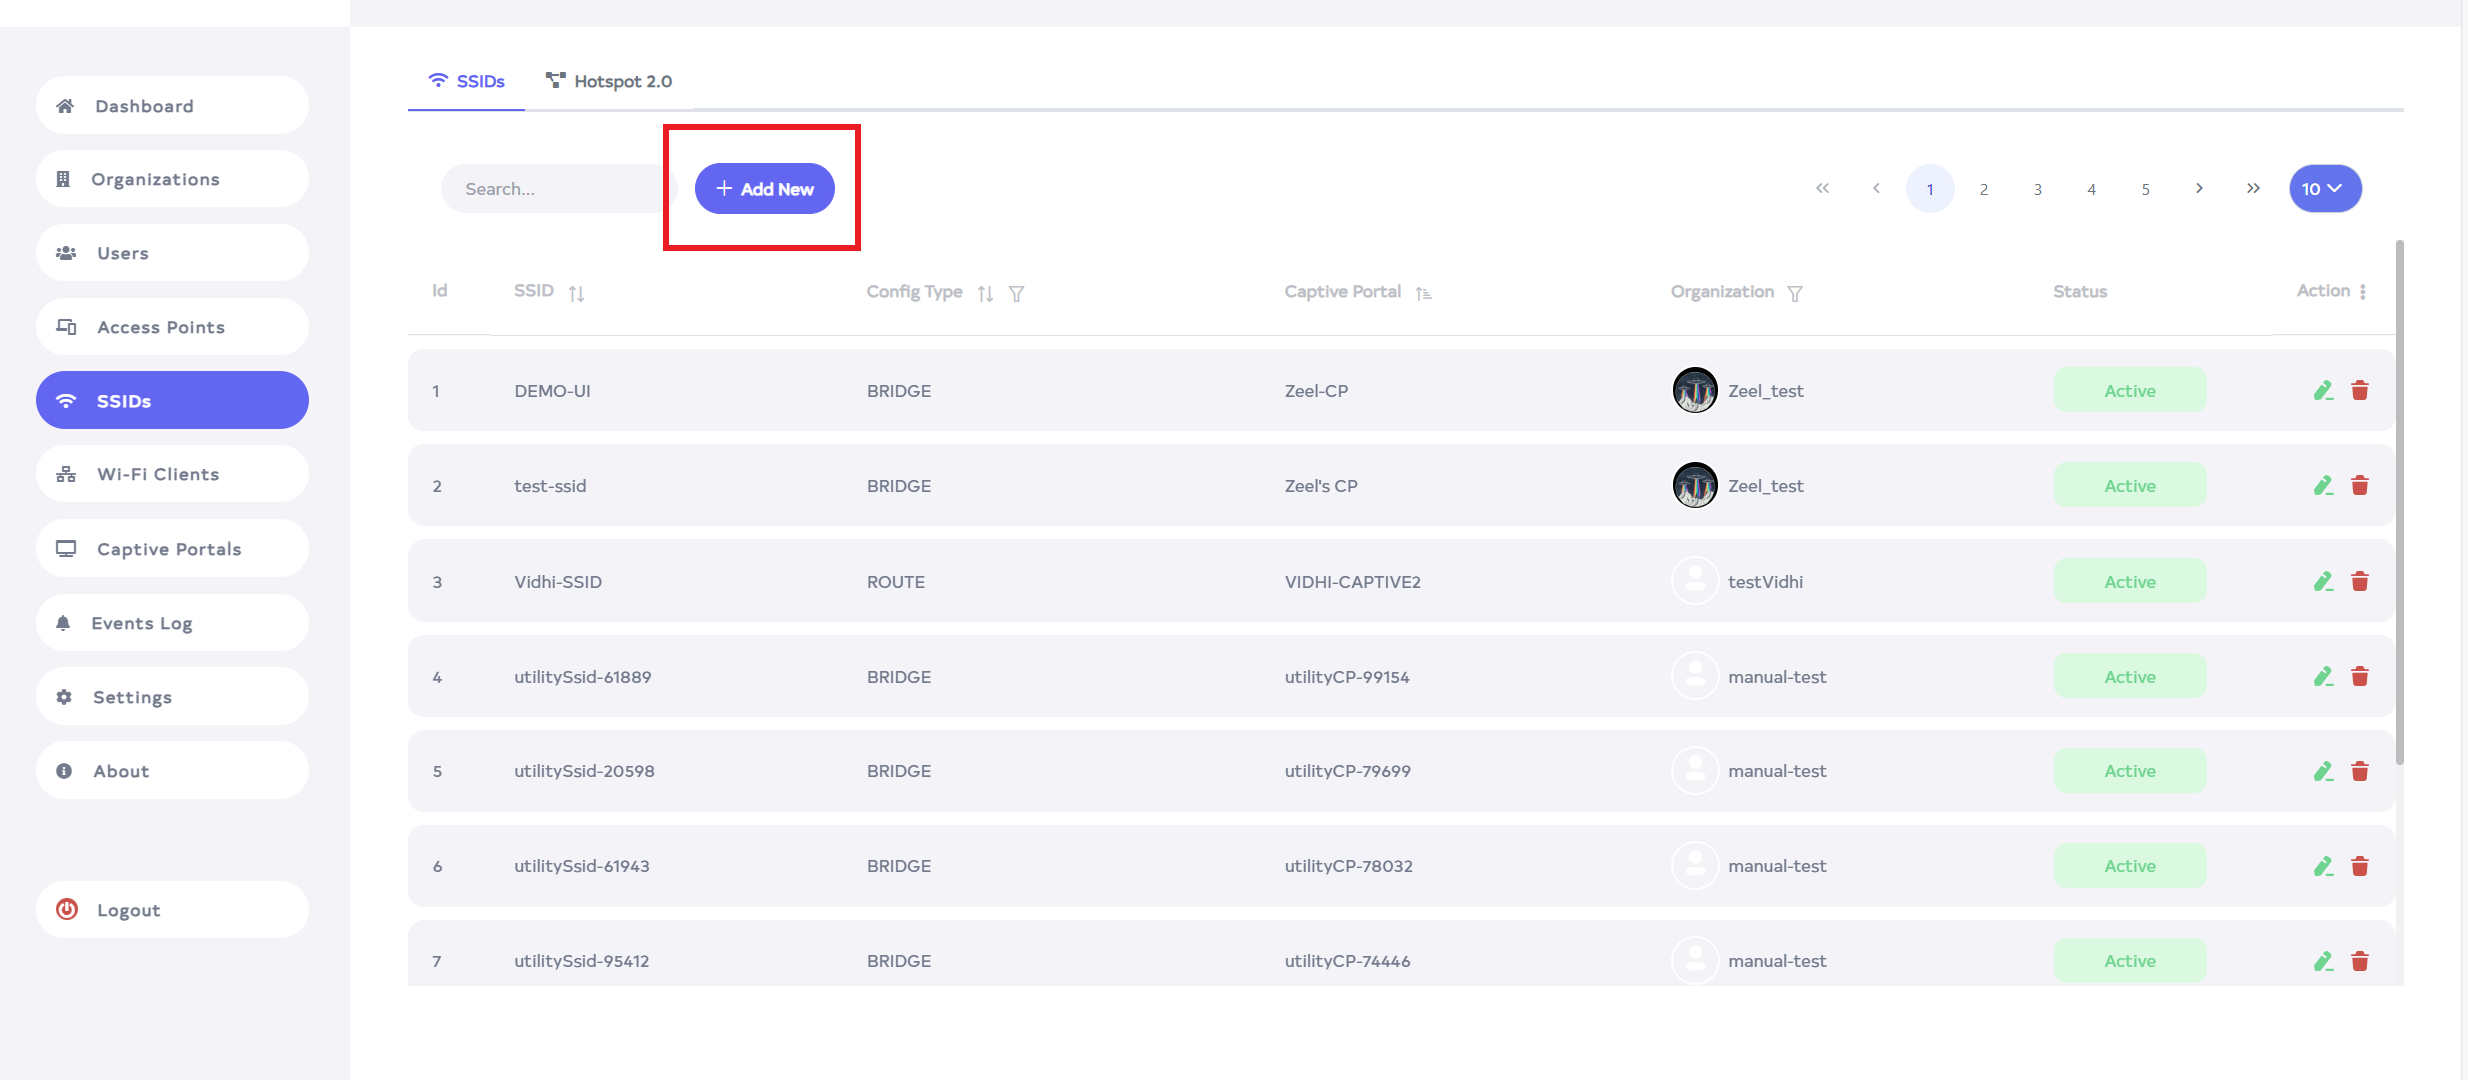
Click on SSIDs to view a list of SSIDs, then click the Add New button.
-
After clicking the Add New button, a window will be displayed.
-
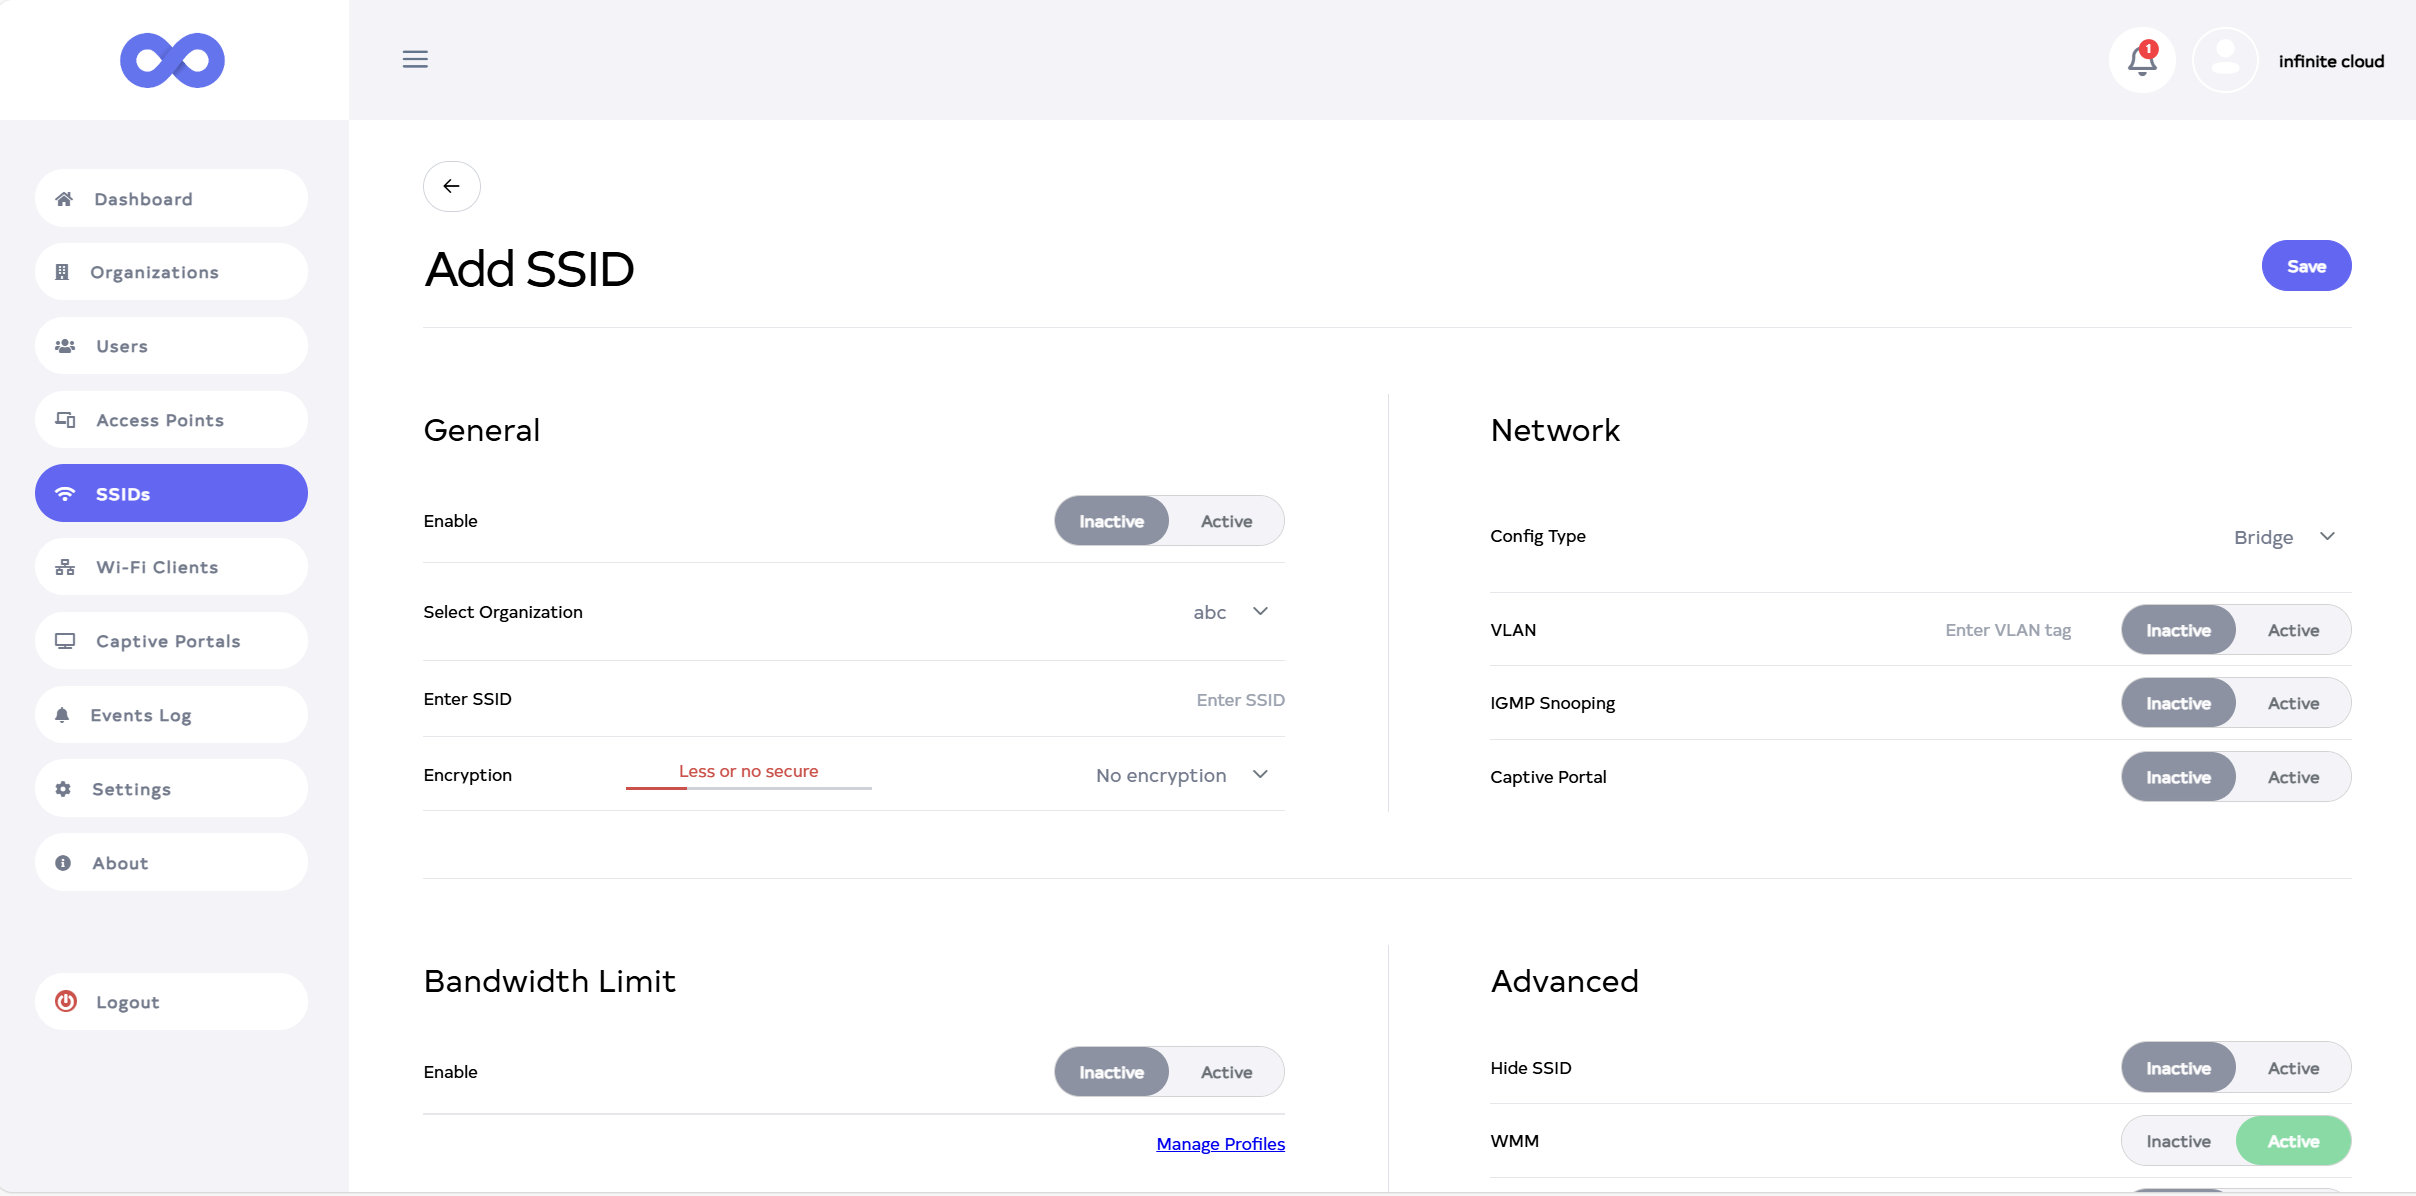
Fill in your details.
-
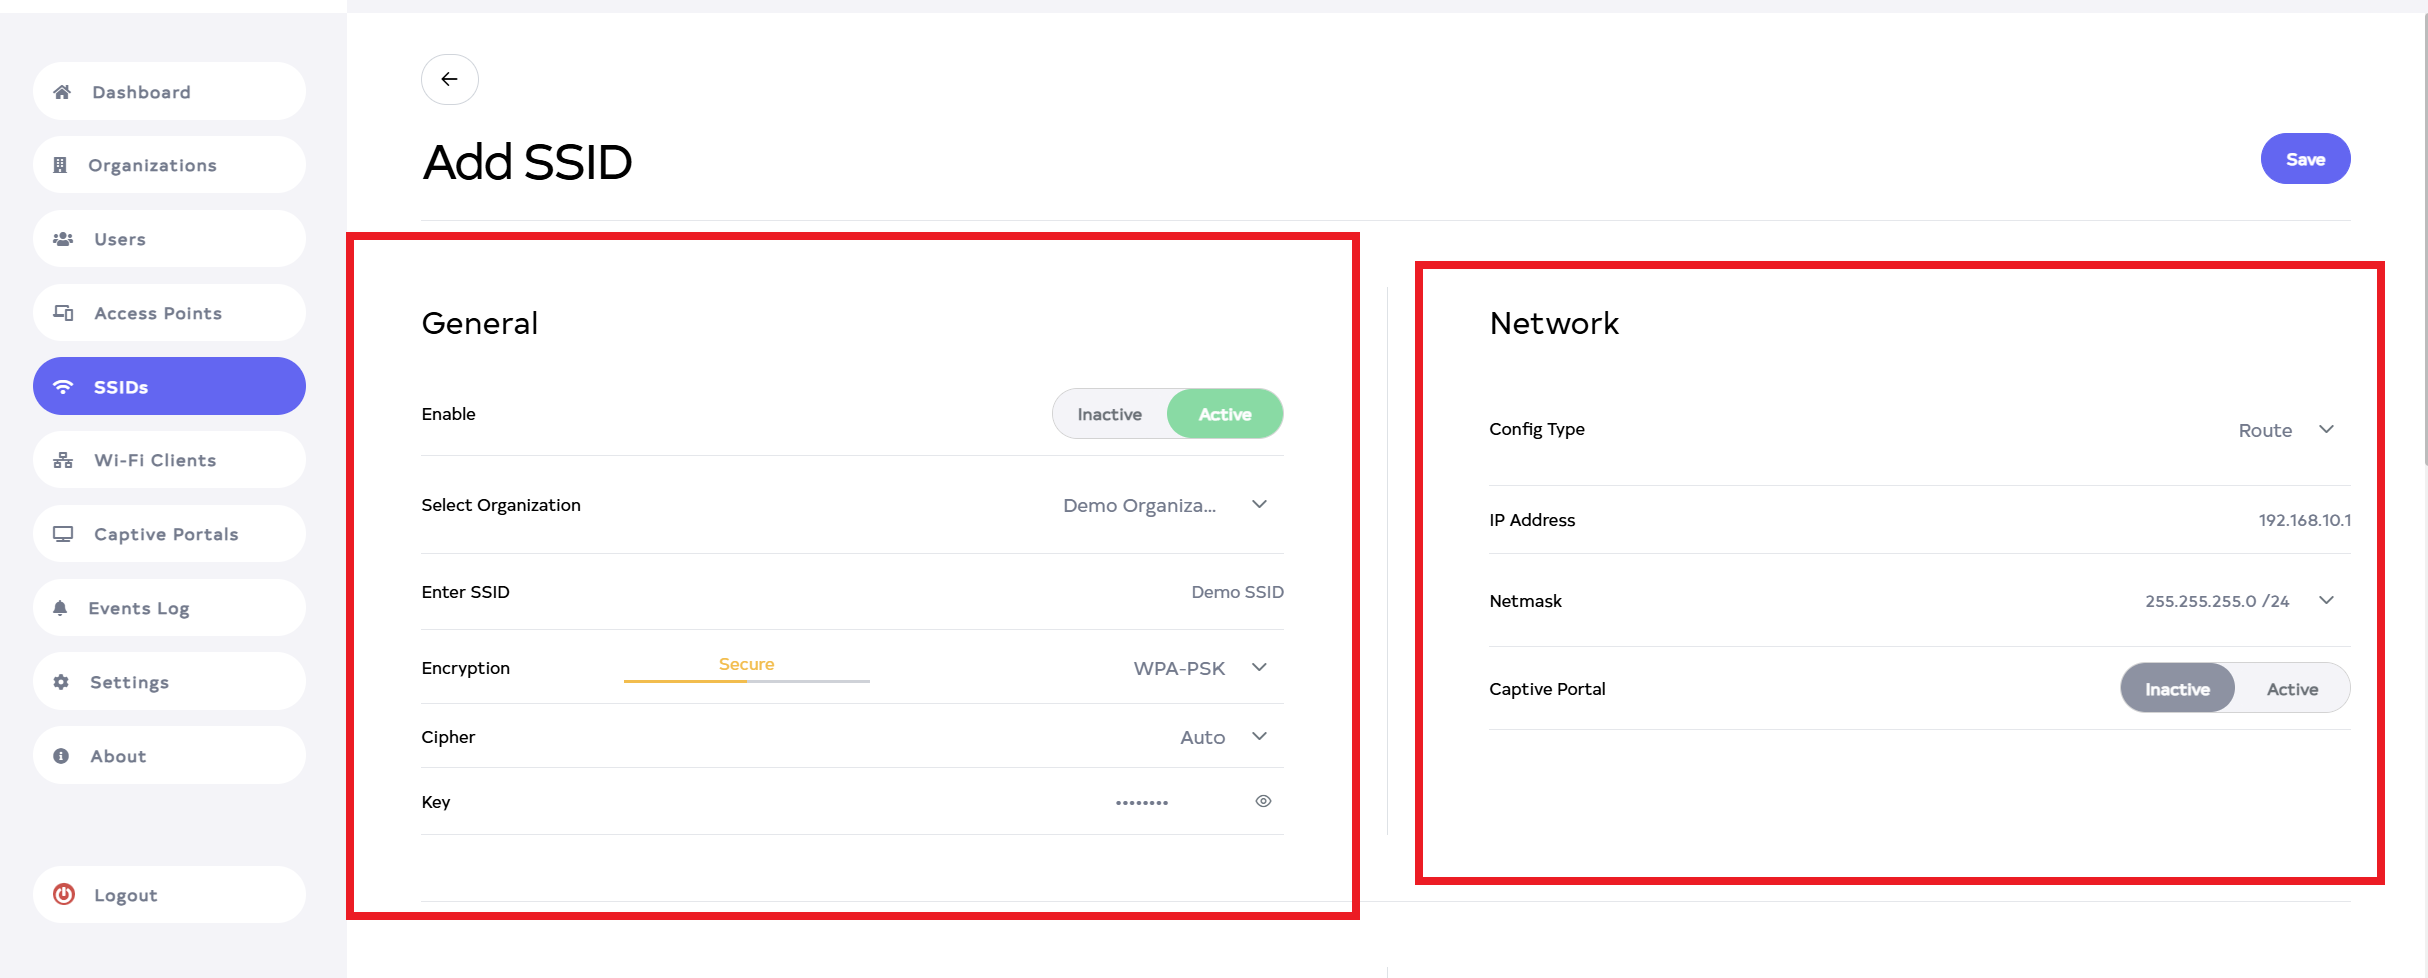
General
1. Enable:- Select Inactive and Active. To enable the SSID, choose *Active, to disable it, choose Inactive. For Example Active.
2. Select Organization:- Choose the organization for EX:- Demo Organozation.
3. Enter SSID:- Input the SSID for Ex:- Demo SSID.
4. Encryption:- Select Encryption for Ex:- WPA-PSK.
5. Cipher:- Select Cipher for Ex:- Auto.
6. Key:- Input the Password. -
Network
7. Config Type:- Select Config Type. Here Config Type is of 2 types (1) Bridge and (2) Route. For Ex:- select Route.
8. IP Address and Netmask:- If we select a route, by default the IP address and Netmask will appear here.Info:Changing the SSID to Active or Inactive will affect all devices connected to that SSID. The SSID will become unavailable to users after inactivation.
Tip:one thing to note here is that the IP address should not be the same. The IP of the other SSID and the IP of the created SSID should not be the same. An IP address can be changed if needed.
-
-
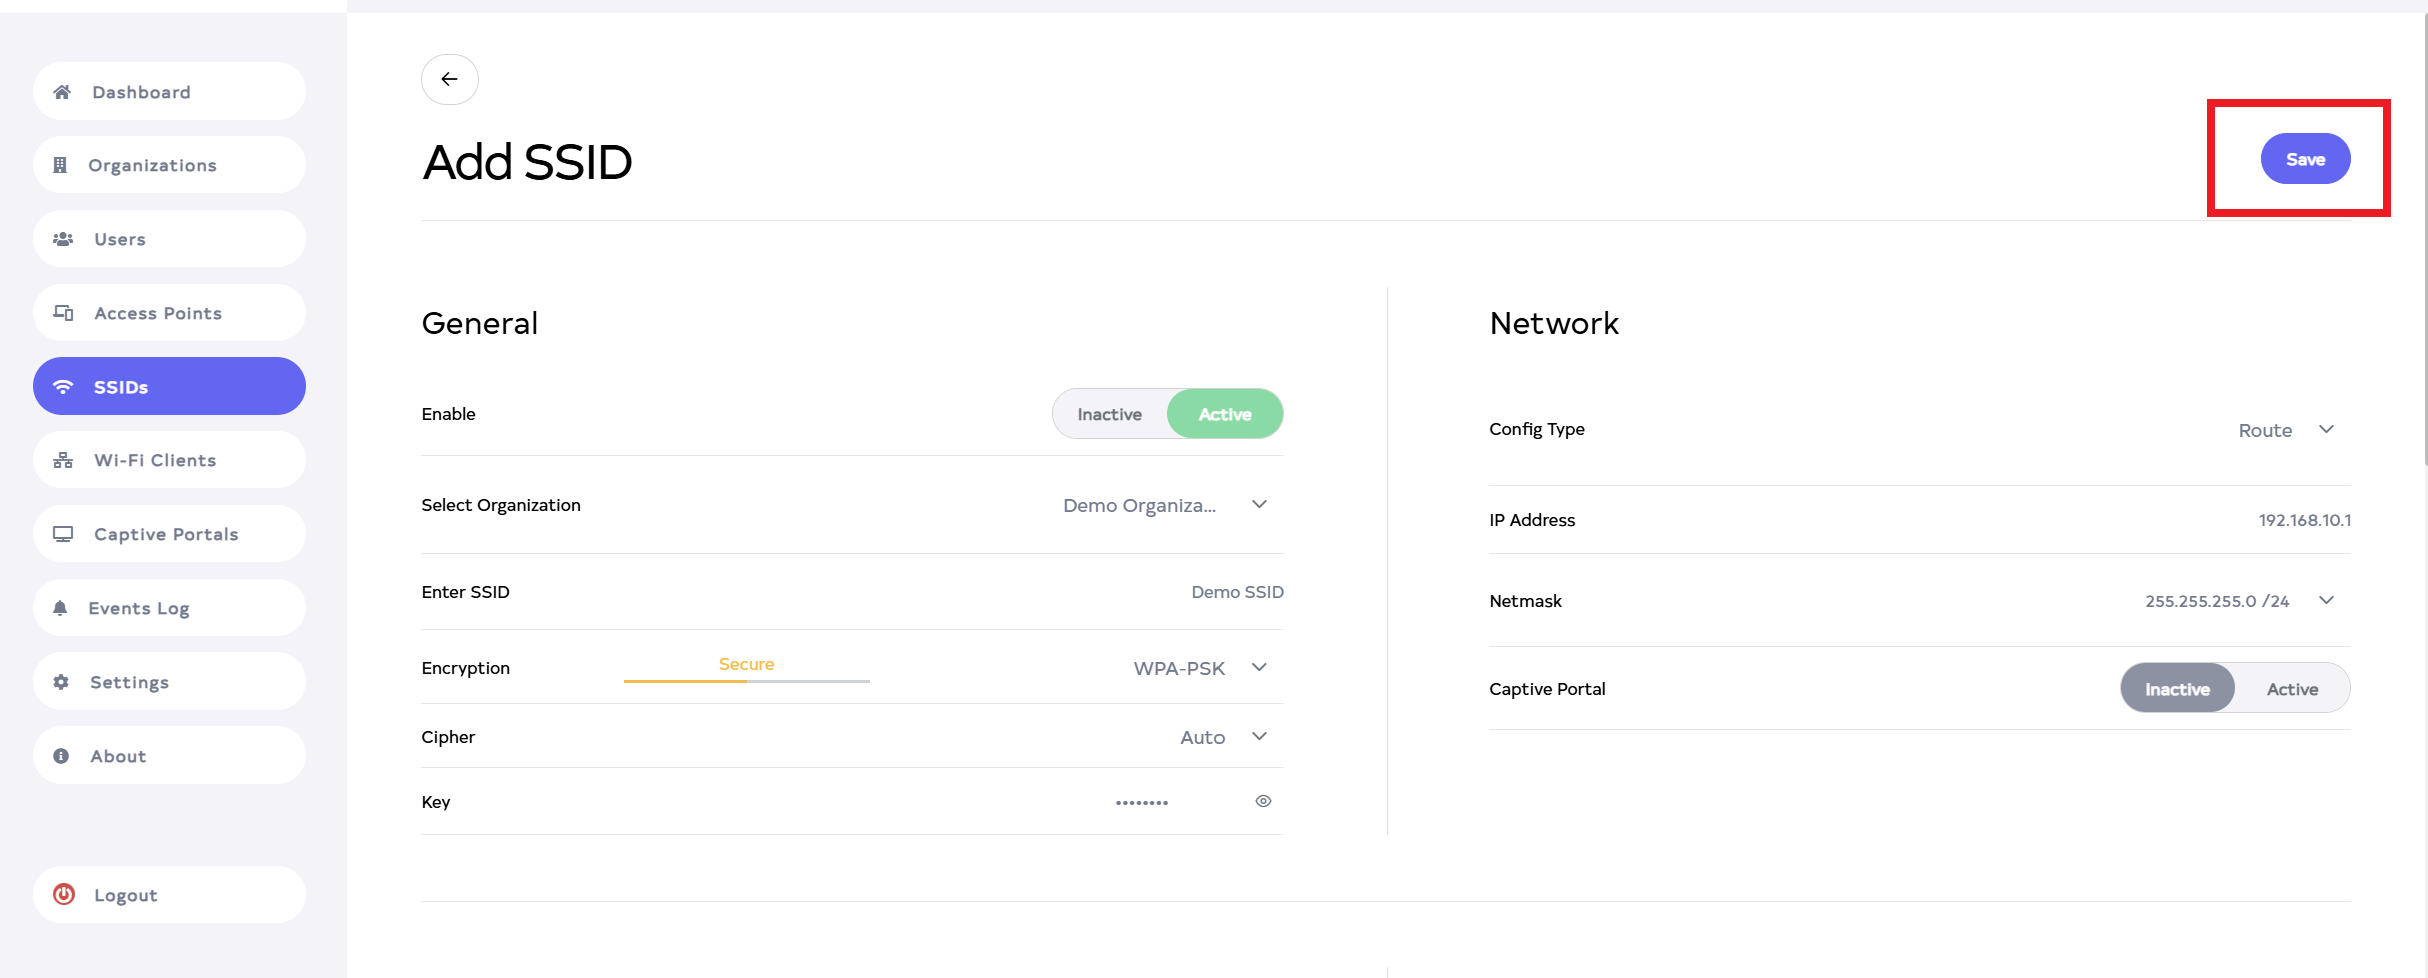
Then click on the Save button, located right side on top.
-
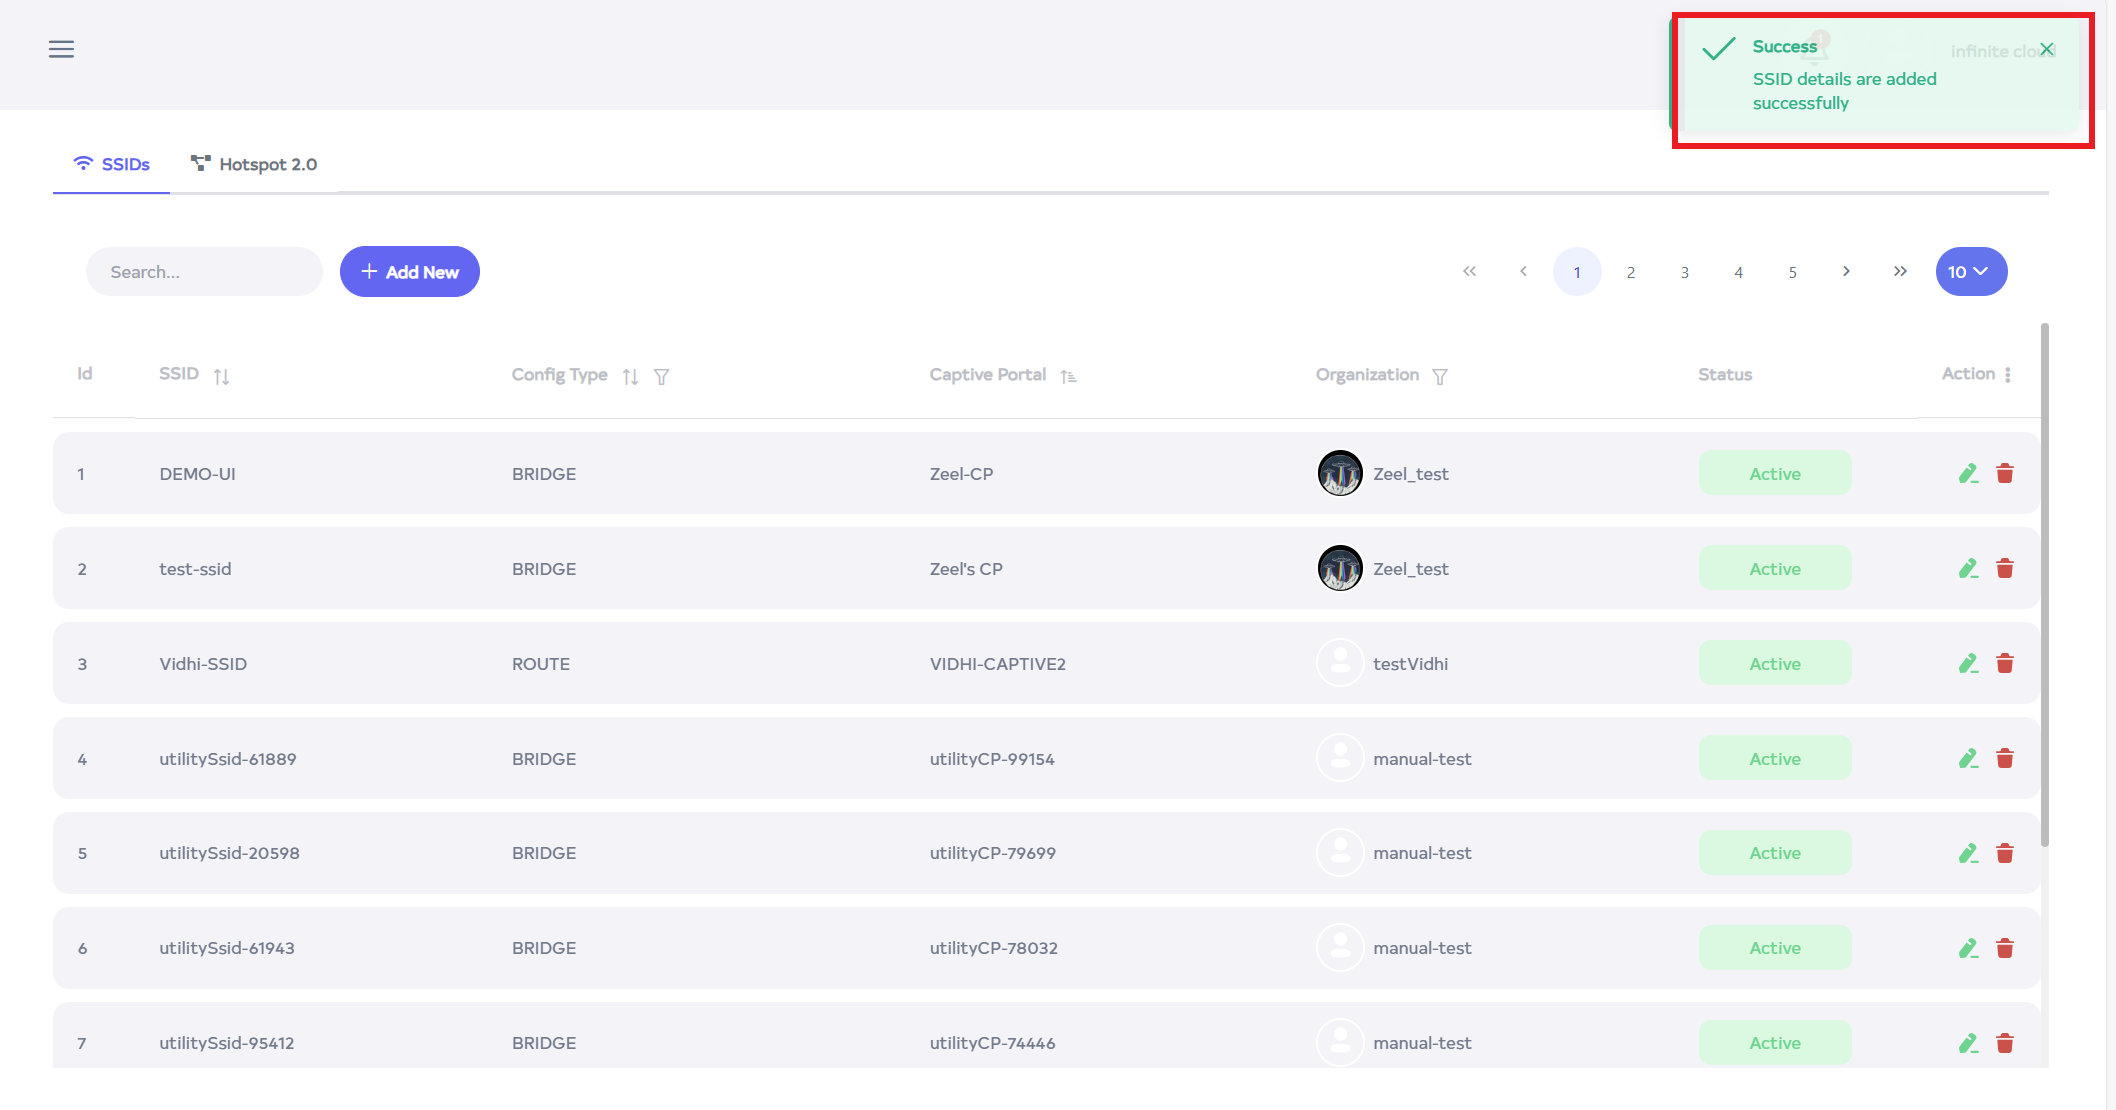
After the SSID is saved successfully, a success message will display SSID details are added successfully.
How to connect SSID
-
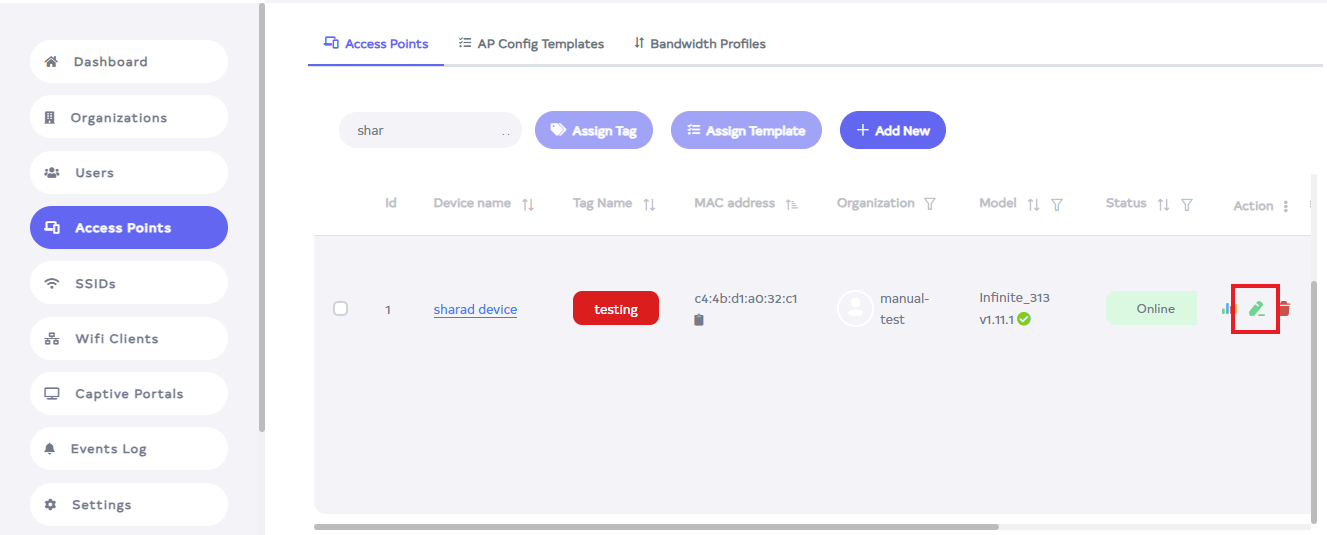
Go to the Access Point and go there and click on the edit button of the device.
-
This will open the Radio Configuration when clicked and scrolled up a little.
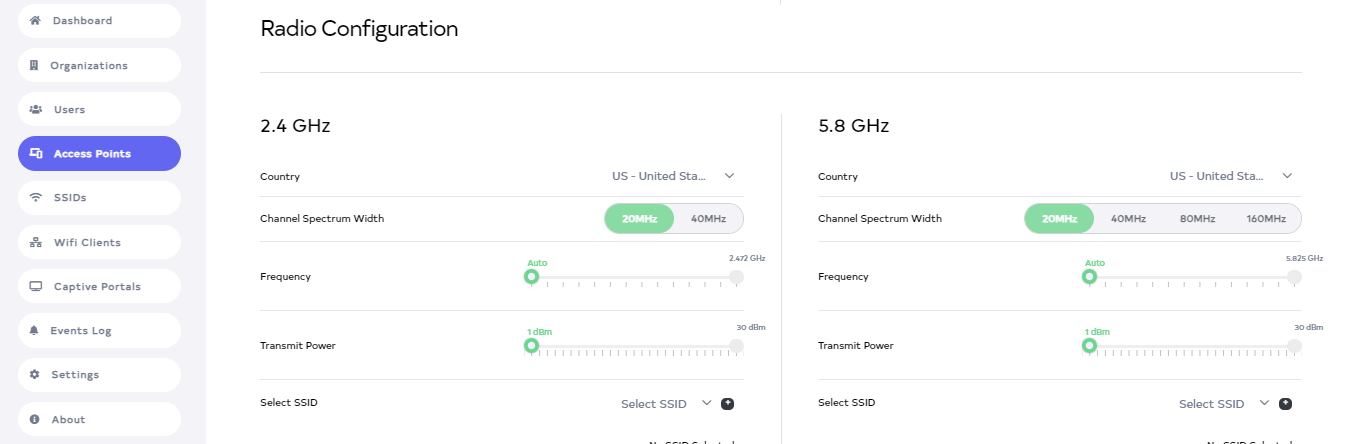
-
Then go to Select SSID there. And from there Select SSID. After selecting click on the plus icon given on the side.
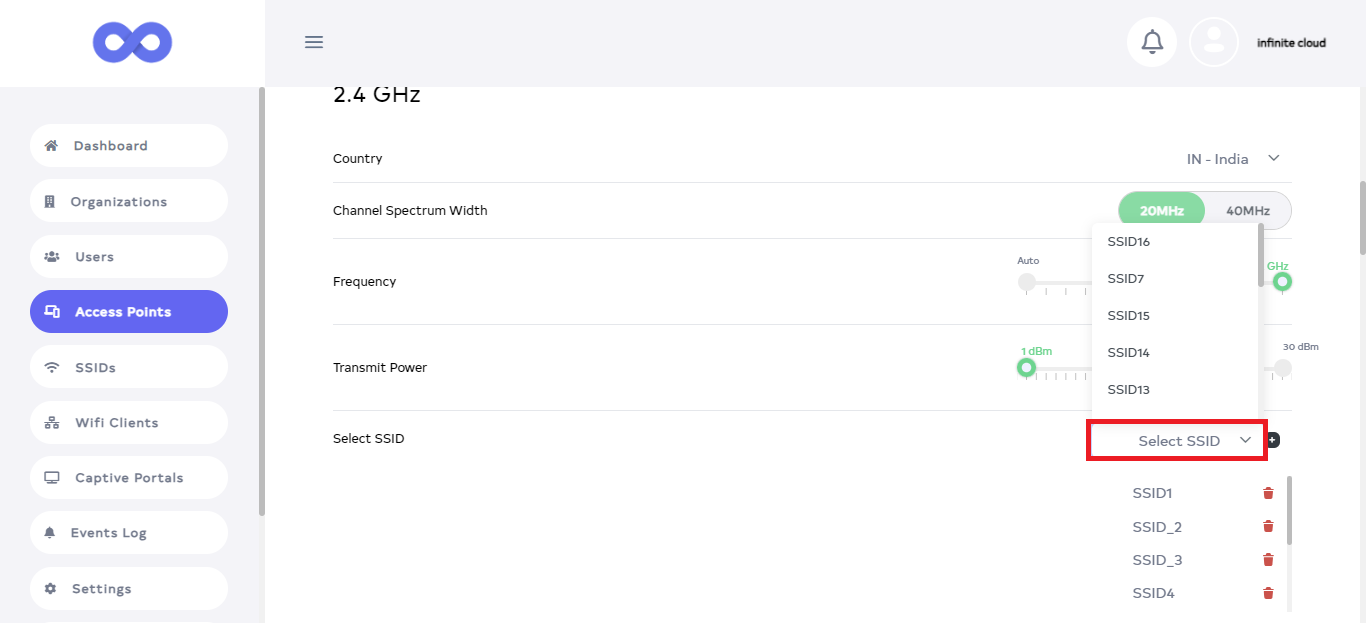
-
Clicking the plus icon adds SSIDs. Selection of at most 8 SSIDs is allowed, and any addition above that is not allowed.
Warning:While creating the SSID, keep in mind that the organization of the device and the organization of the SSID should be the same, otherwise the SSID will not be able to be added.

-
Then click on Save button.
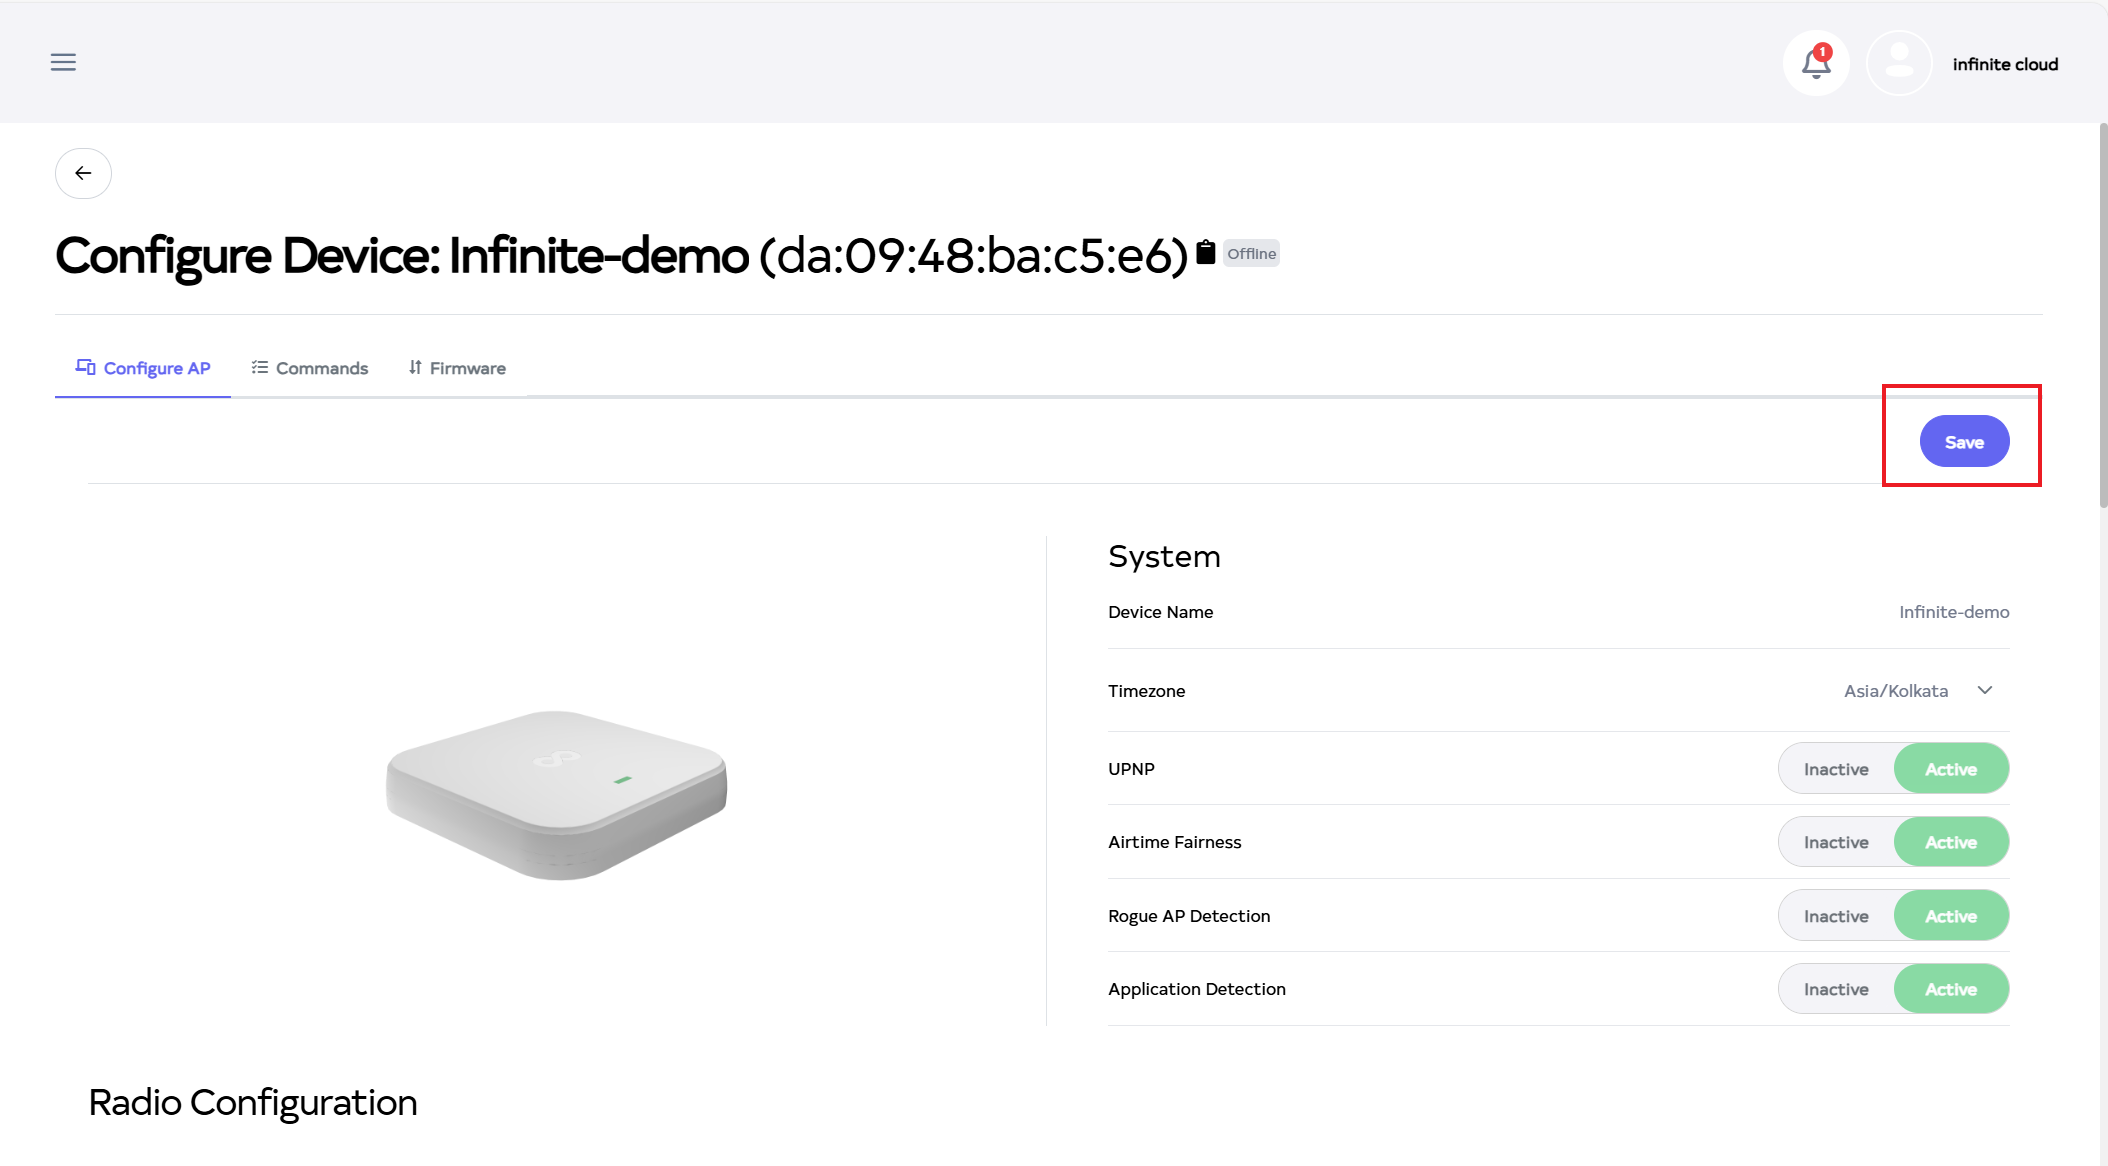
-
After the Radio configuration Section is saved successfully, a success message will display Device Configuration is updated successfully.

How to disconnect SSID
-
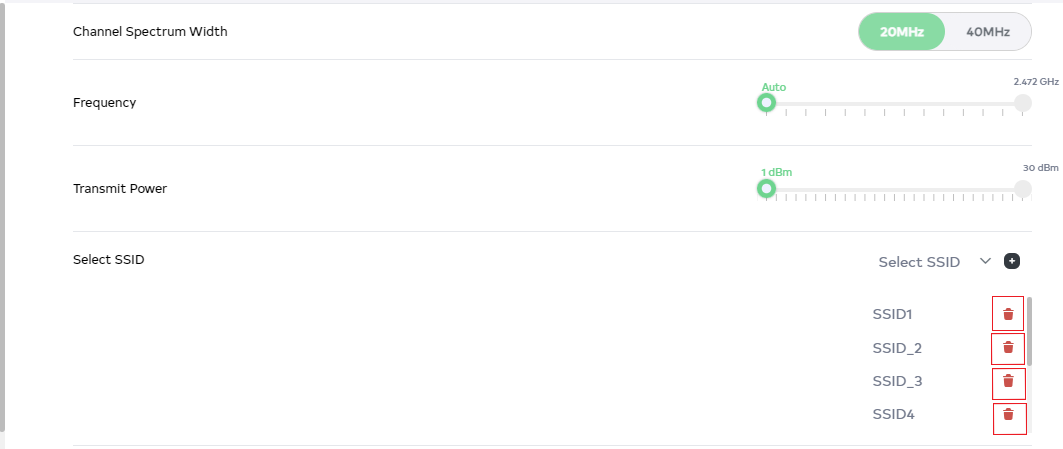
Go to the Radio configuration and after there go to Select SSID.
-
Click the delete button on the SSID to disconnect.
-
And then click the Save button.

-
After the Radio Configuration Section is saved successfully, a success message will display Device Configuration is updated successfully.

How to edit SSID
-
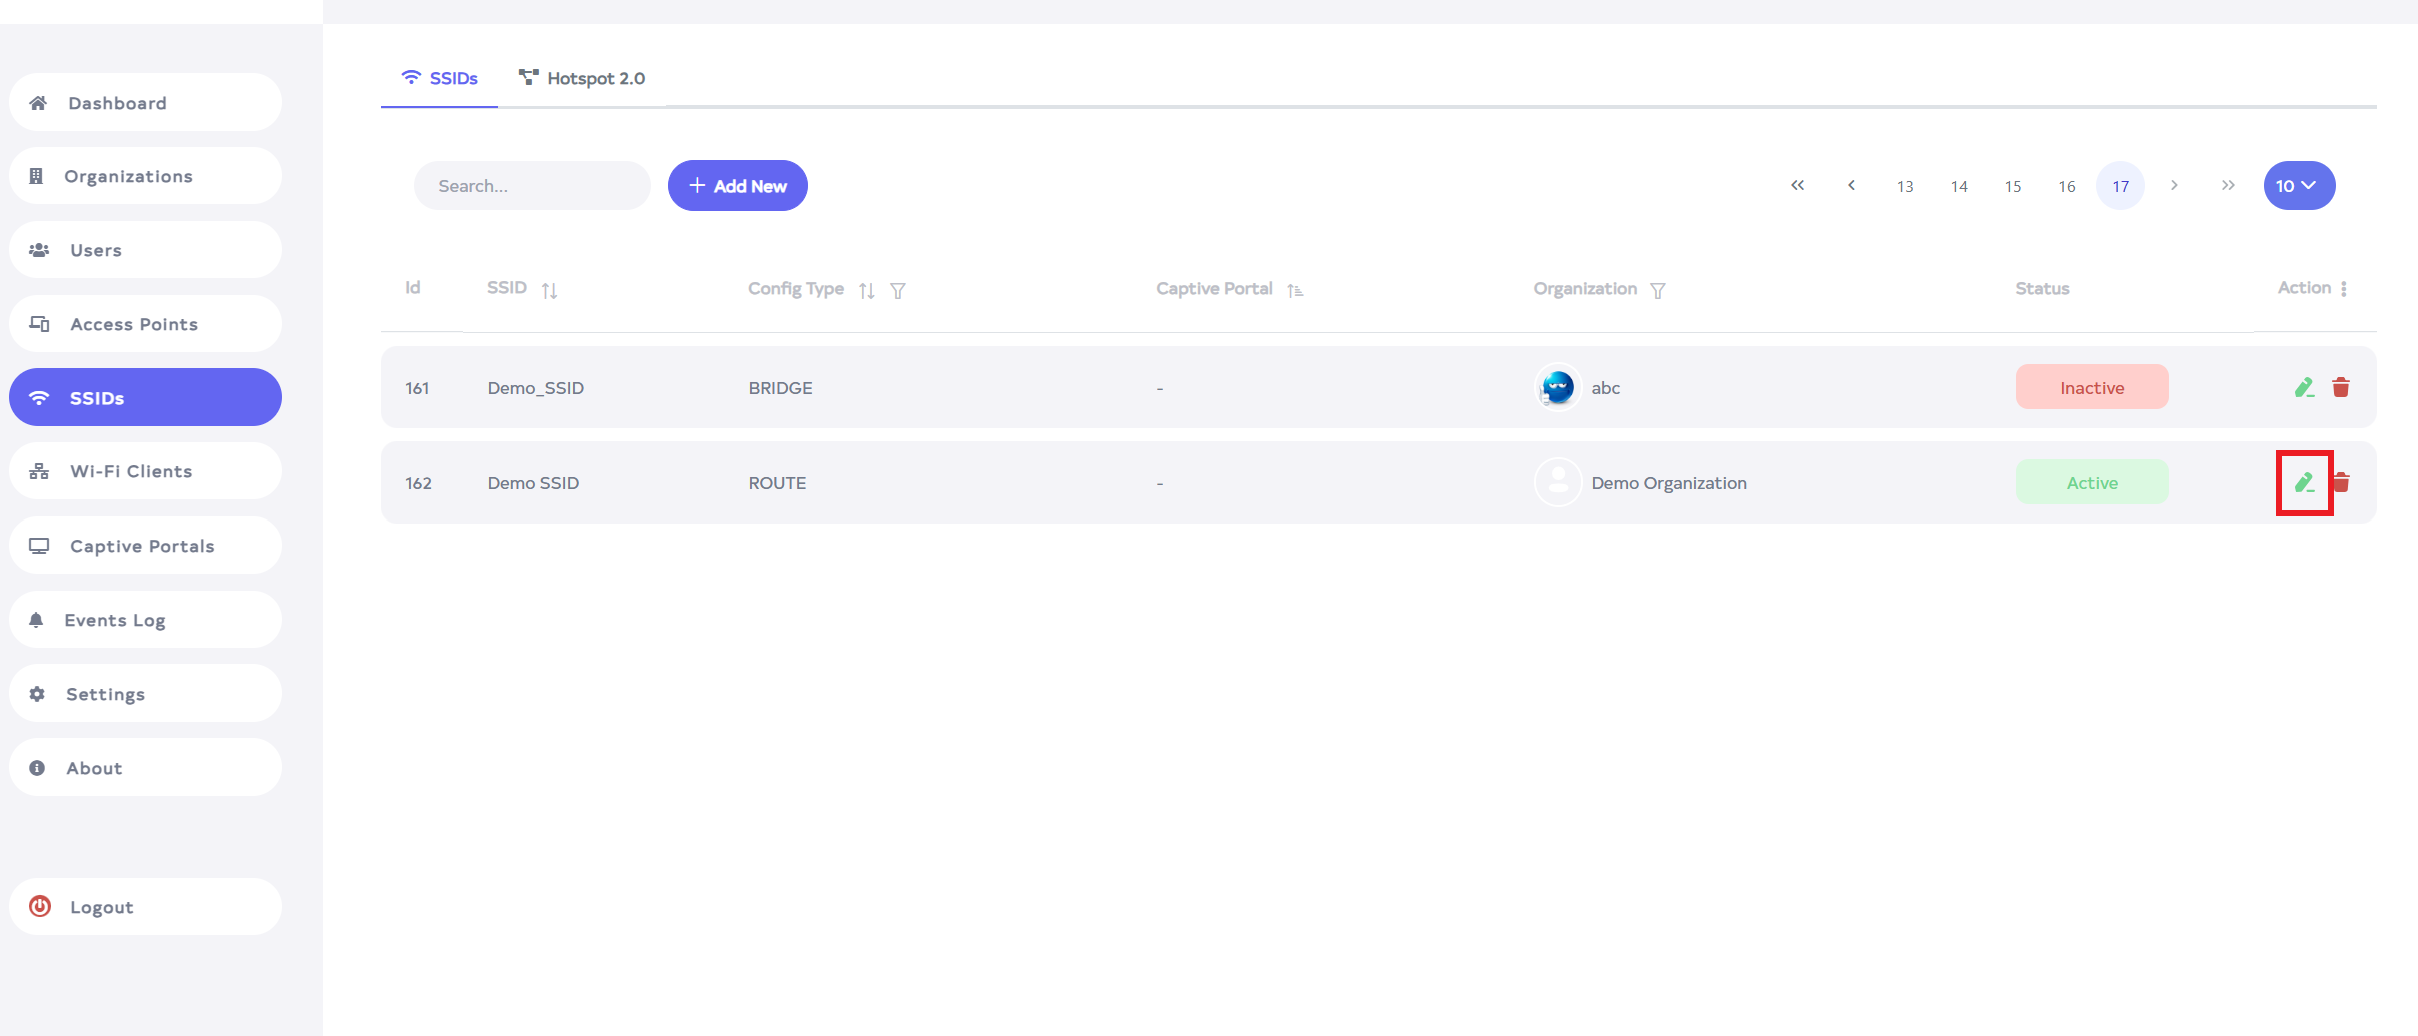
Go to the SSID want to edit.
-
Click on Edit button located on the right side of the SSID.
-
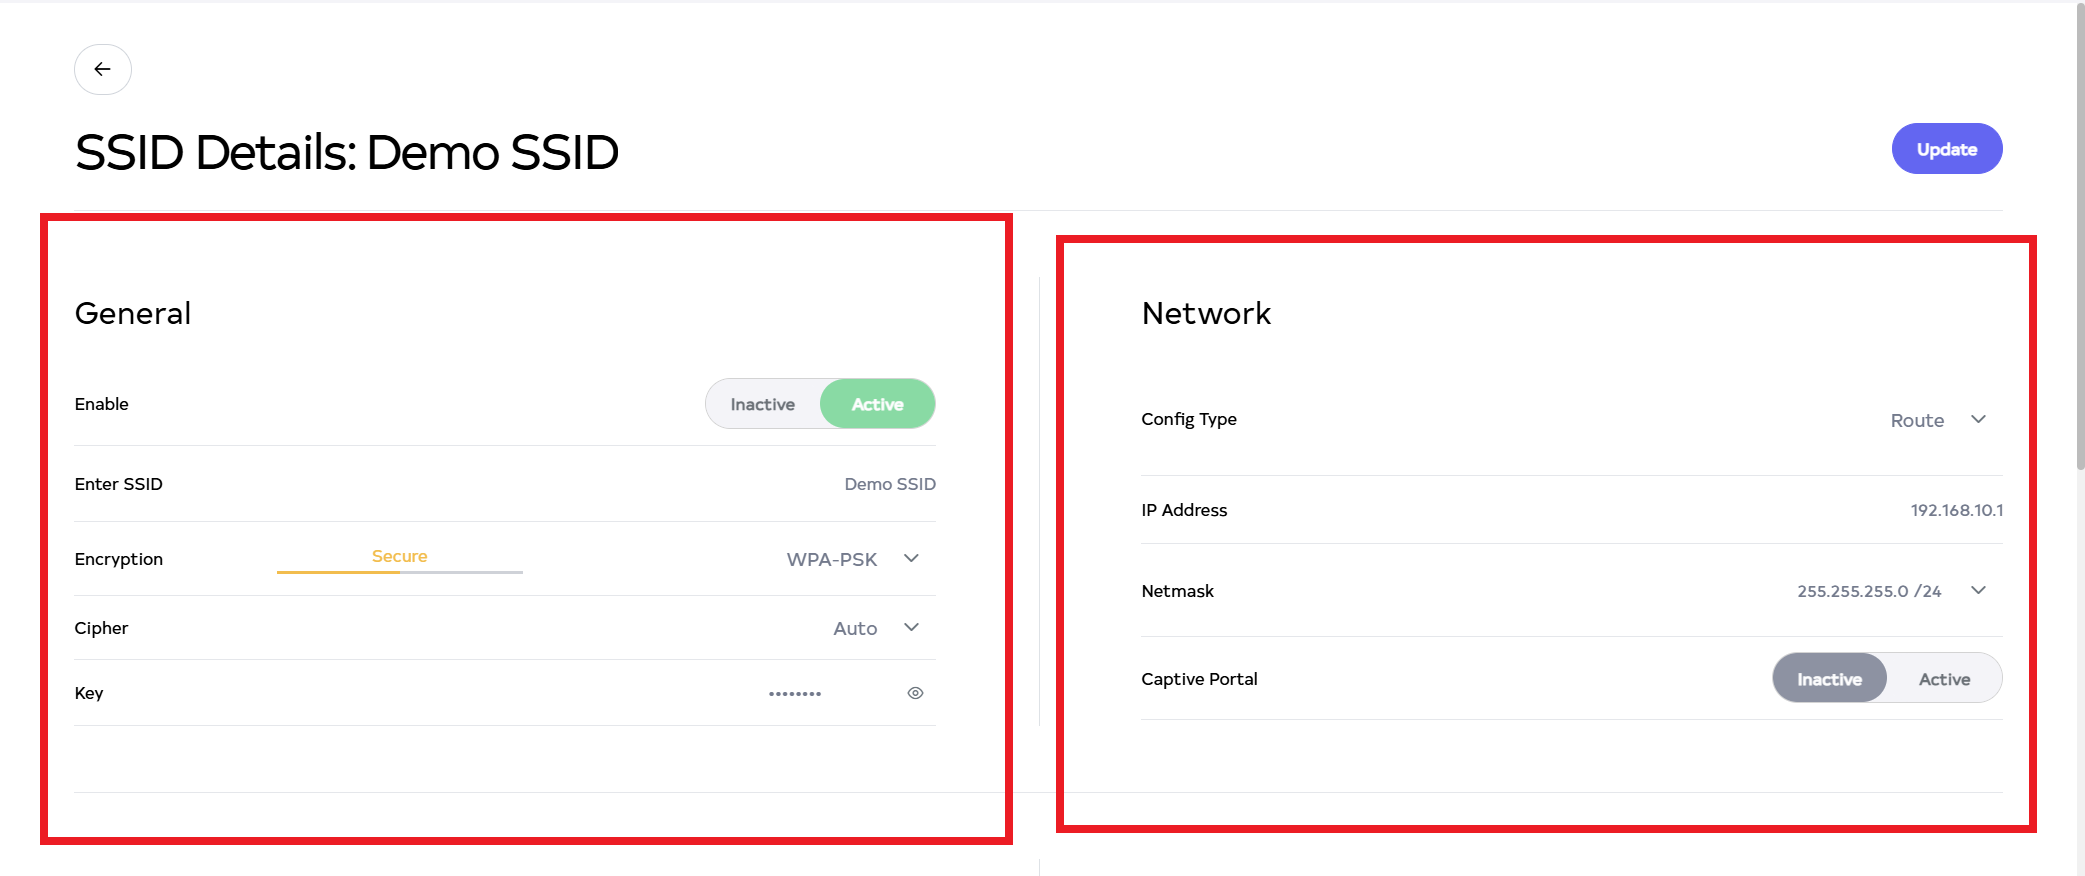
After clicking, the following settings can be changed Enable, Enter SSID, Encryption, Cipher, Key, Config Type, IP Address, Netmask, Captive Portal.
-
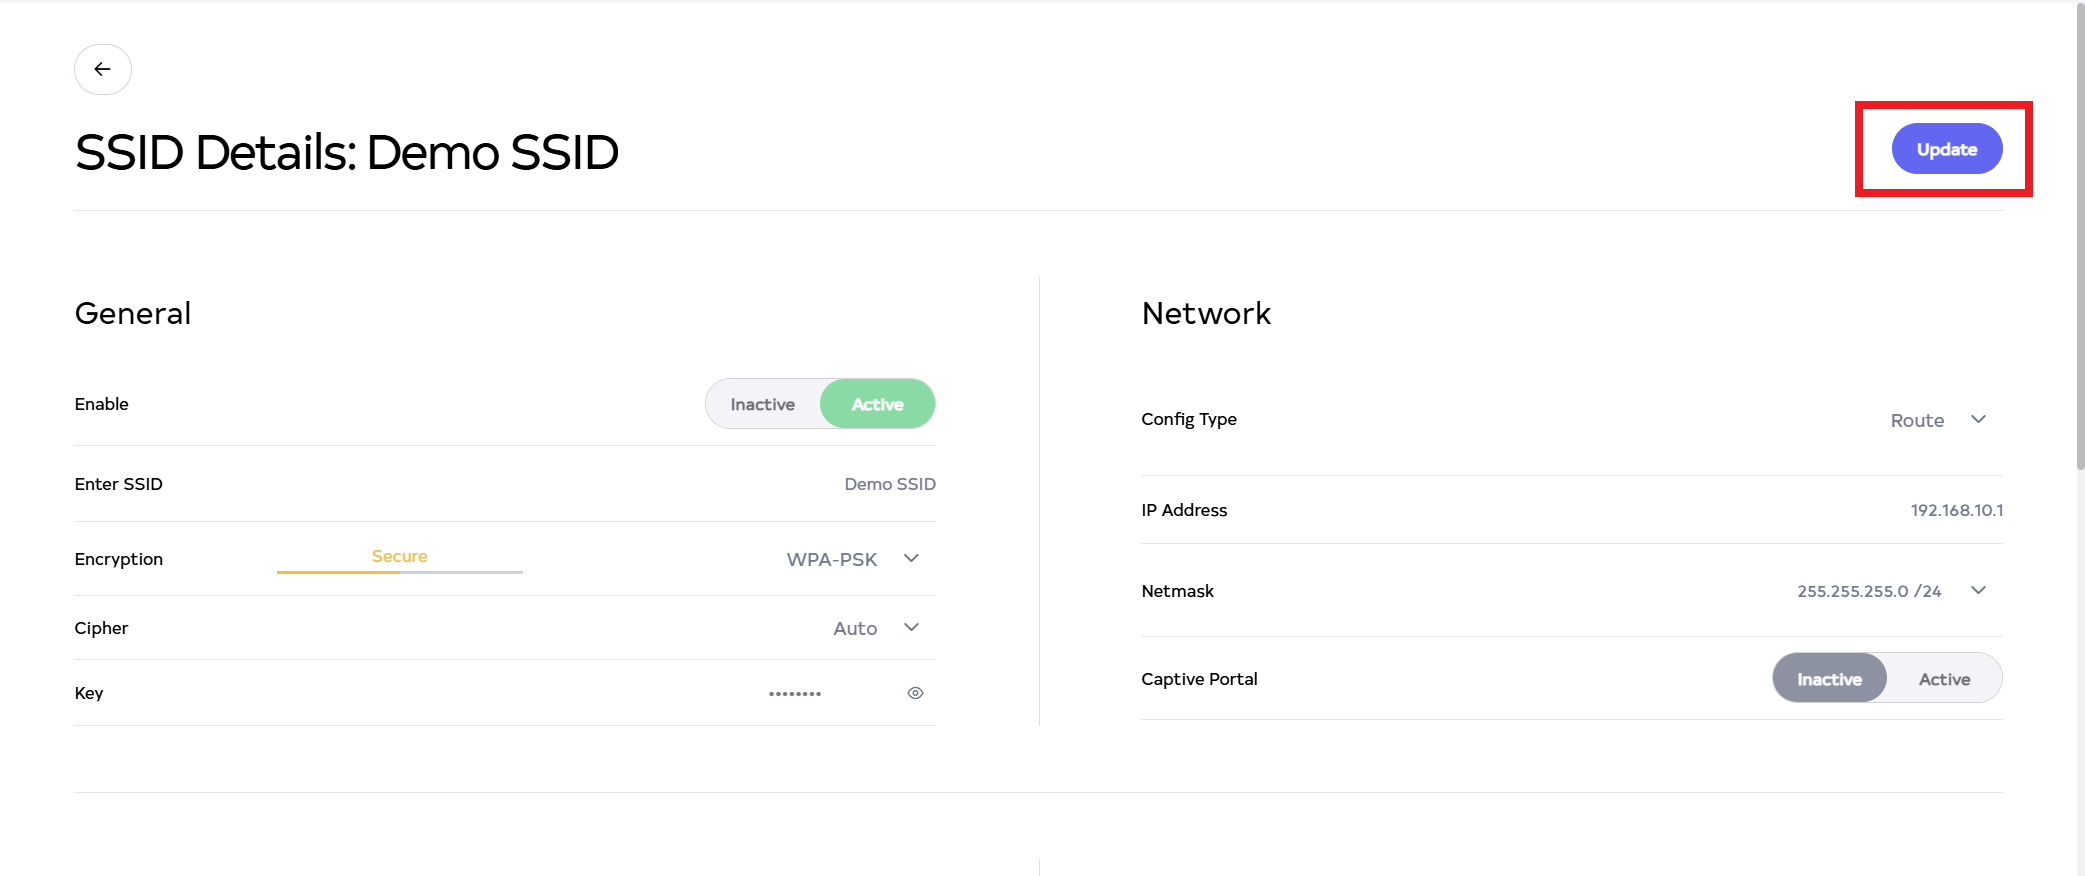
Then click on the Update button.
-
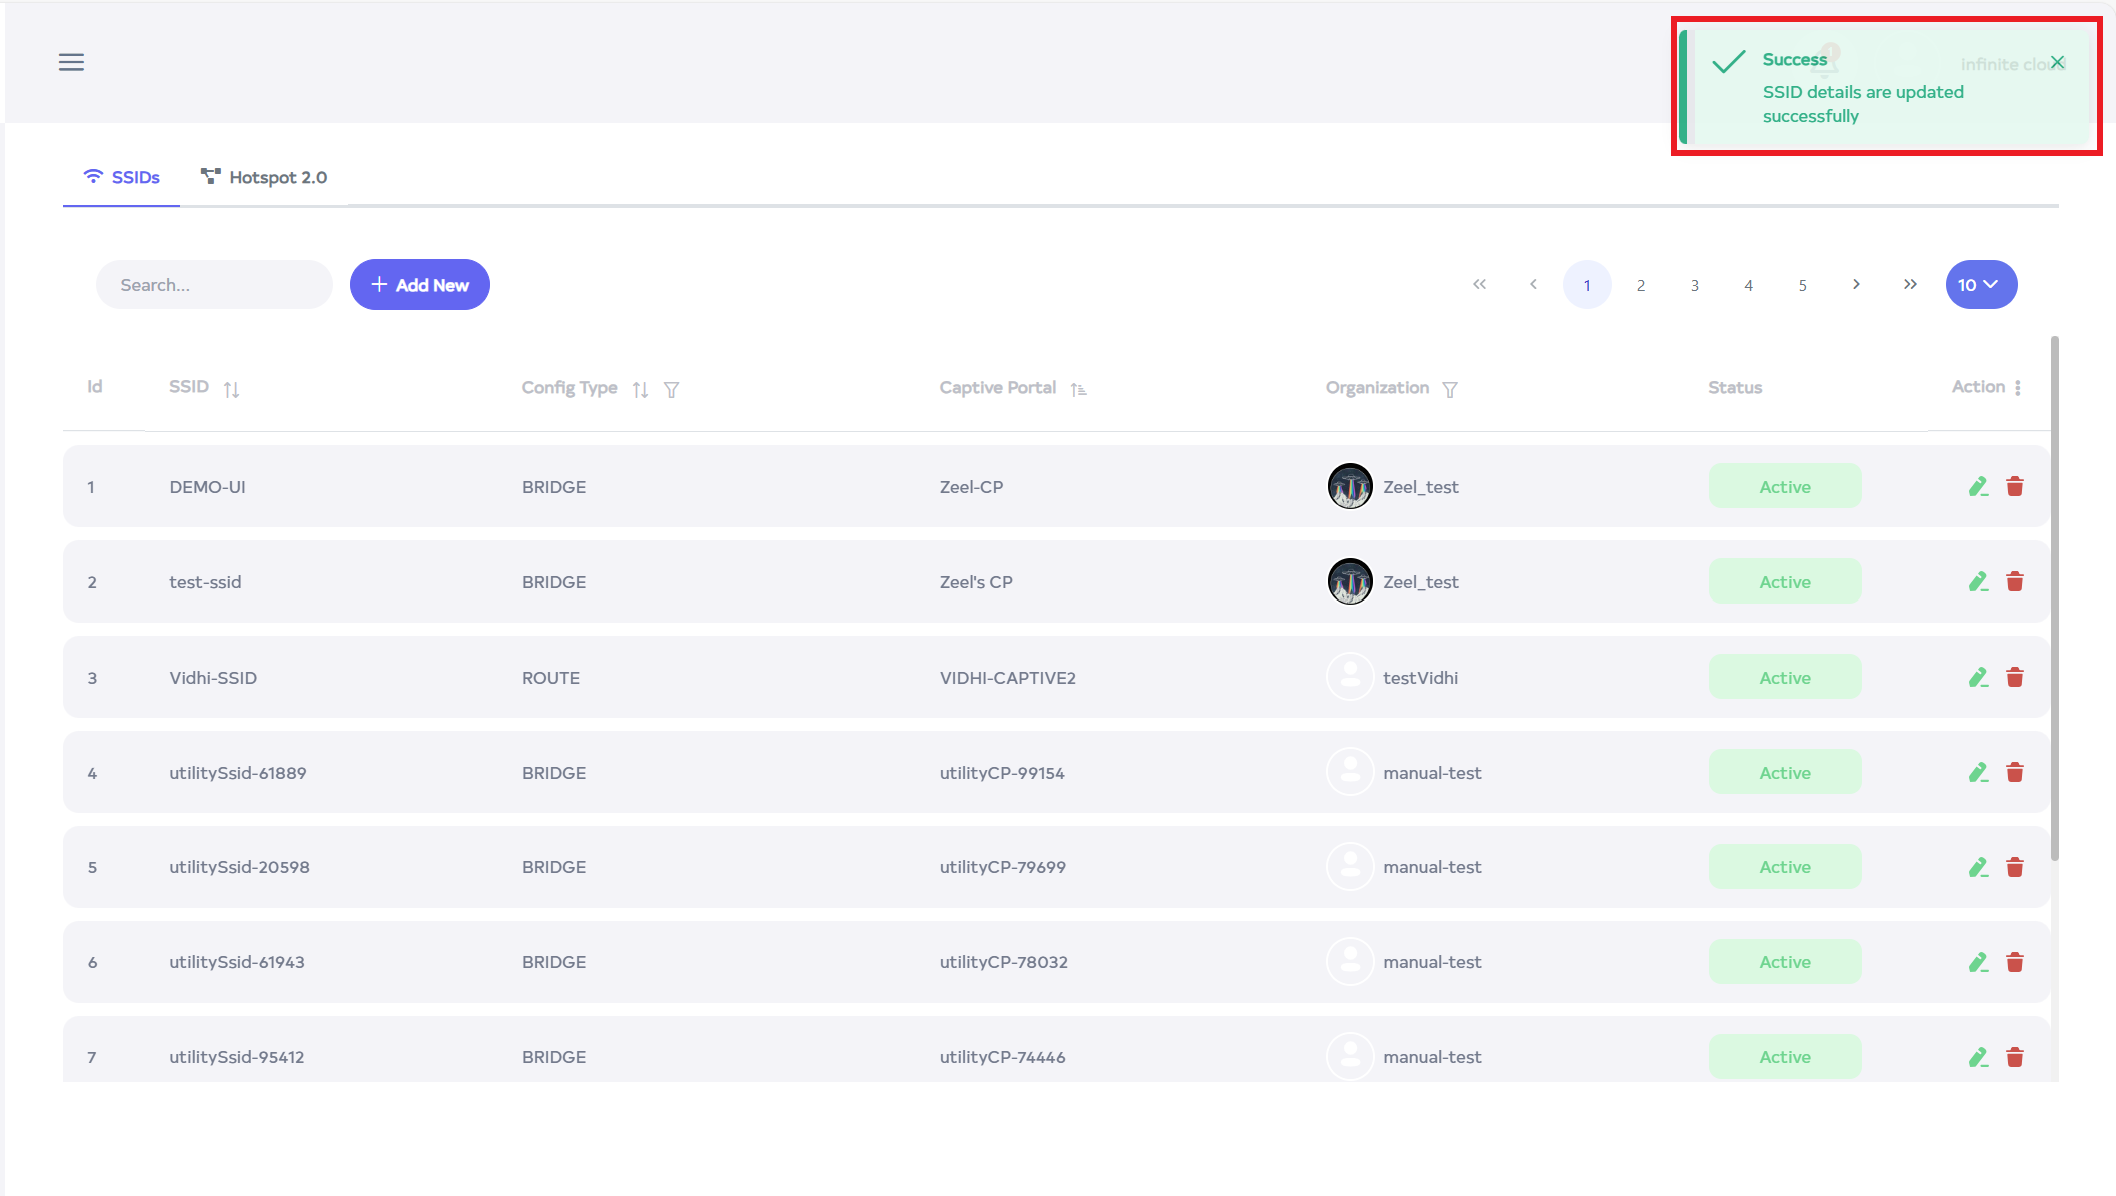
After the SSID is updated successfully, a success message will display SSID details are updated successfully.
How to delete SSID
-
Click on the delete button located on the right side.
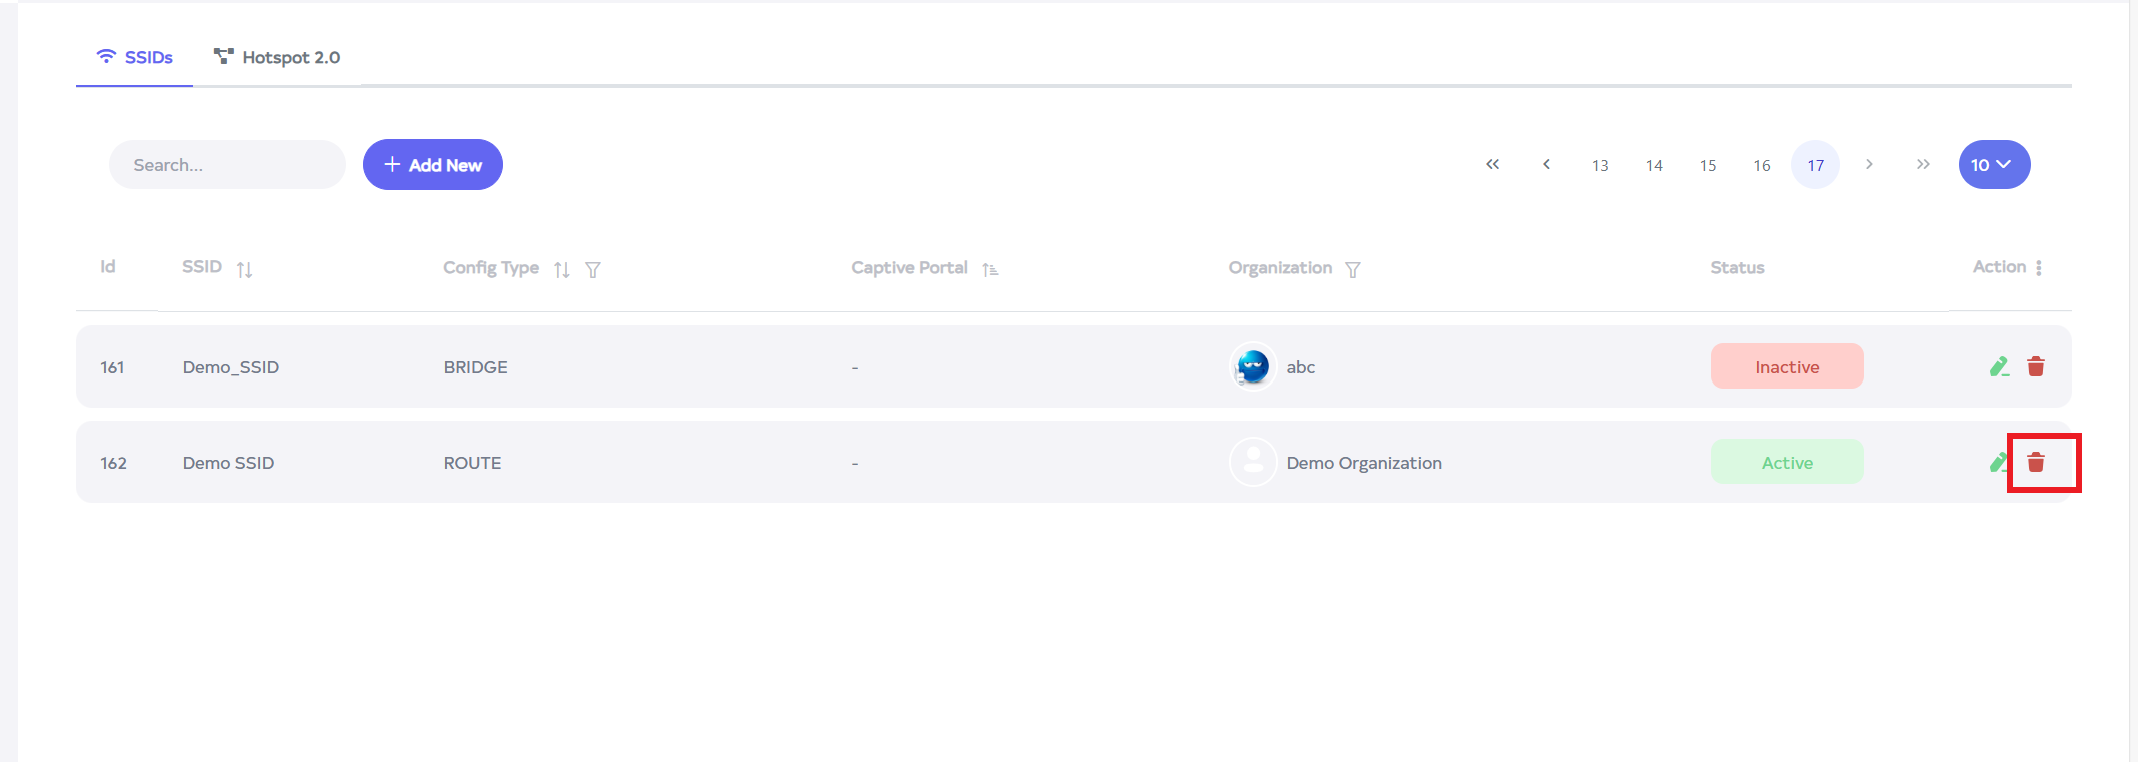
-
After clicking, a confirmation message will appear. Click on the Delete button.

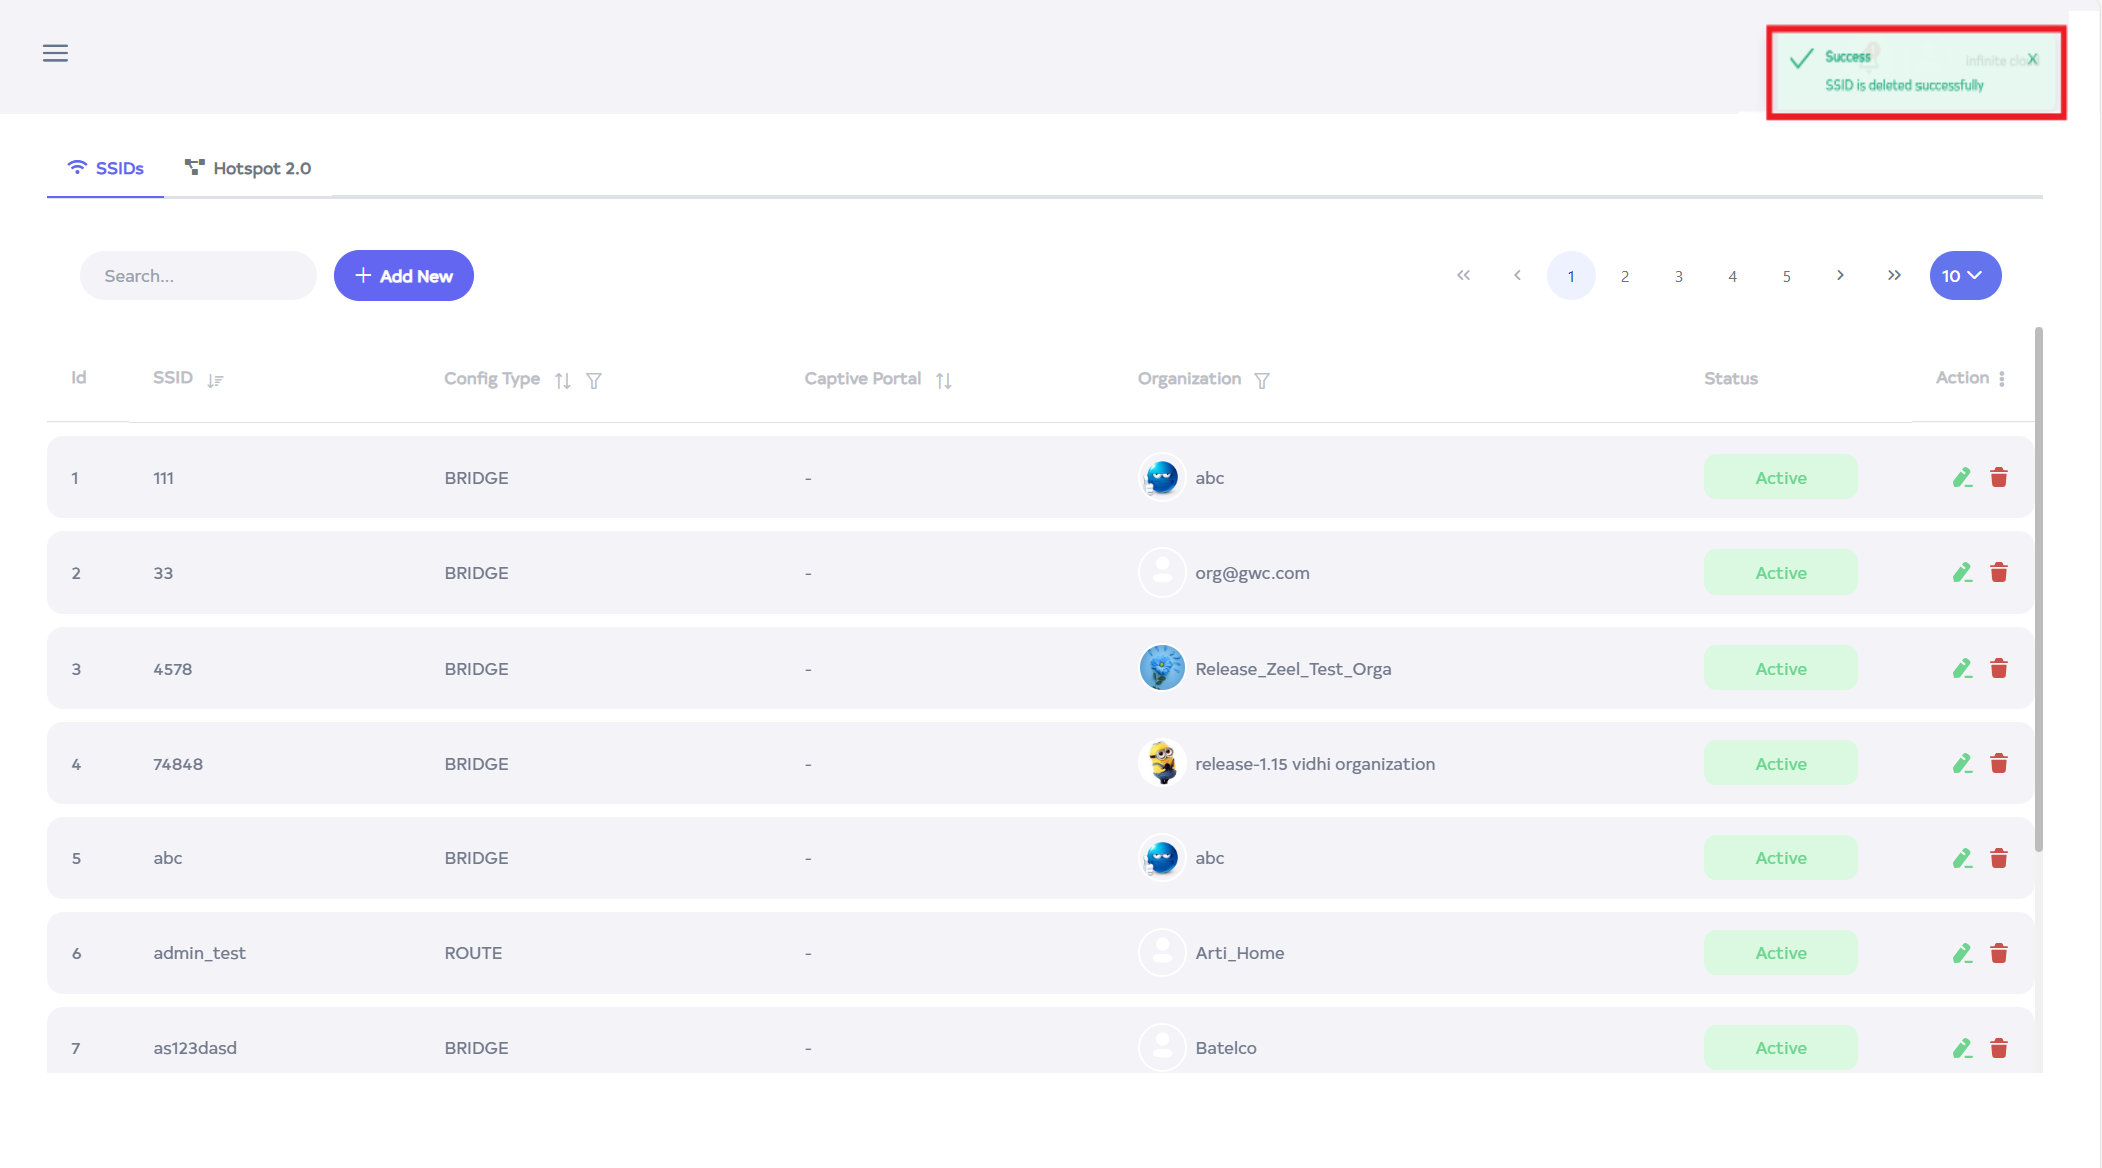
-
After the SSID is deleted successfully, a success message will display SSID is deleted successfully.
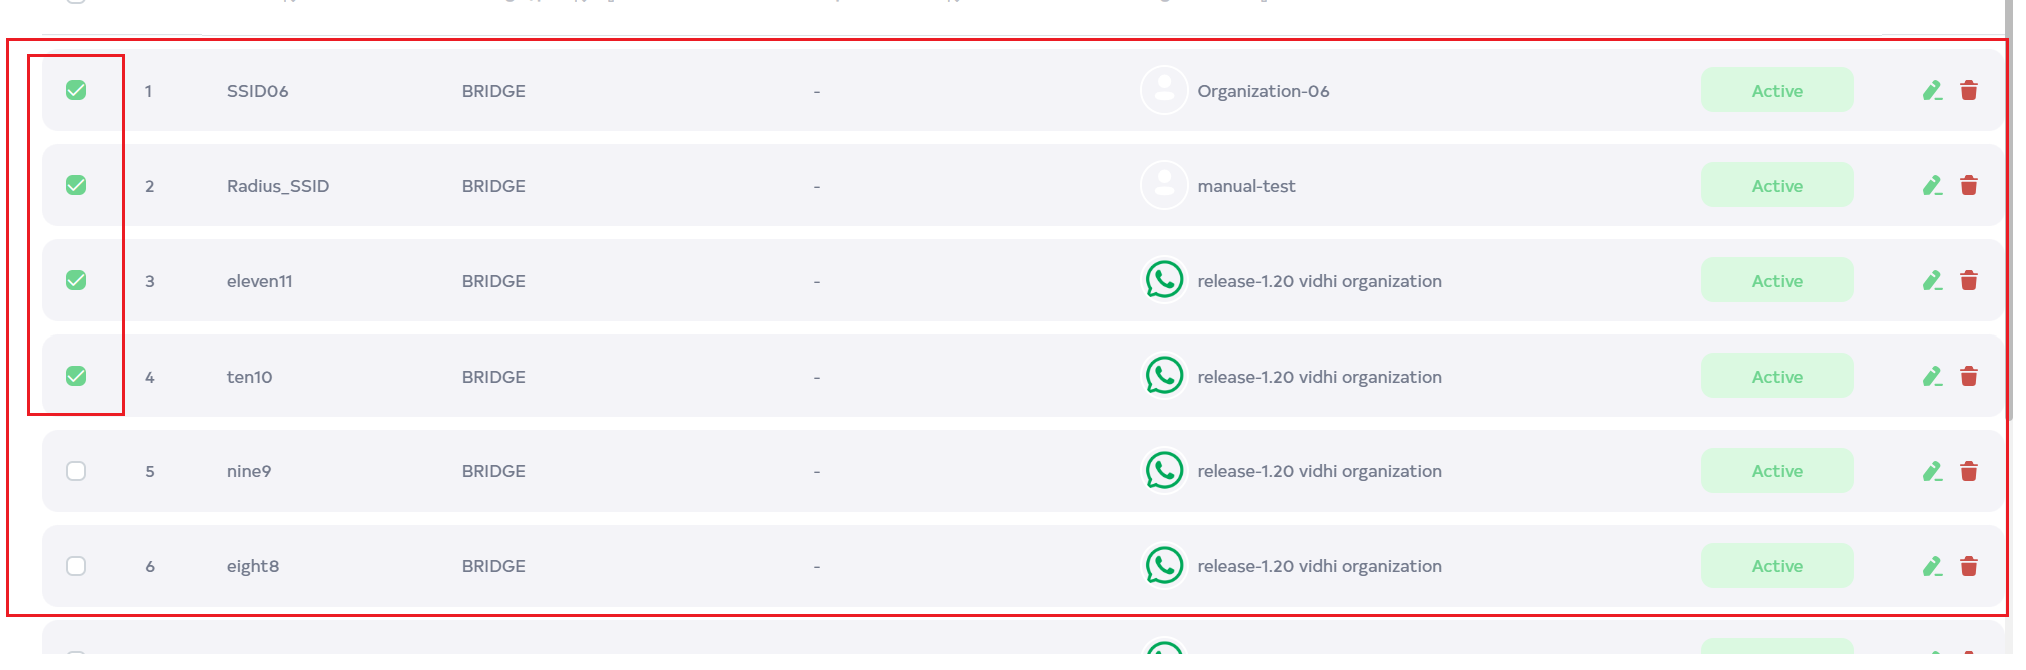
To delete multiple records, select the desired records by using the checkboxes and delete the selected records. To delete all SSID in bulk, use select-All checkbox next to the "ID" column header to select all entries and click the "Delete All" button to execute the bulk deletion process.