Users
What is User
The user is role into 3 parts.
1. Super admin:- Super Admin user has all access. It is meant to organize and manage. This user has all access.
2. Organization user: The organization user does not have all access, the user can only edit, and cannot create new users.
3. User:- User is divided into two parts 1.Read-only:- read only the user can view they cannot make any changes to it. 2.Full access: A full access user is a user who has all access, they can make changes.
Why type of users are supported
1. Super Admin:- This user has extensive access rights, allowing full control over system configuration, management, and monitoring. They can create, edit, and delete users, as well as manage all aspects of the system.
2. Organization User:- This user does not have access to edit system components, create new users, or delete them. He arranges it in an orderly manner.
3. User: The user has two parts. 1 Read only:- A user who gets read-only access is not given modified access. This does not make any changes that the user can see.
2. Full access:- This type of user has all access. It provides control over system functionality.
Why users are needed
A user is required to configure the platform into specific functions to divide it into its main categories and to grant access to the system. 1. Super Admin user has all access. It is an admin platform that acts like a parent. It can create user edit, delete, and create new users. 2. The organization user works like a network such a user does not have access to create a new user. It can only edit users that other users have created. 3. There are 2 types of normal users. read-only and full access The user who is a read-only user can only see and cannot edit any other user and the full-access user has all access.
How to Create Organization User
-
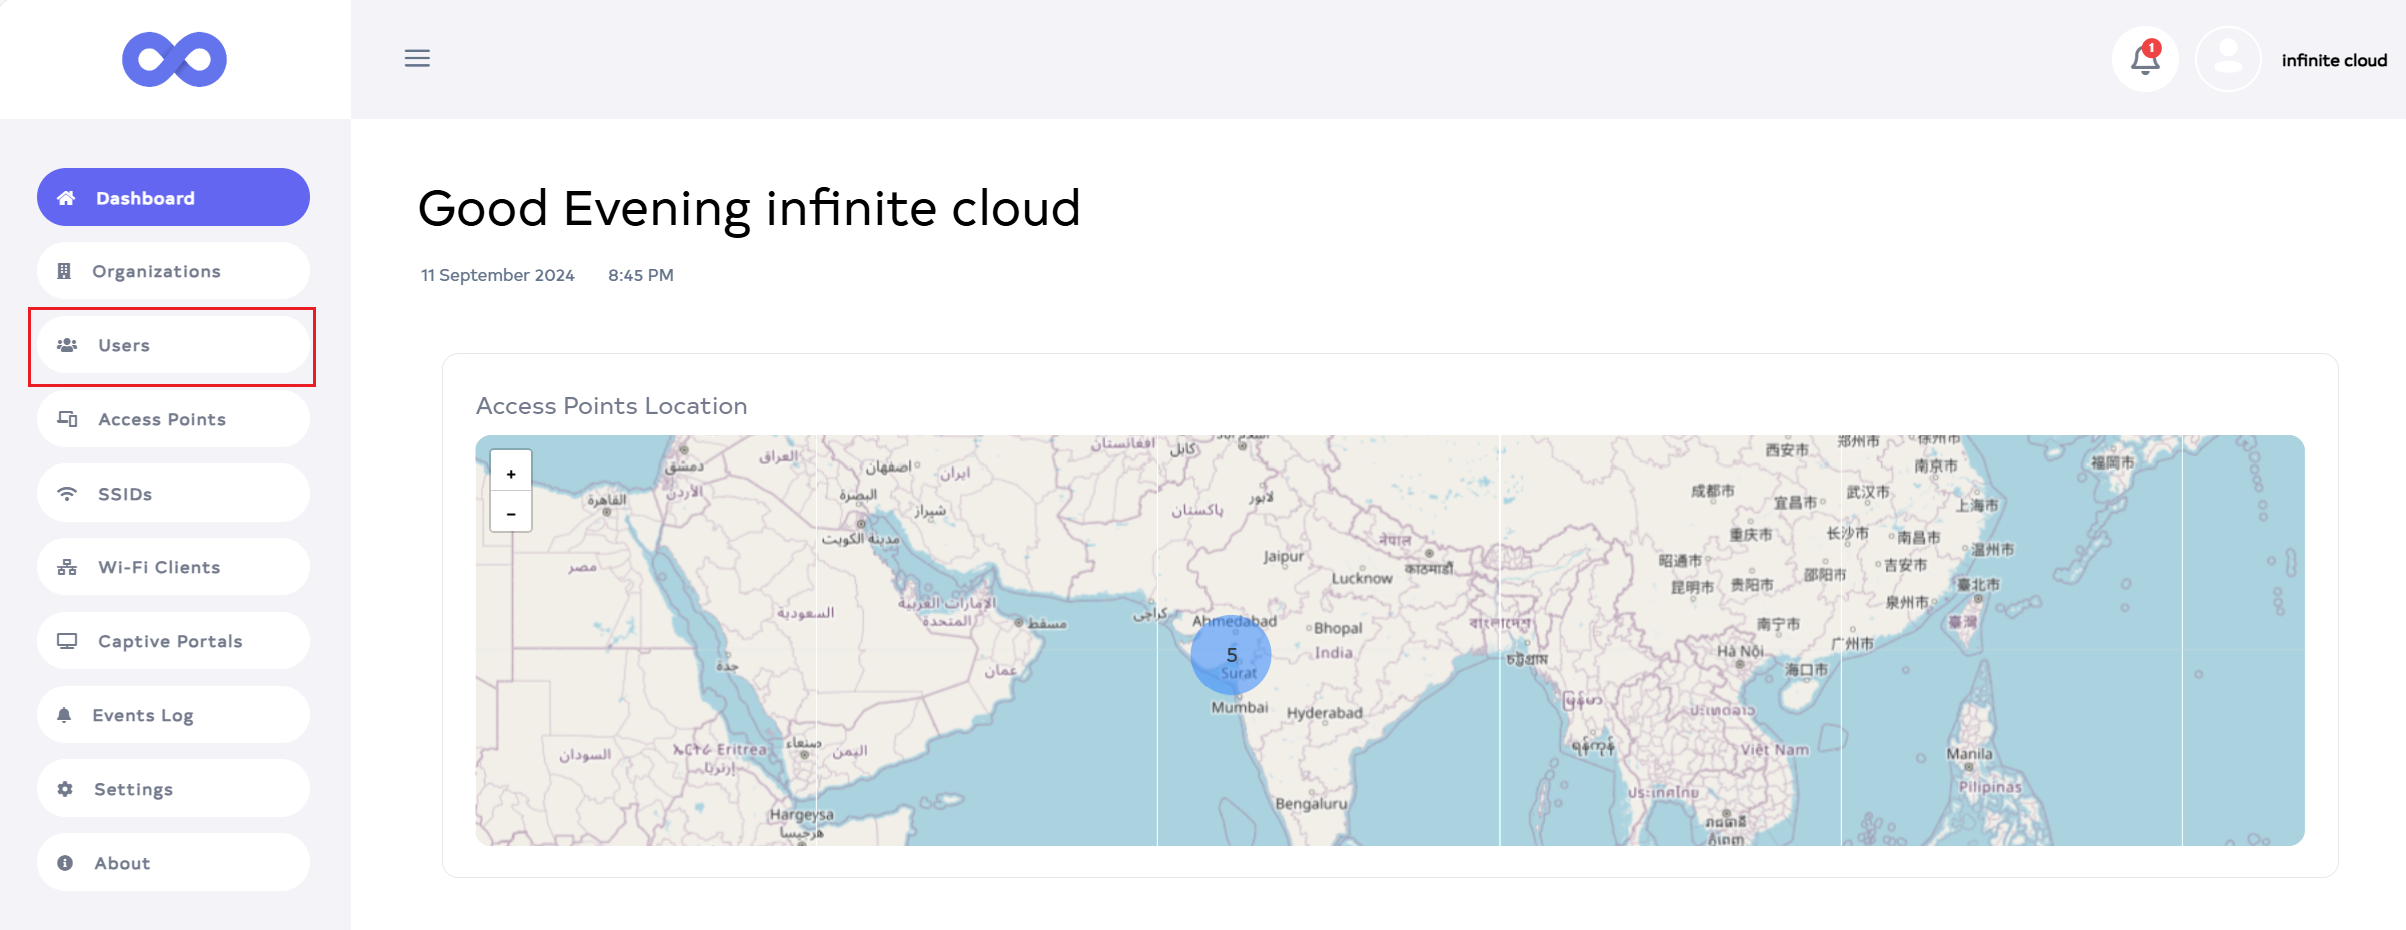
Then click on the User menu located on the left side.
-
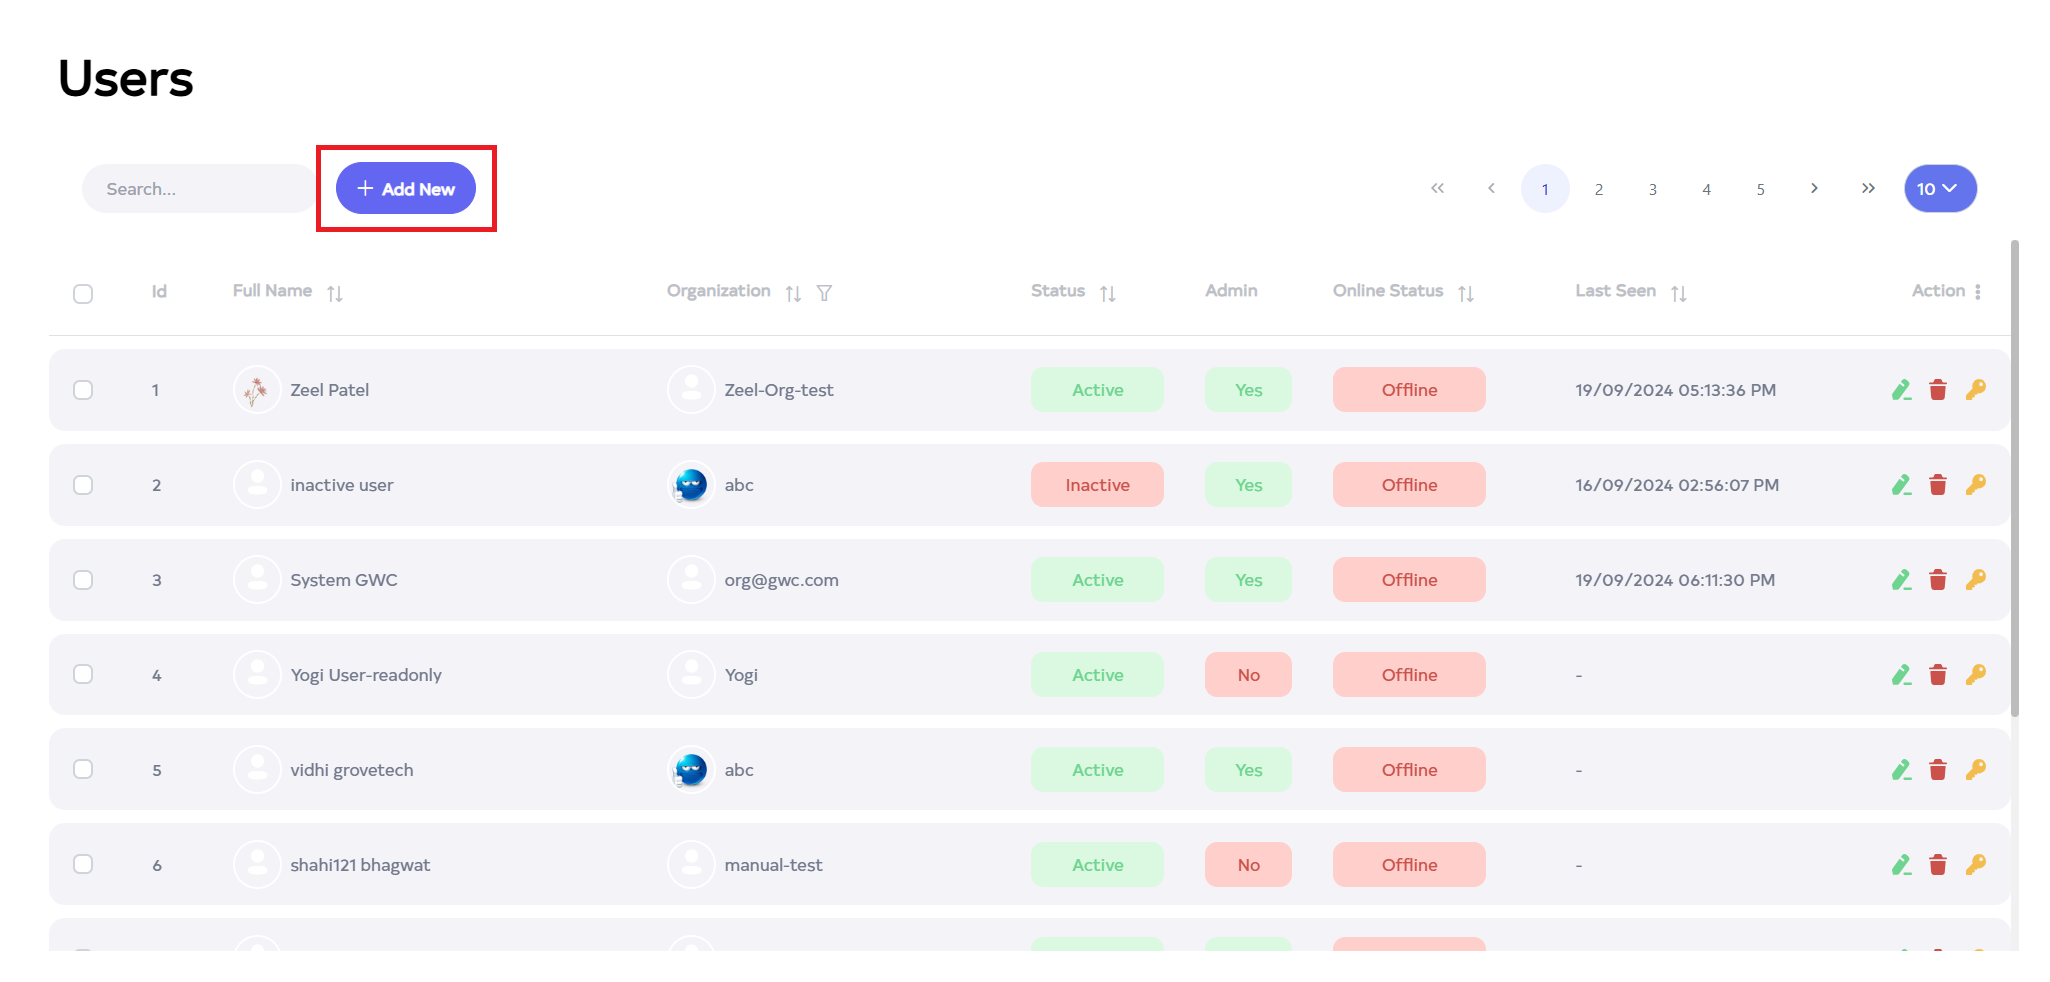
Click on User to view a list of users. Then, click the Add New button.
-
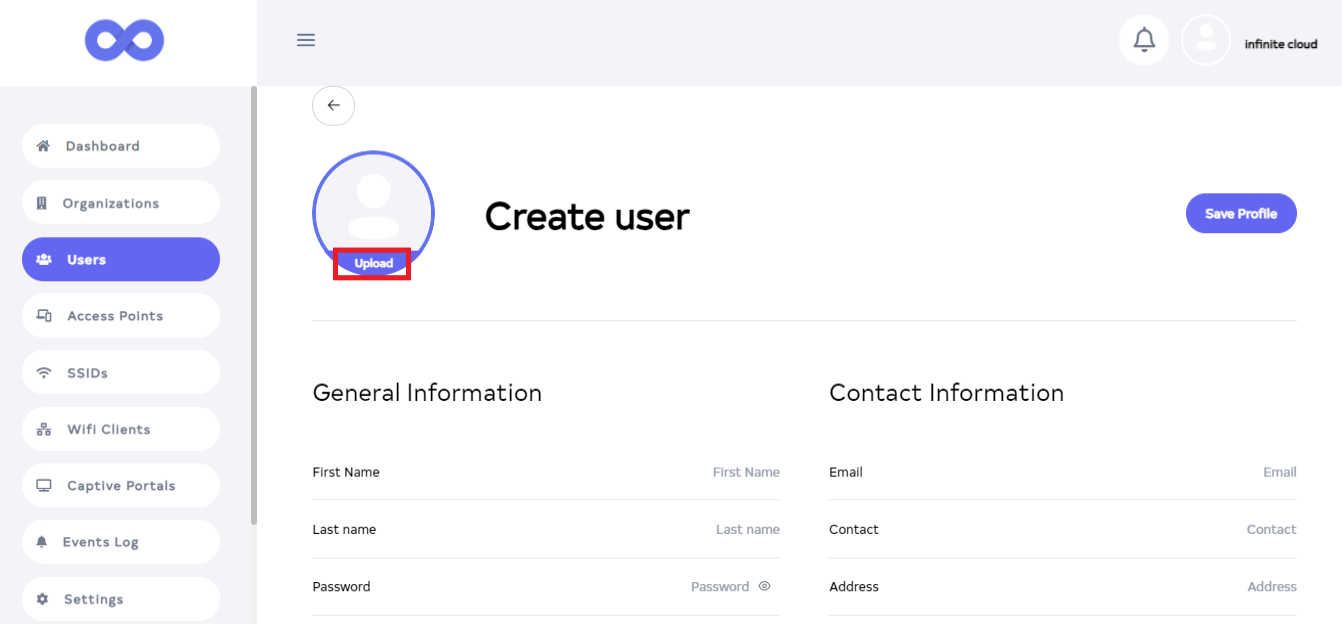
After clicking the Add New button, click Upload and set a photo from there.
picture-infoAdding a profile picture is optional.
-
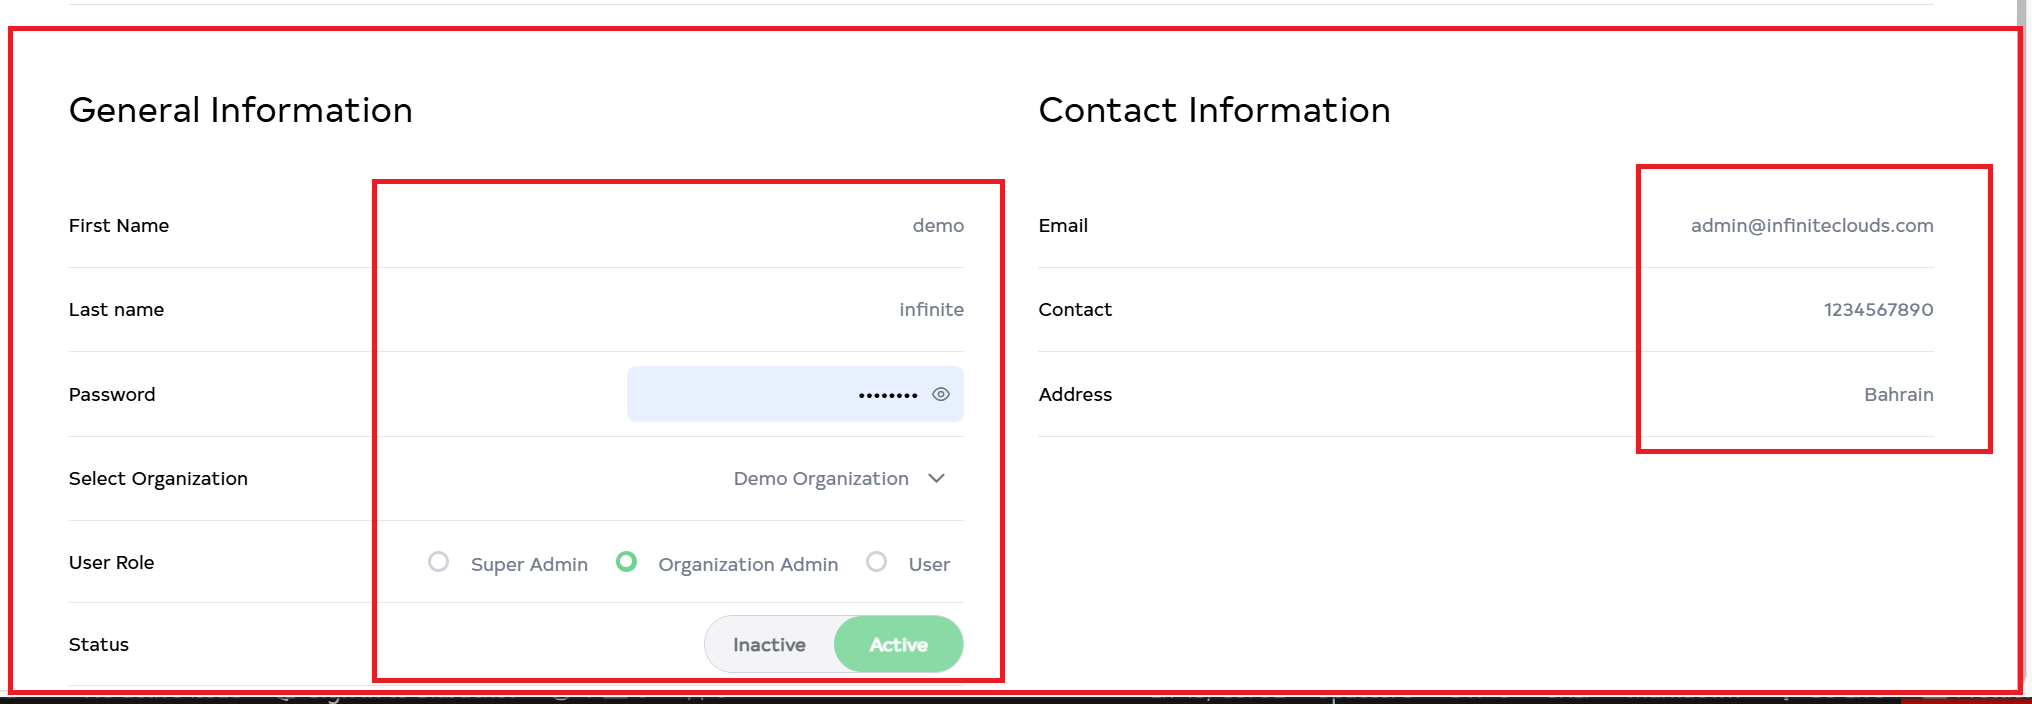
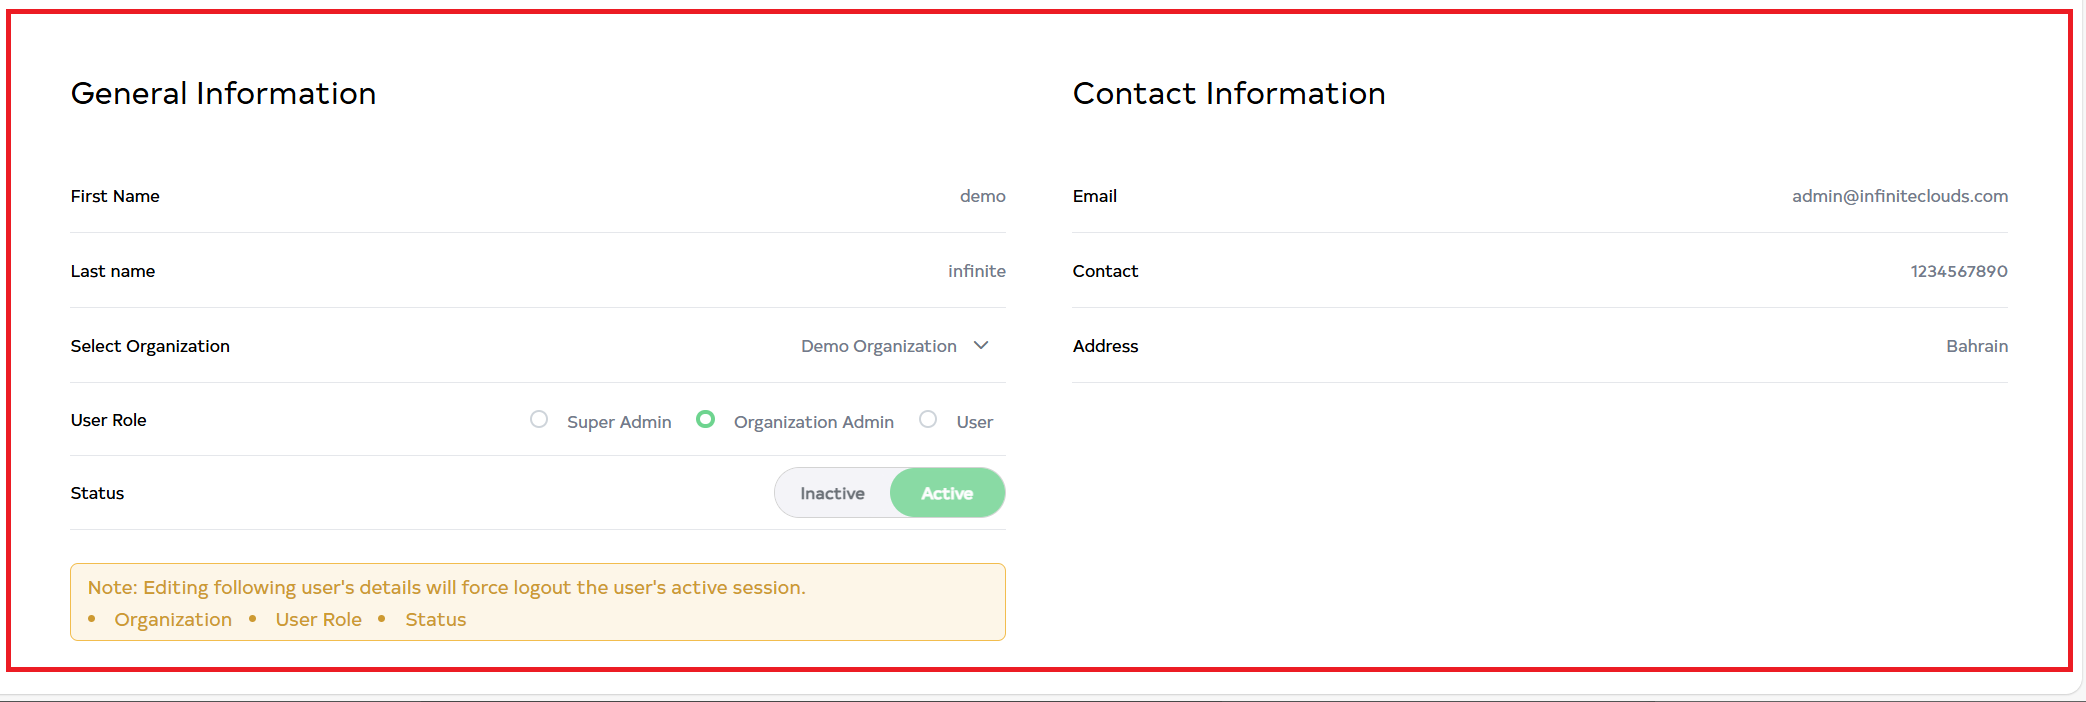
Then fill in the details.
1.First Name:- Enter First Name for Ex: demo.
2.Last Name:- Enter Last Name for Ex: infinite.
3.Password:- Type the password in Enter Password.
4. Select Organization:- Choose Select Organization. For Ex: Demo Organization.
5.User role:- Select user role. Options are (1) Super Admin, (2) Organization Admin, and (3) User. Click on Organization Admin role.
6.Status:- select User Status and click on Active.
7.Email:- Enter the Email ID you want to use here in Enter Email ID. For Ex: admin@infiniteclouds.com.
8.Contact:- Input the Contact number.
9.Address:- Enter Address for Ex: Patan.
-
There are 3 roles in the user role as done before
1. Super Admin:- Selecting Super Admin in the user role means yes is written under admin, indicating the user is a Super Admin with all access.
2. User:- This role has 2 sub-roles. 1. Read-only and Full access.
1. Read only:- The user can only view and cannot make any changes.
2. Full Access:- The user can make all changes and has full access.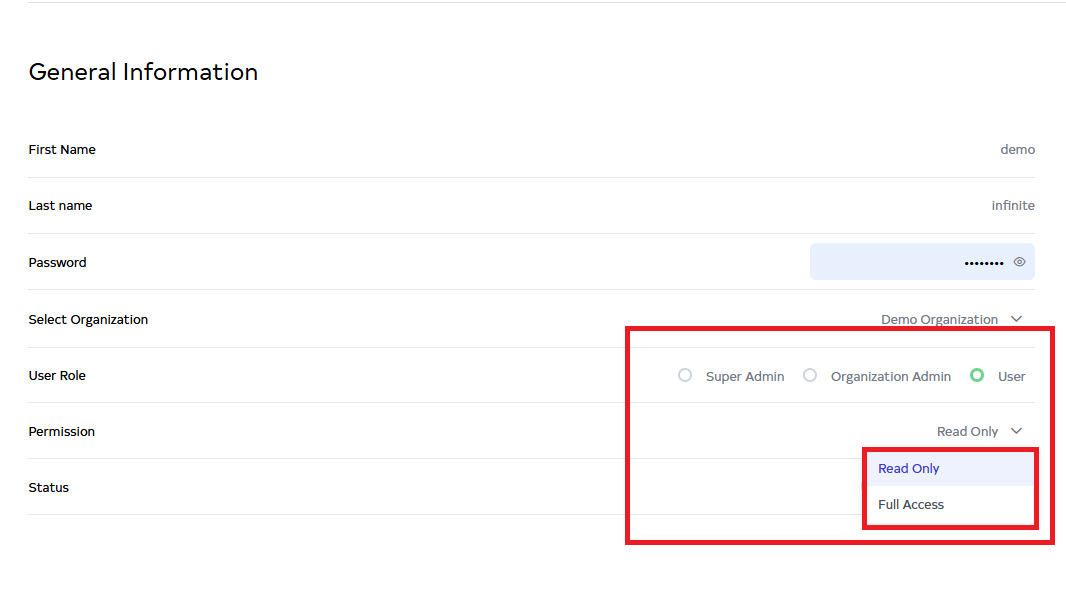
-
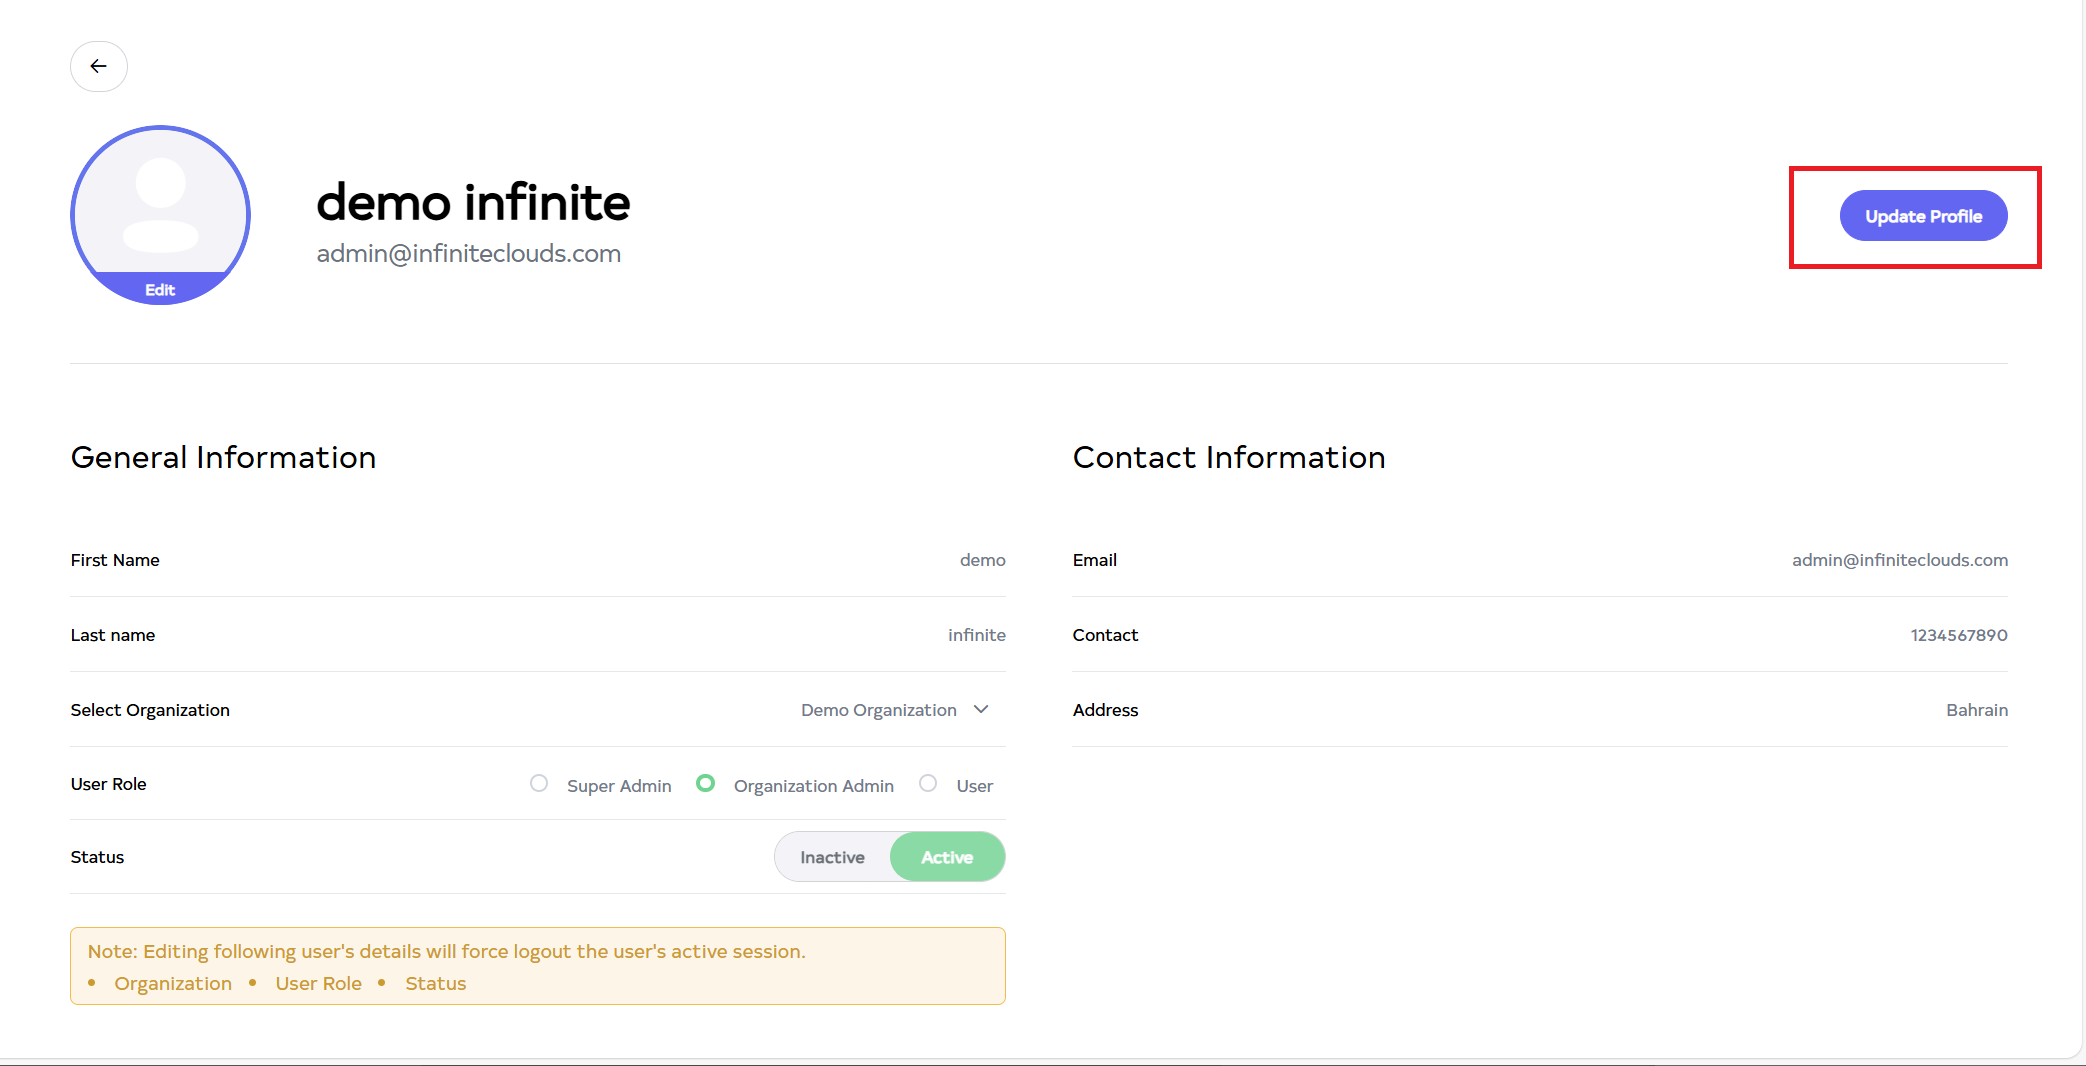
Then Click on the located right side Save profile.
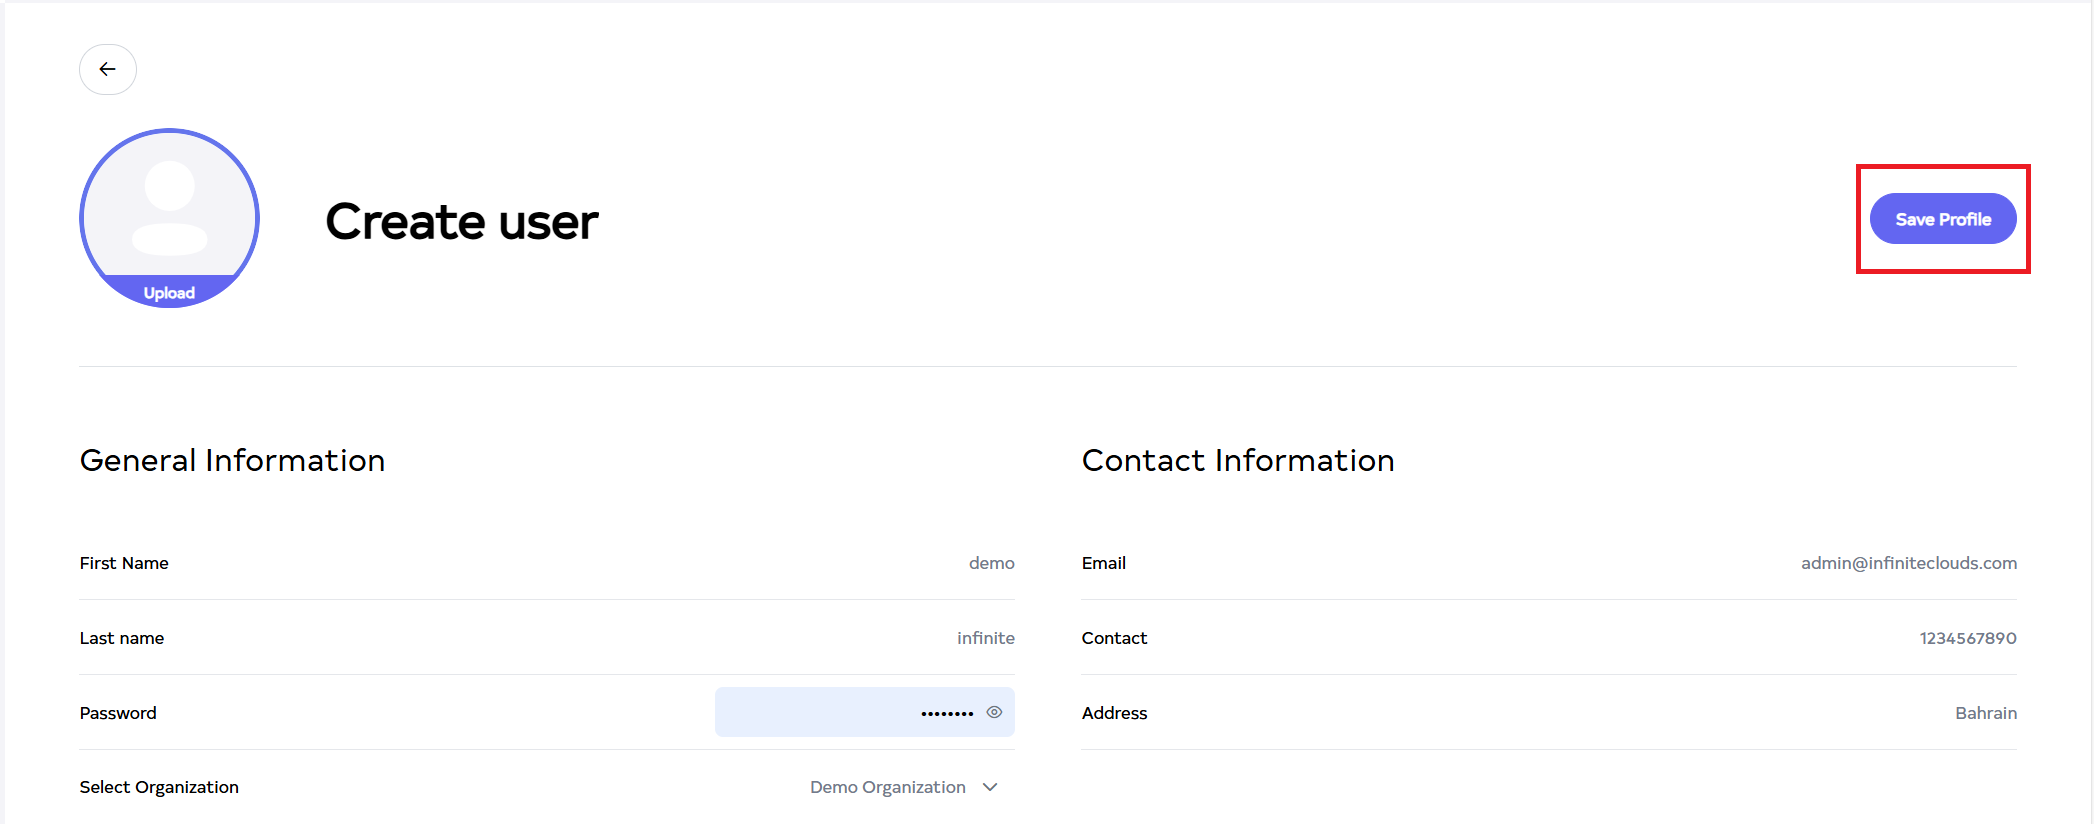
-
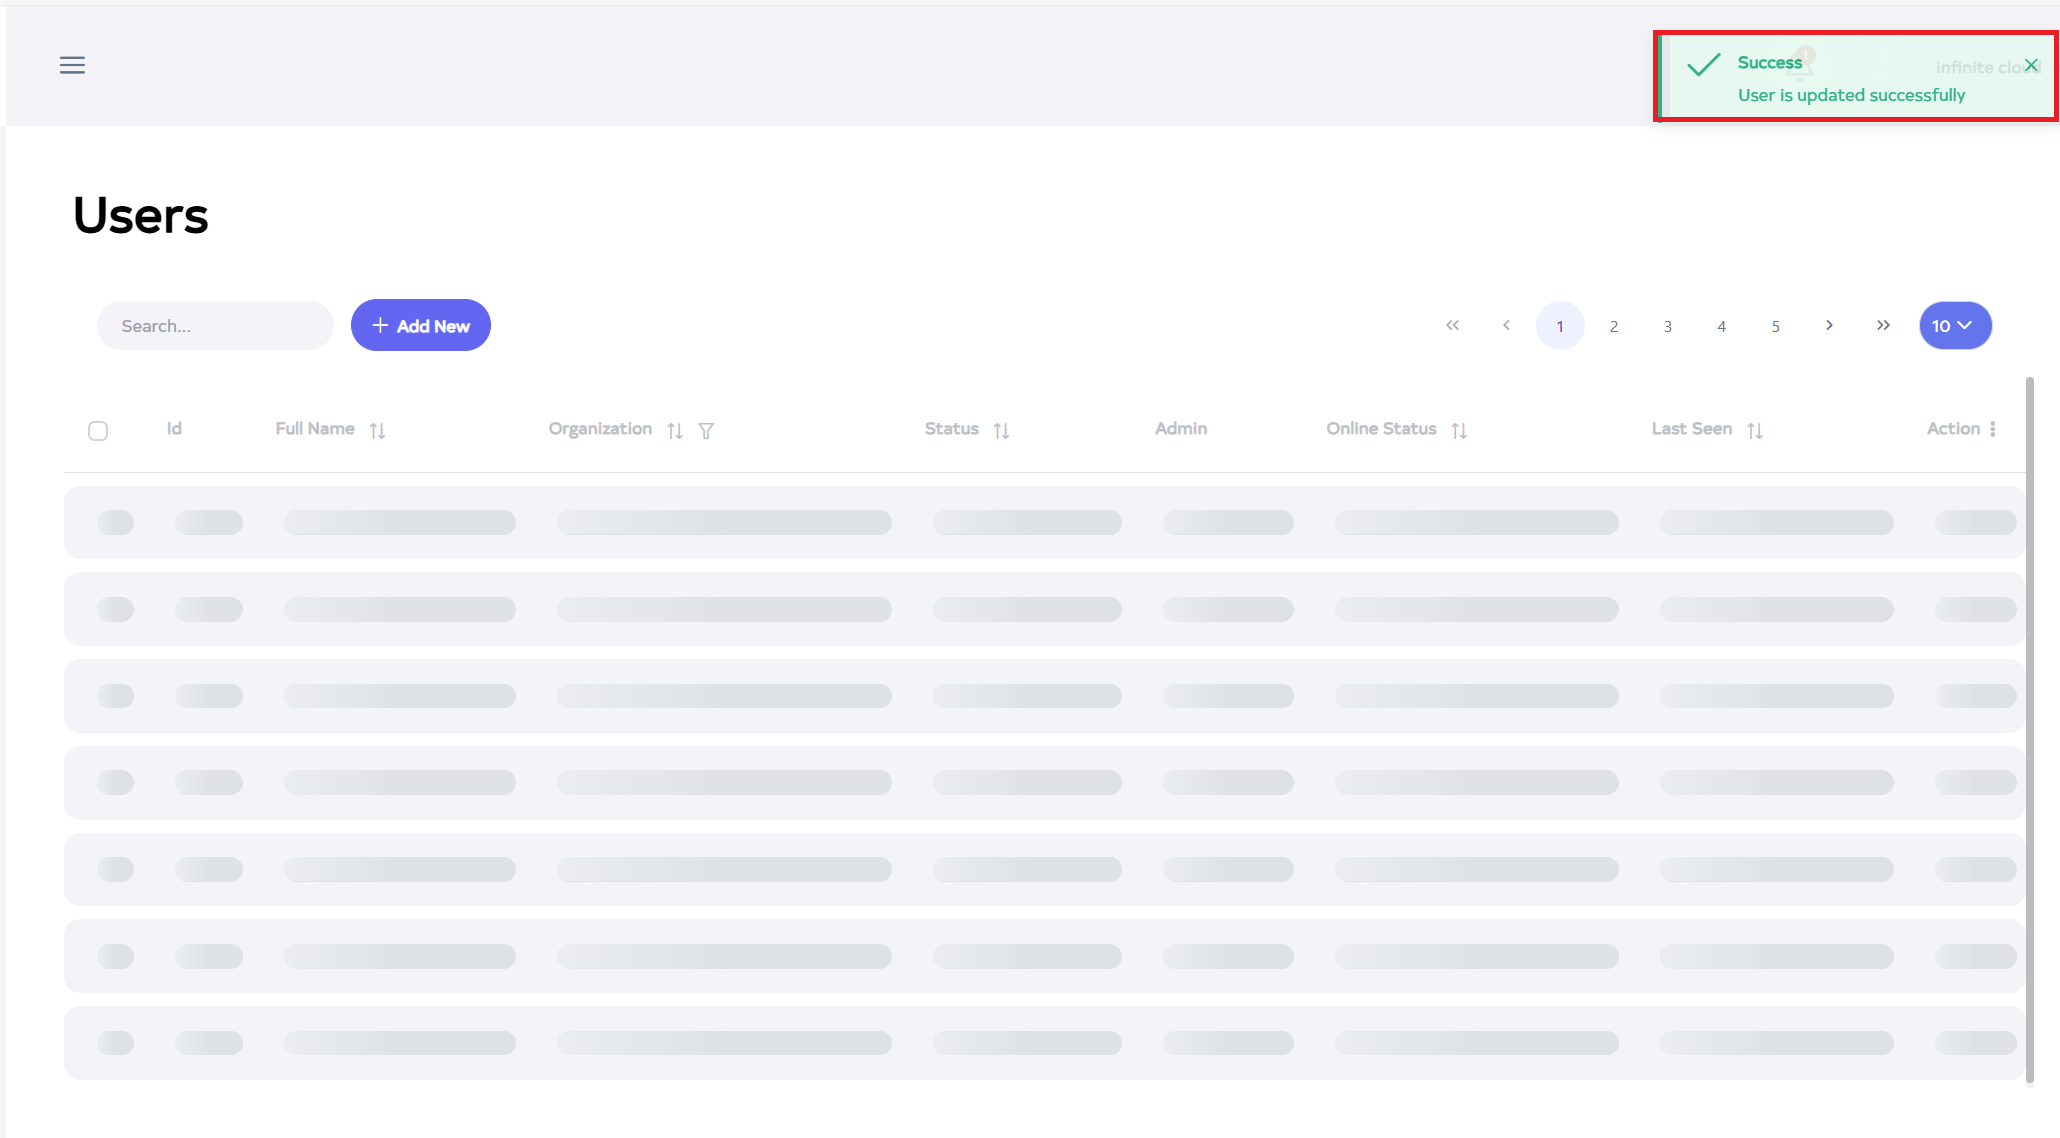
After the User profile Section is saved successfully, a success message will display User is added successfully.
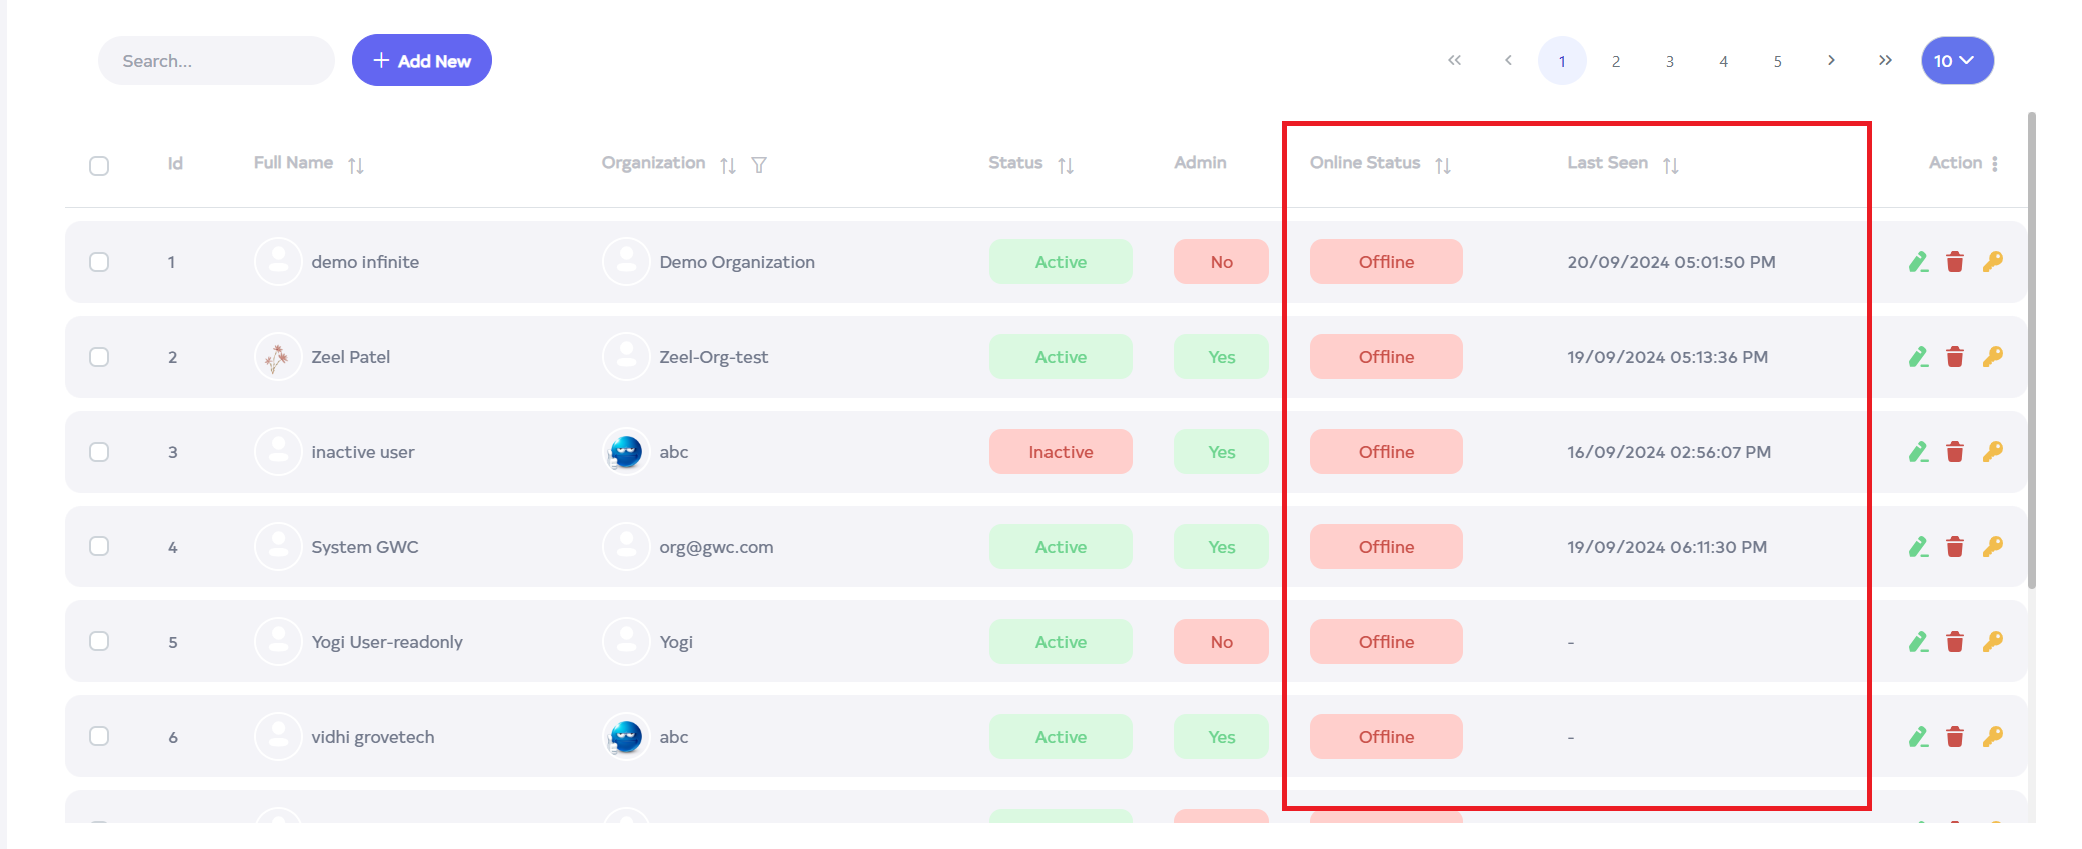
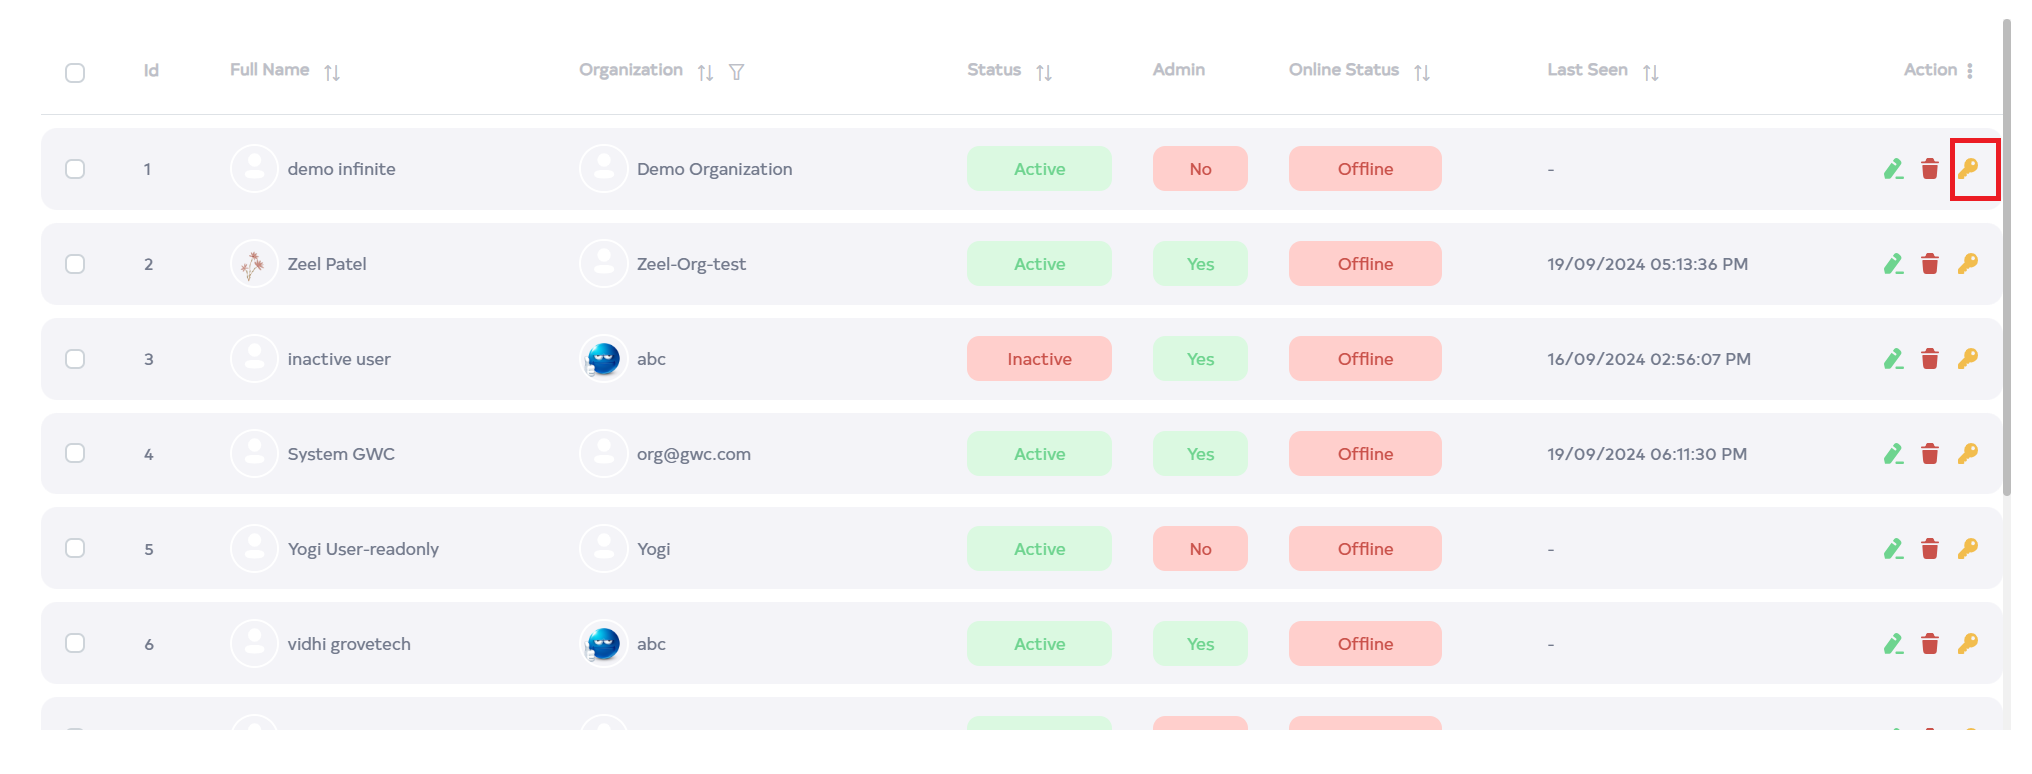
 User-Status-and-Last-Seen-Functionality
The user status will indicate the current connectivity state as follows:
- Online Status: When the user is actively connected, the status will display as "Online".
- Offline Status: If the user is not connected, the status will display as "Offline".
- The Last Seen section will show the timestamp of the user’s most recent online activity, including the date and time.
-
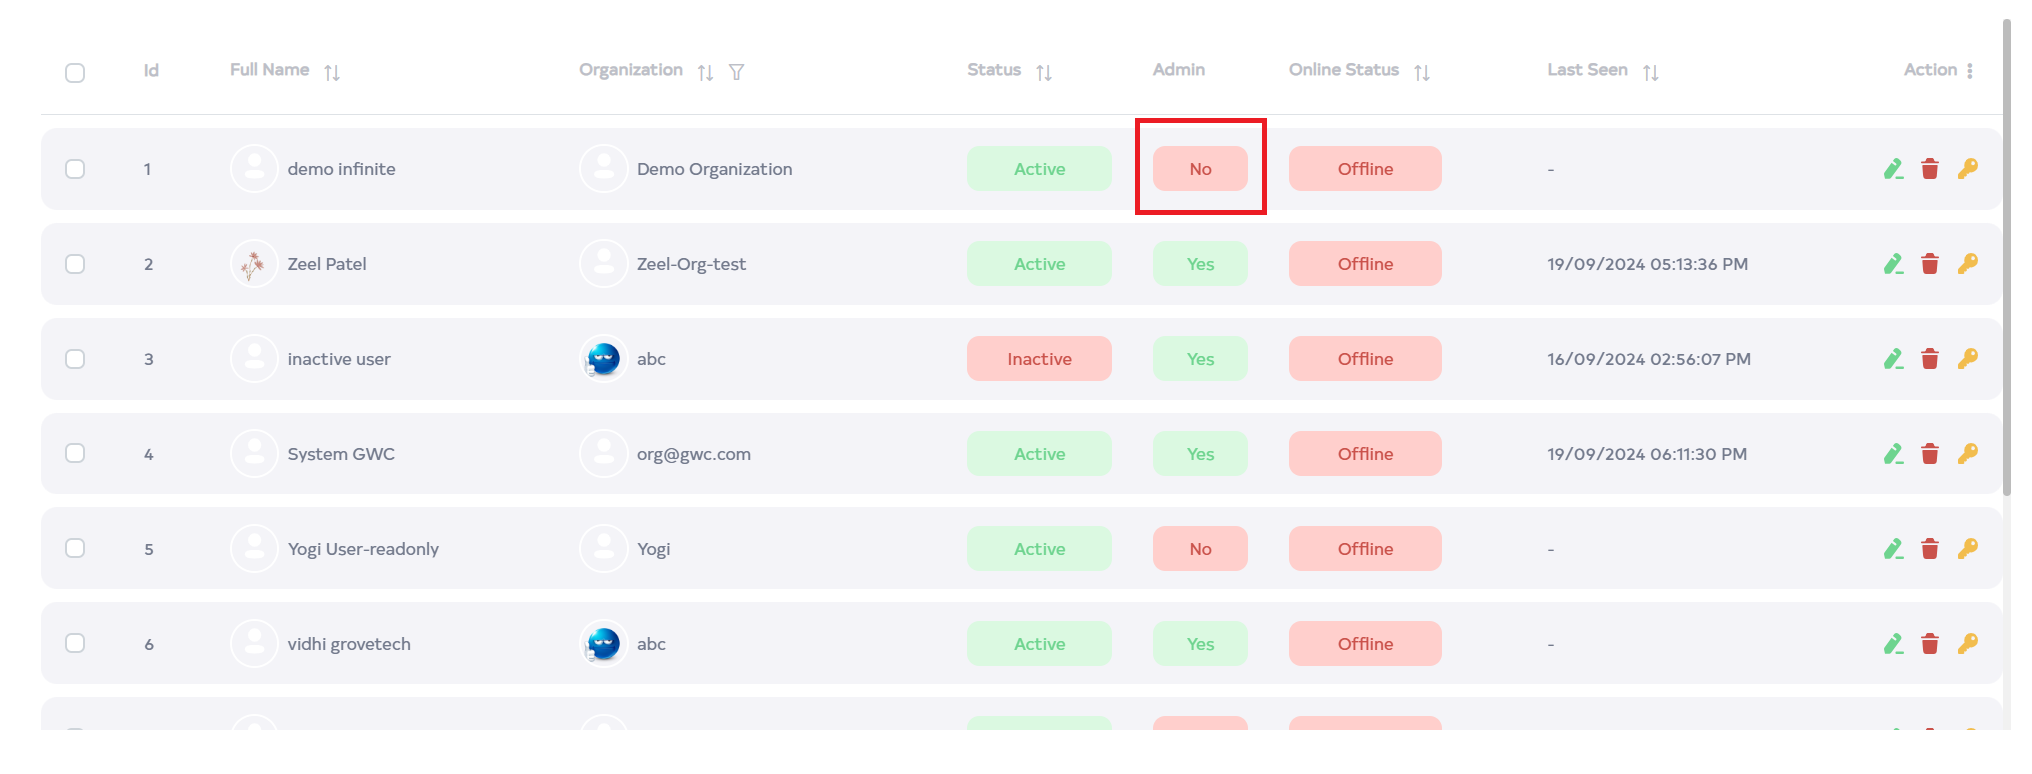
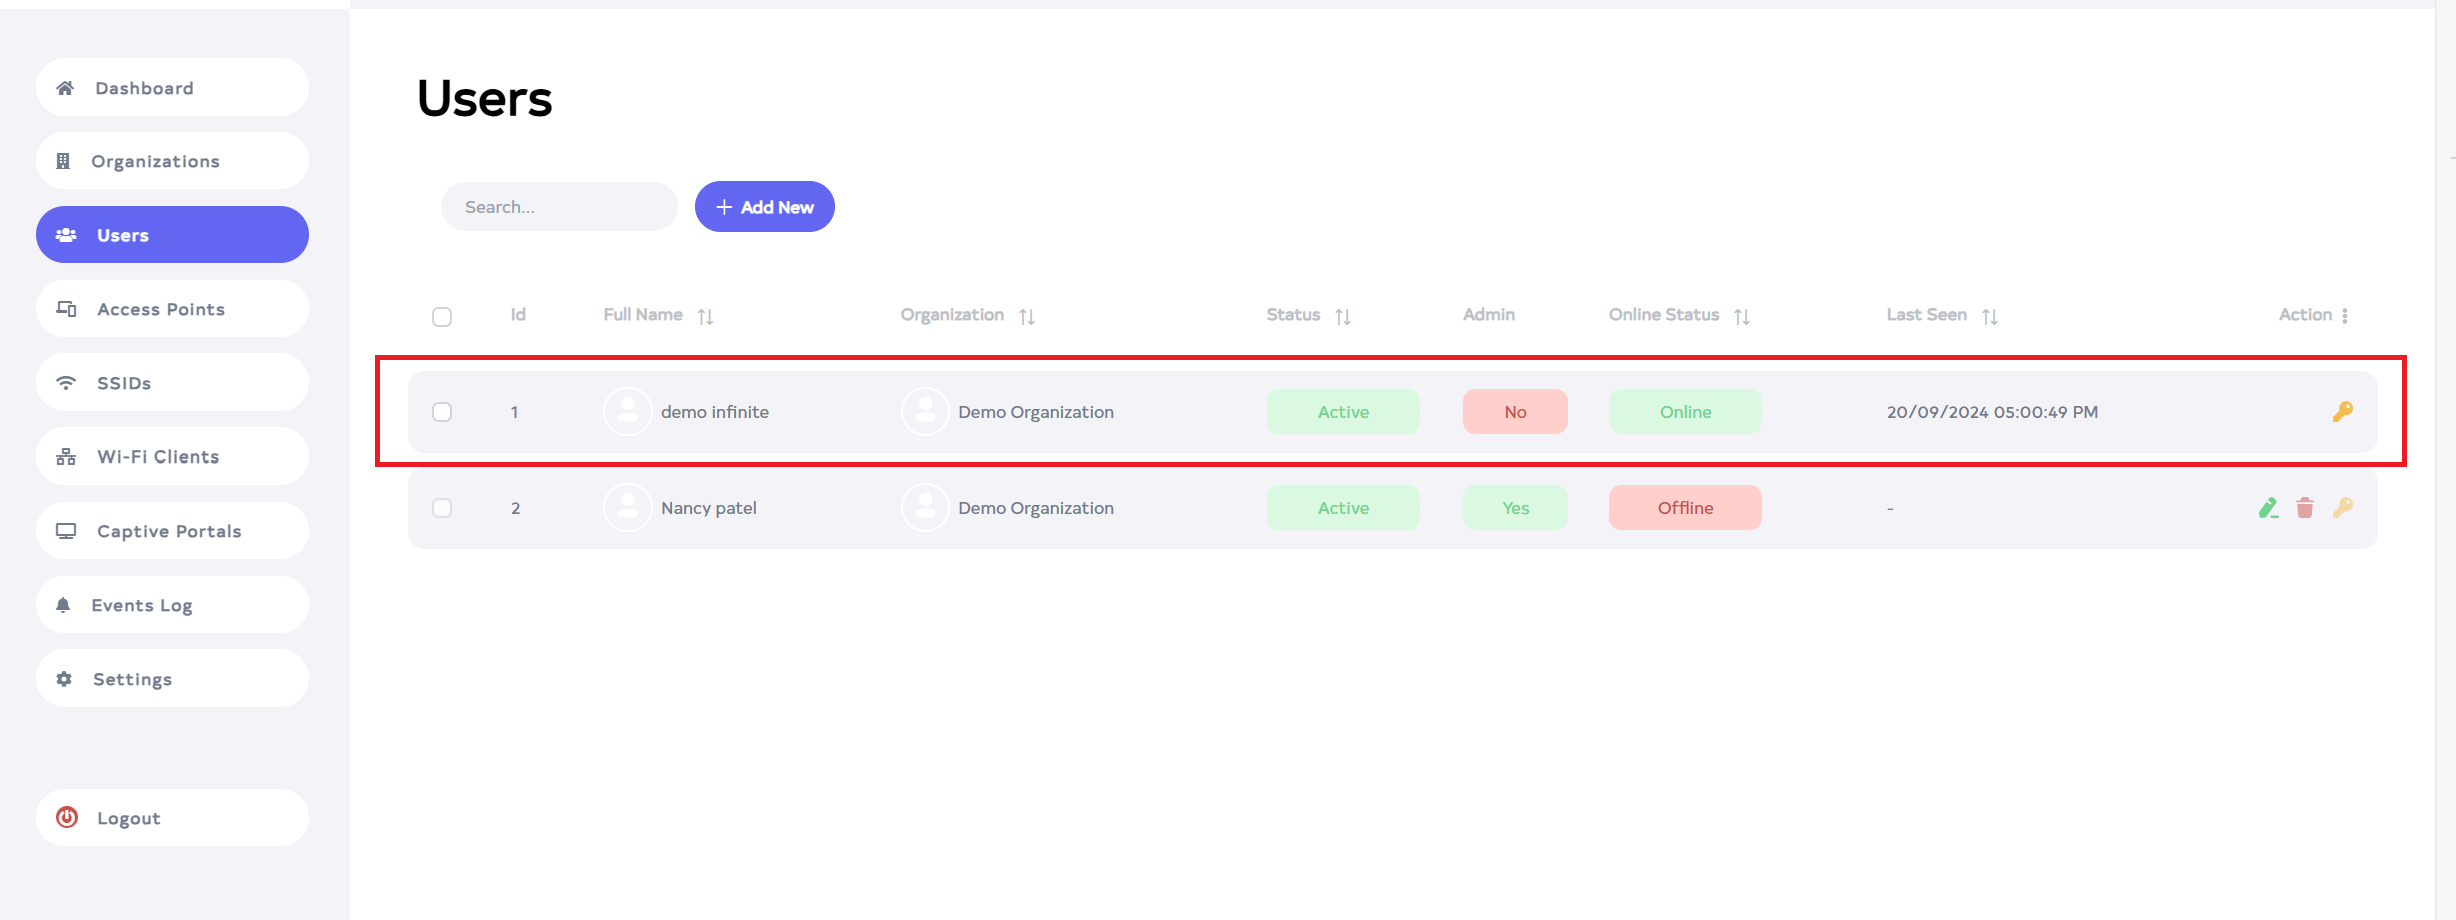
Later, the User will appear there. Since the Organization admin, here admin is written no.
-
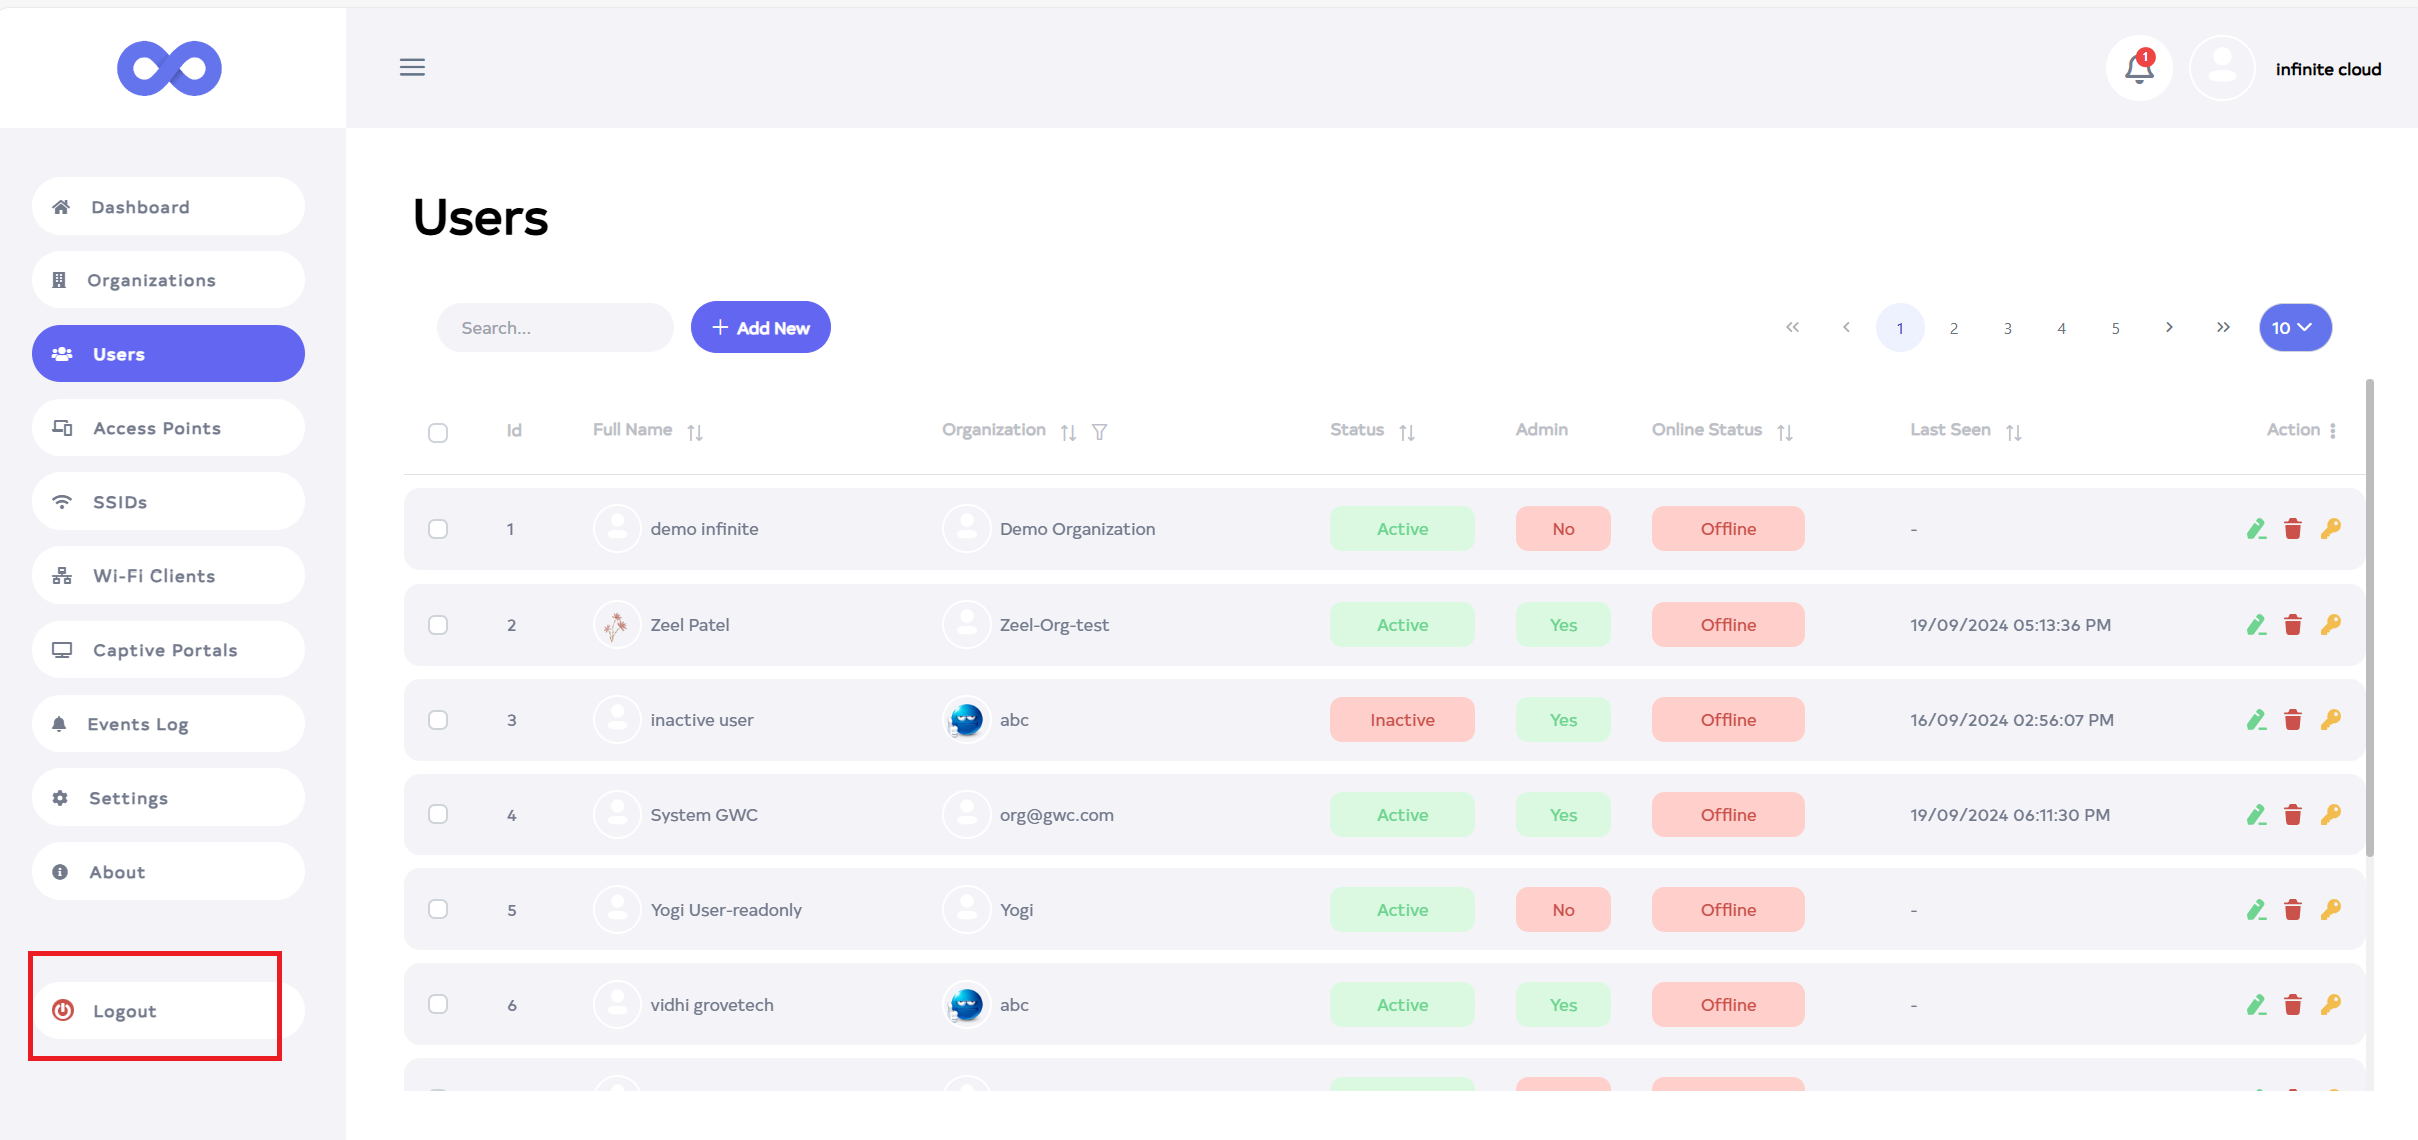
Then go to the Logout button located on the left side and click on the Logout button.
-
After that fill in all the details(Enter the Email ID and Password of the newly created user in Username and Password) and click on the Login button.
- After login, there would be no edit or delete access for the admin of the organization. No create of new organization will be allowed, only access to a new user creation. Also, an organization admin user cannot have full access.
How to edit user
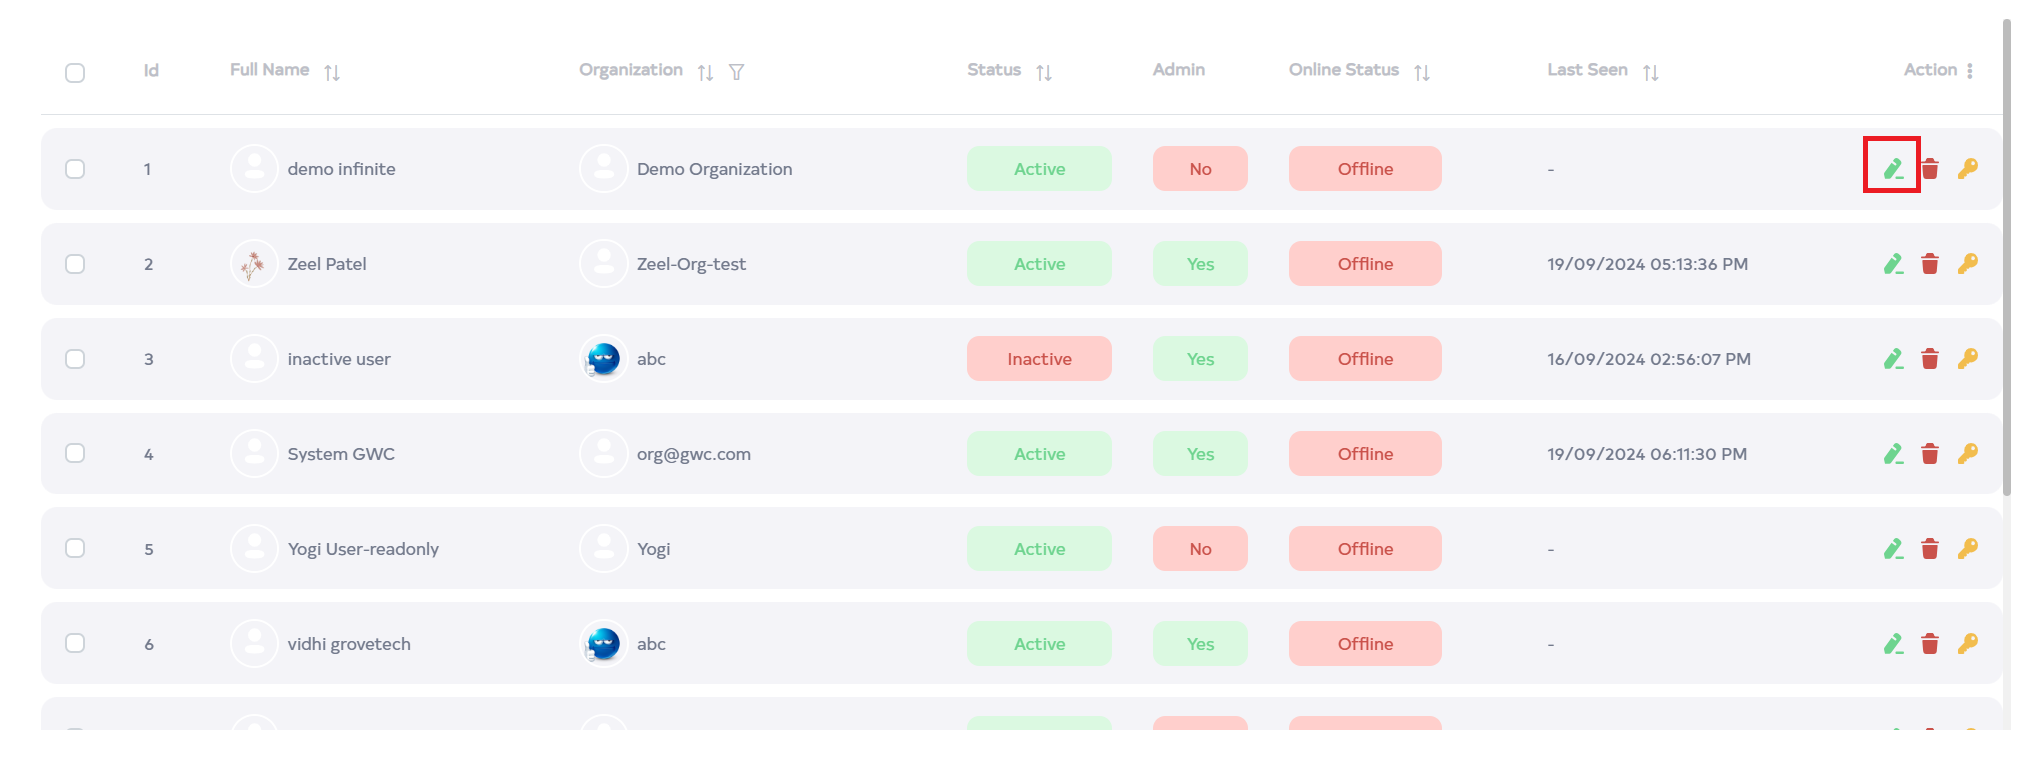
- Click on the Edit located on the right side of your User.
- After clicking, the following options can be changed Profile Photo, First Name, Last Name, Password, Select Organization, User role, Status, Email, Contact, and Address.
- Then click on the Update Profile button.
-
After the User profile Section is Updated successfully, a success message will display User update successfully.
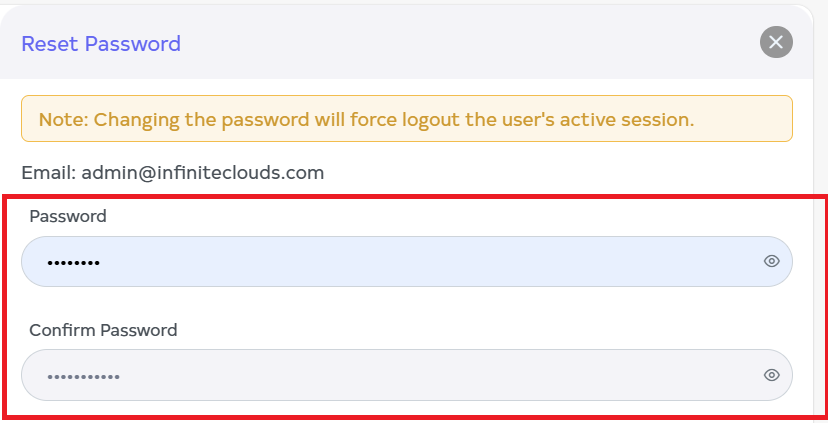
How to change the password
-
Click on the Key Located on the right side of the User.
-
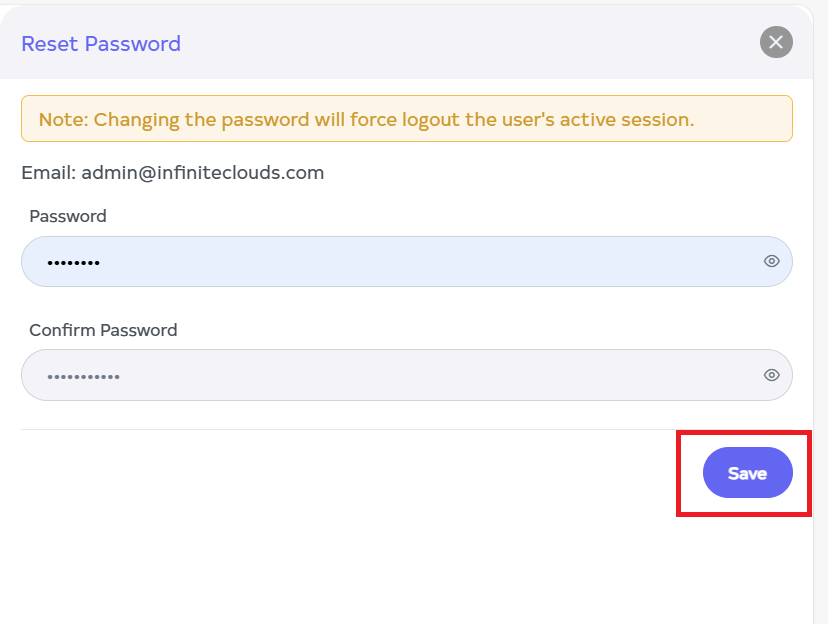
After clicking, fill in the details. 1.Password:- Enter the Password. 2. Confirm Password:- Enter the Confirm Password.
-
Now click on Save.
-
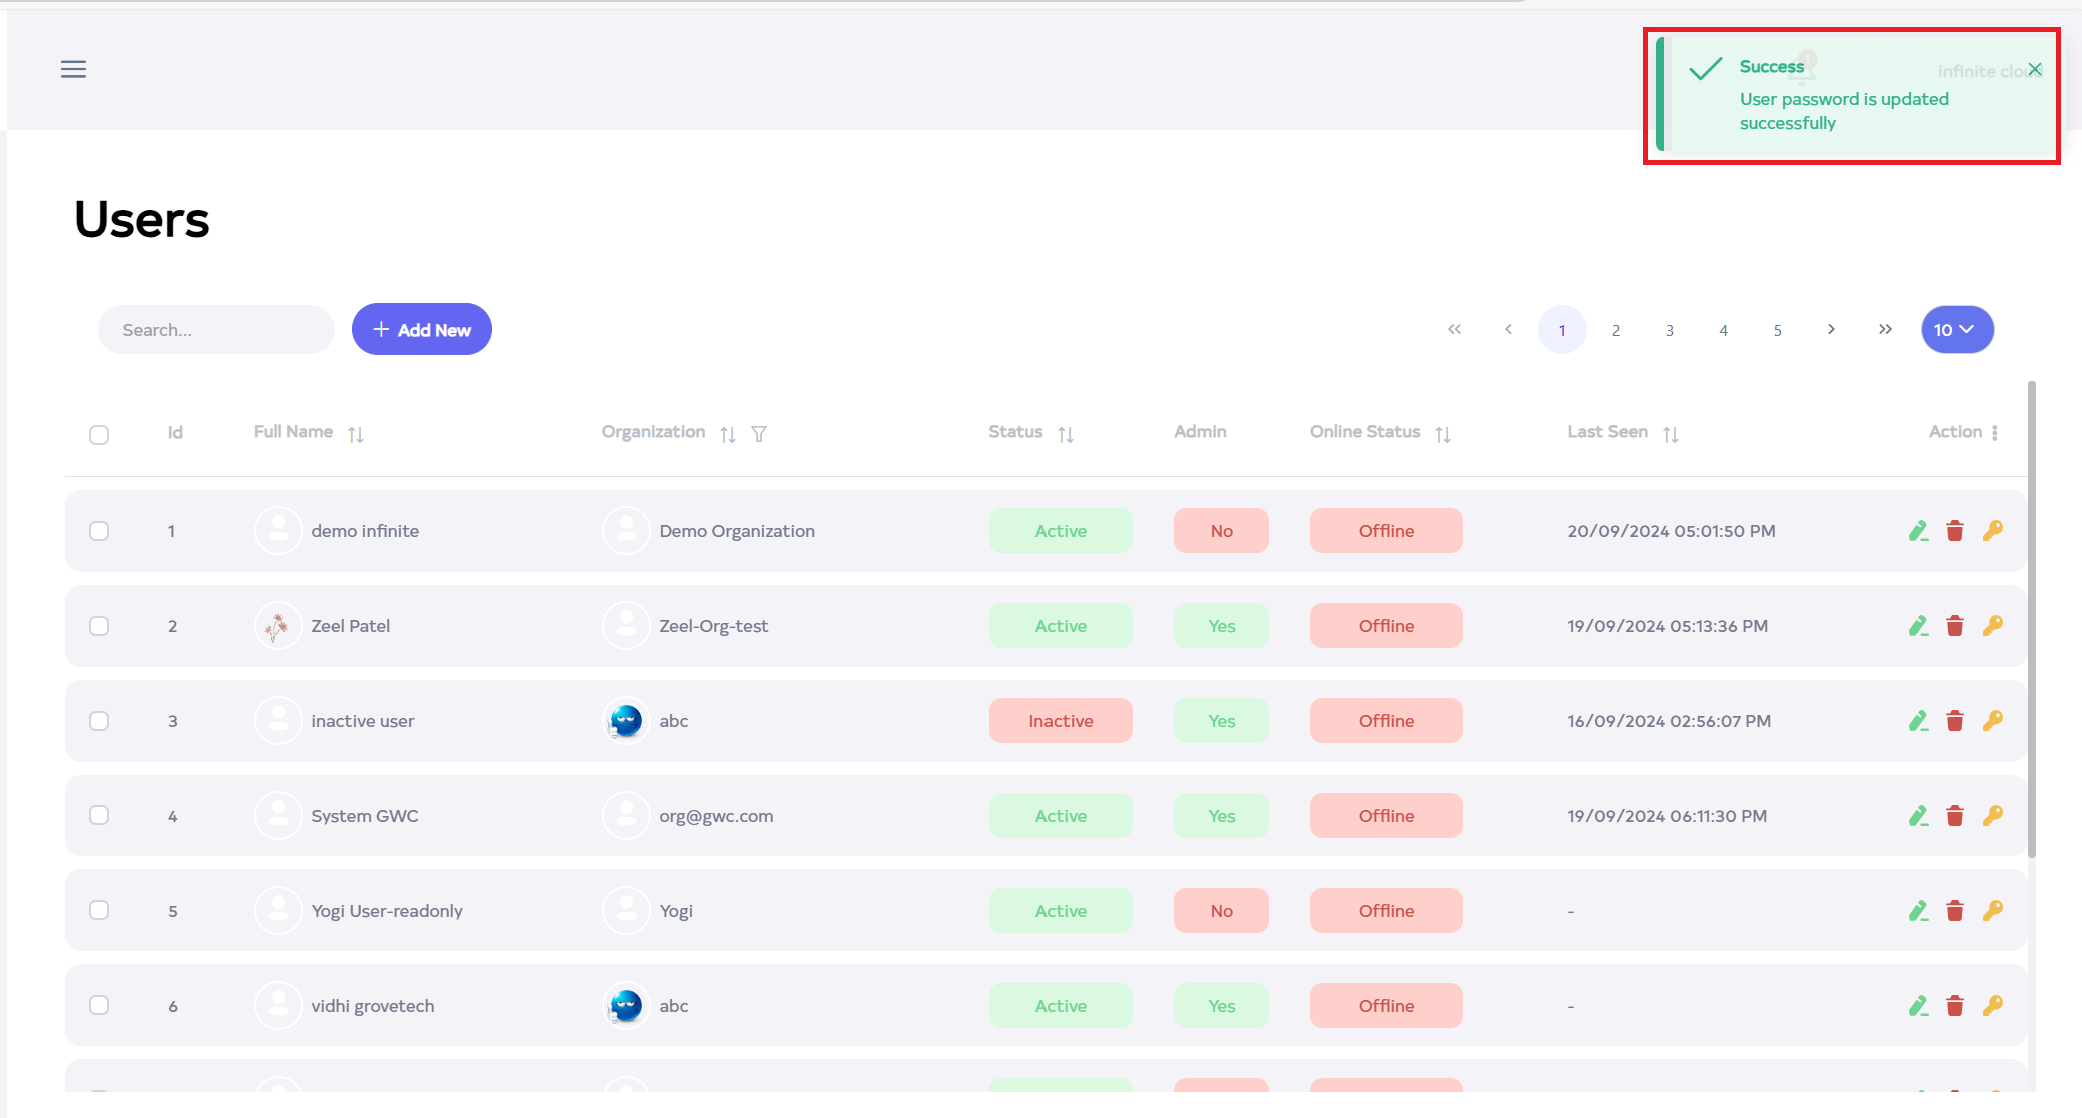
After the user key is saved successfully, a success message will display User password is updated successfully on the screen.
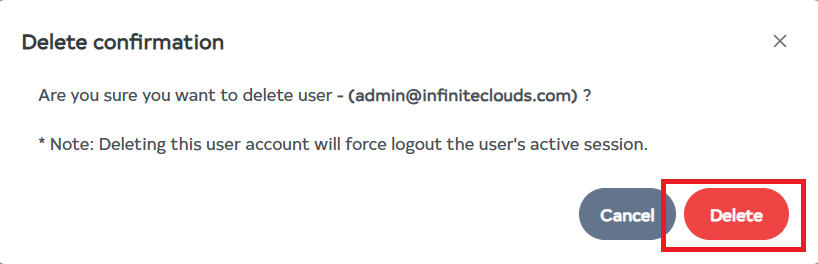
How to delete User
-
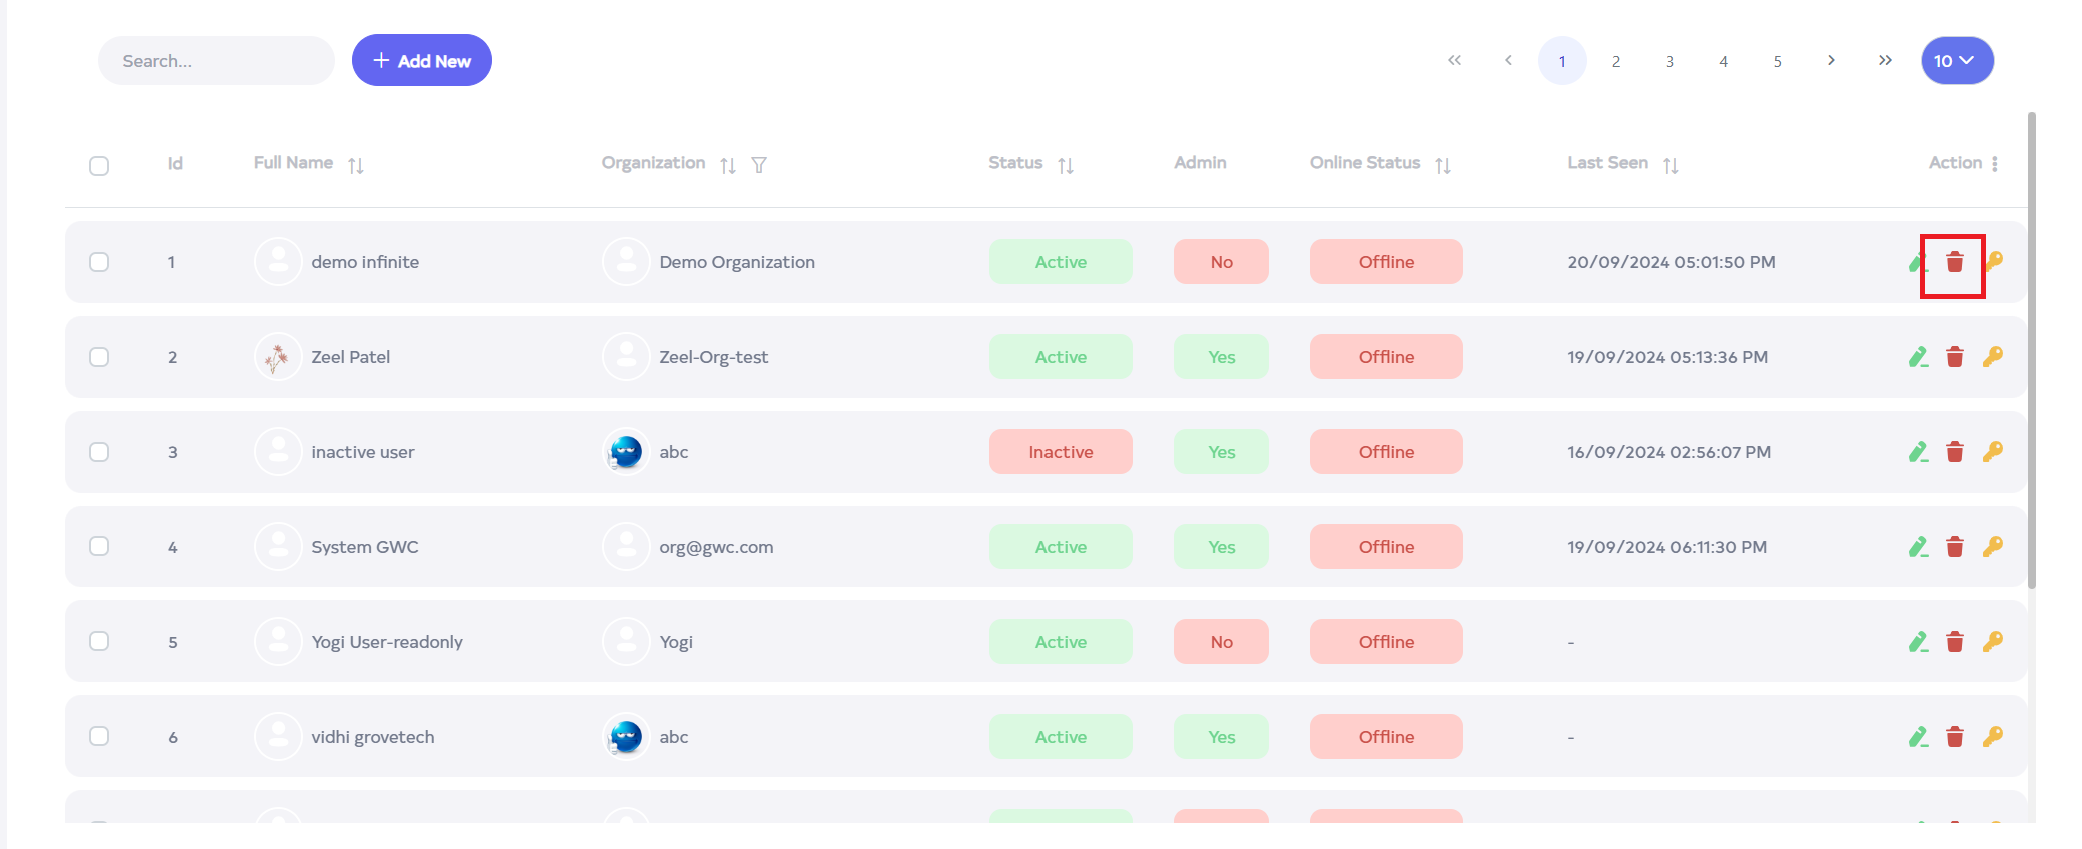
Click on the delete located on the right side.
-
After clicking, a confirmation message will appear. Click on the Delete button.
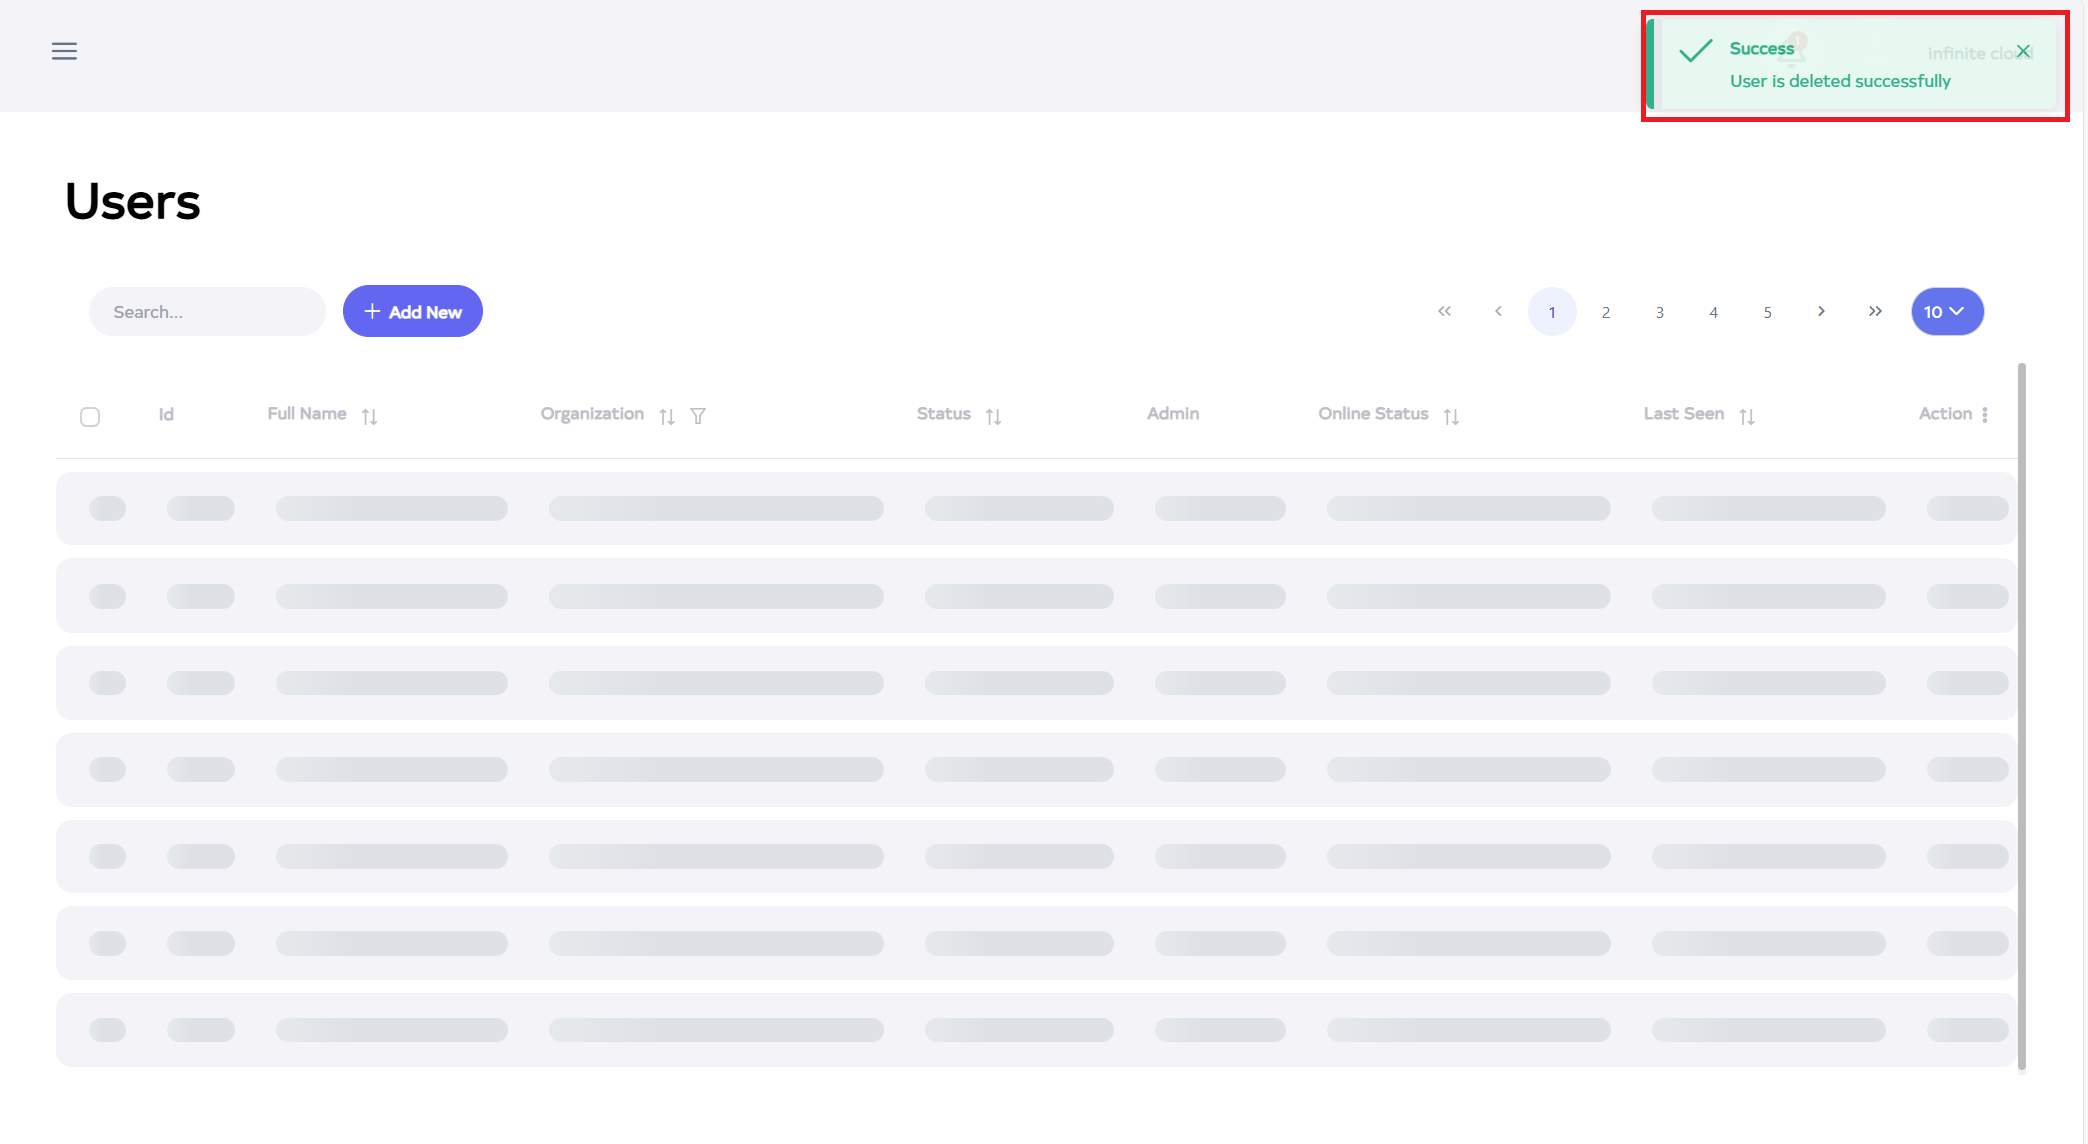
- After the User ID is deleted successfully, a success message will display Organization is deleted successfully.
To delete multiple records, select the desired records by using the checkboxes and delete the selected records. To delete all user in bulk, use select-All checkbox next to the "ID" column header to select all entries and click the "Delete All" button to execute the bulk deletion process.
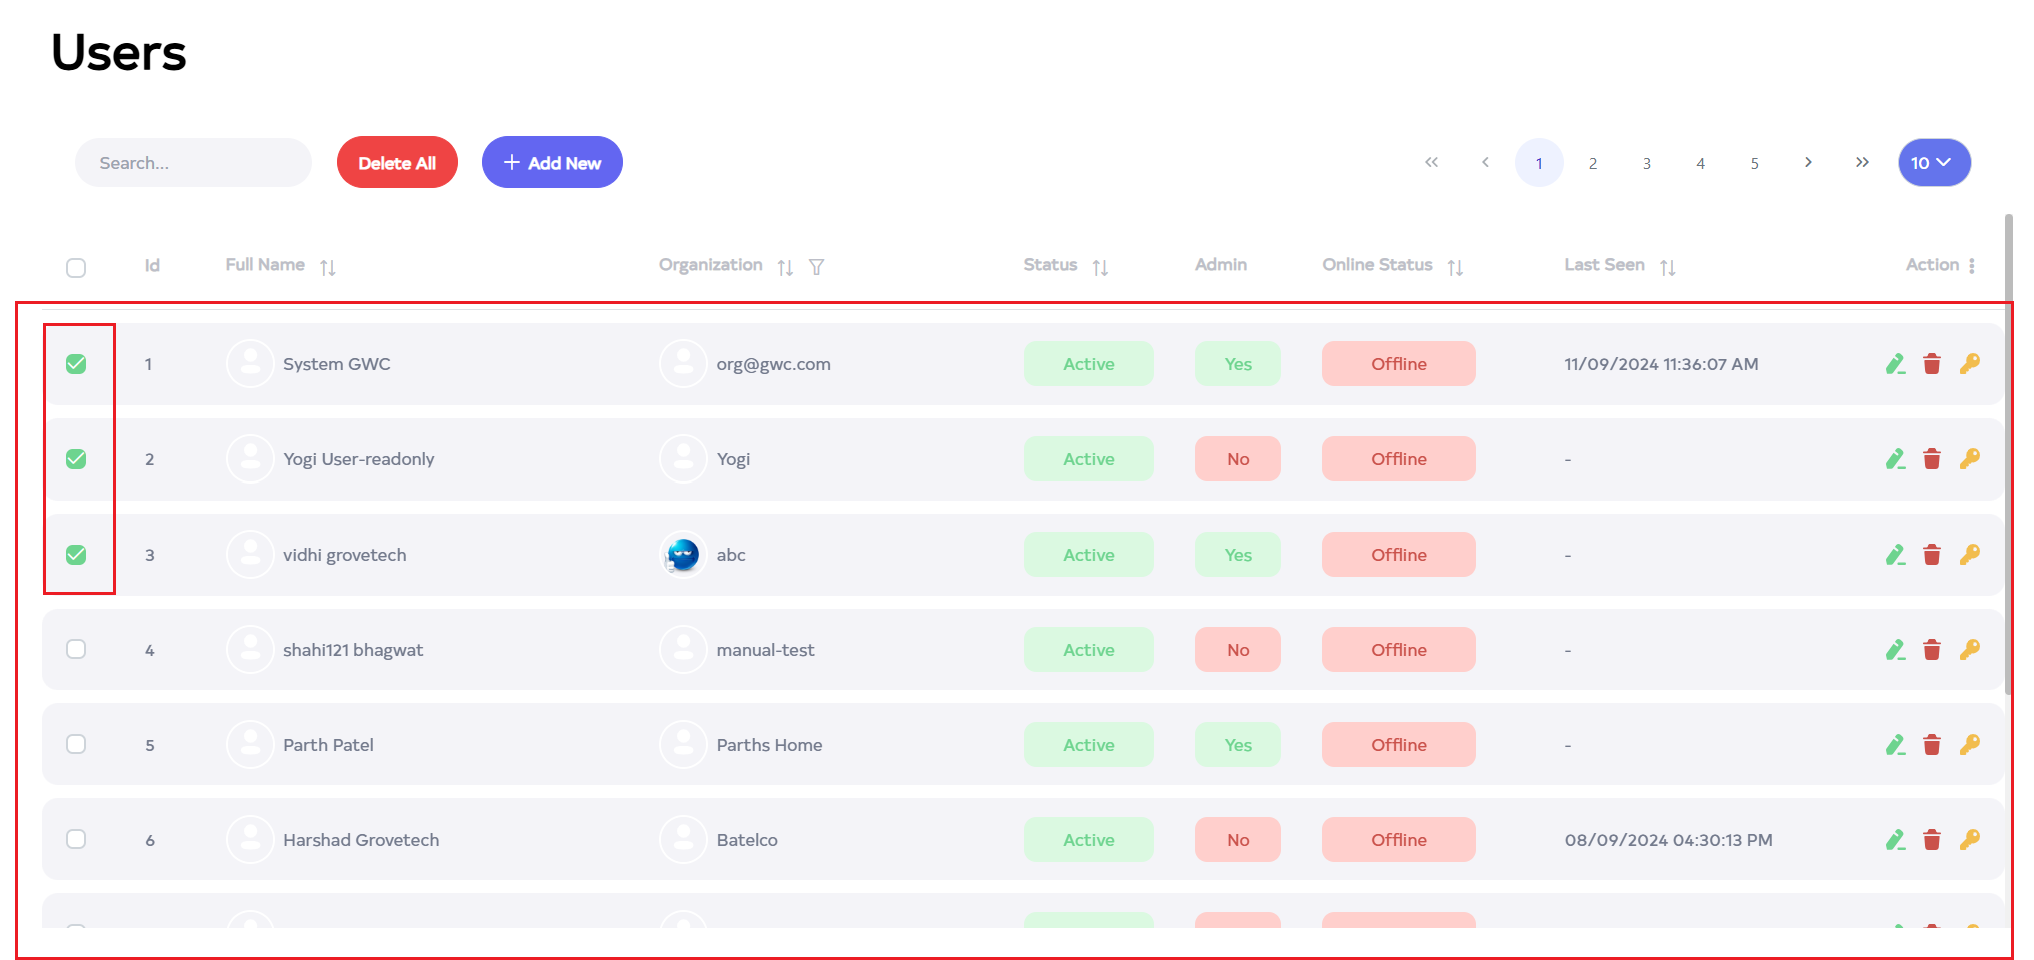
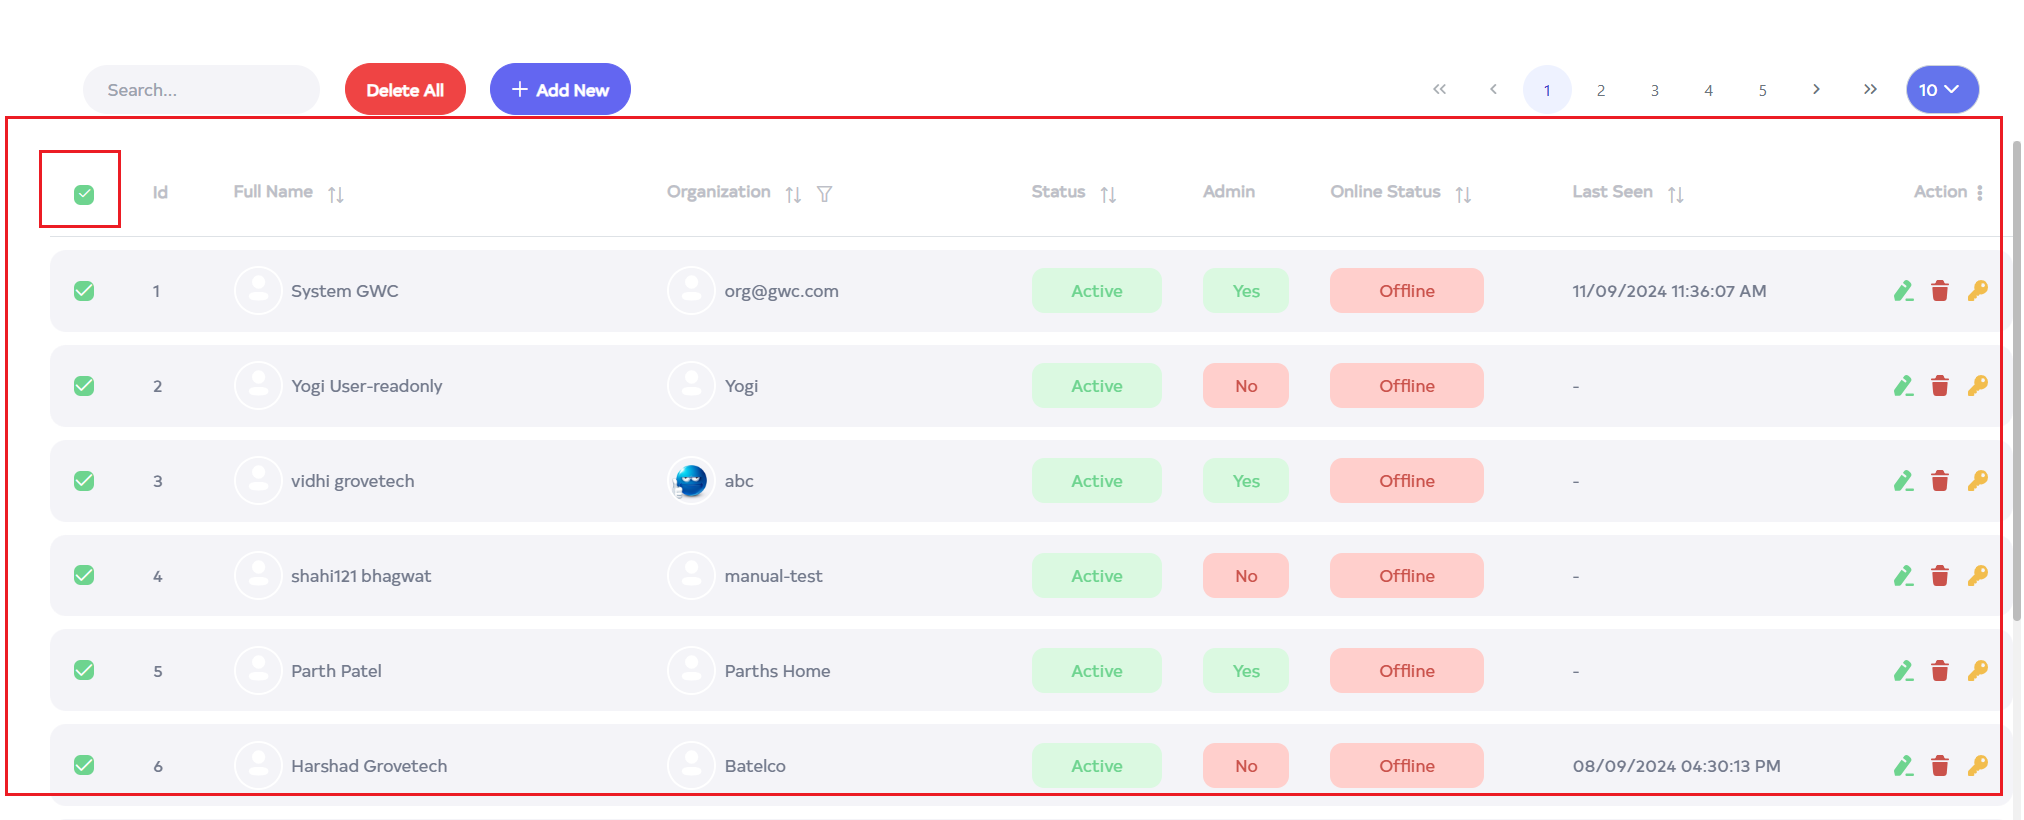
When attempting to delete multiple users, the logged-in user is excluded from deletion. Similarly, when using the "Select All" option, the logged-in user is not included in the selection. As shown in the image, a tooltip will be displayed, indicating that the logged-in user cannot be deleted.

:::